Page Navigation
How to Manage Comments and Reactions Based on Blogs
This document explains how to manage blog comments and reactions from the backend dashboard. It covers the complete moderation workflow, including publishing and replying to comments, filtering comments and reactions by date, analyzing engagement, and safely deleting comments using the Trash system. This process helps maintain content quality, user engagement, and moderation control across all blogs.
Overview
By following this document, you will be able to:
- Access blog comments and reactions
- Publish or unpublish user comments
- Reply to comments from the backend
- Analyze comments and reactions by blog
- Filter comments and reactions by custom date range
- Soft delete, restore, or permanently delete comments
Access Blog Comments & Reactions
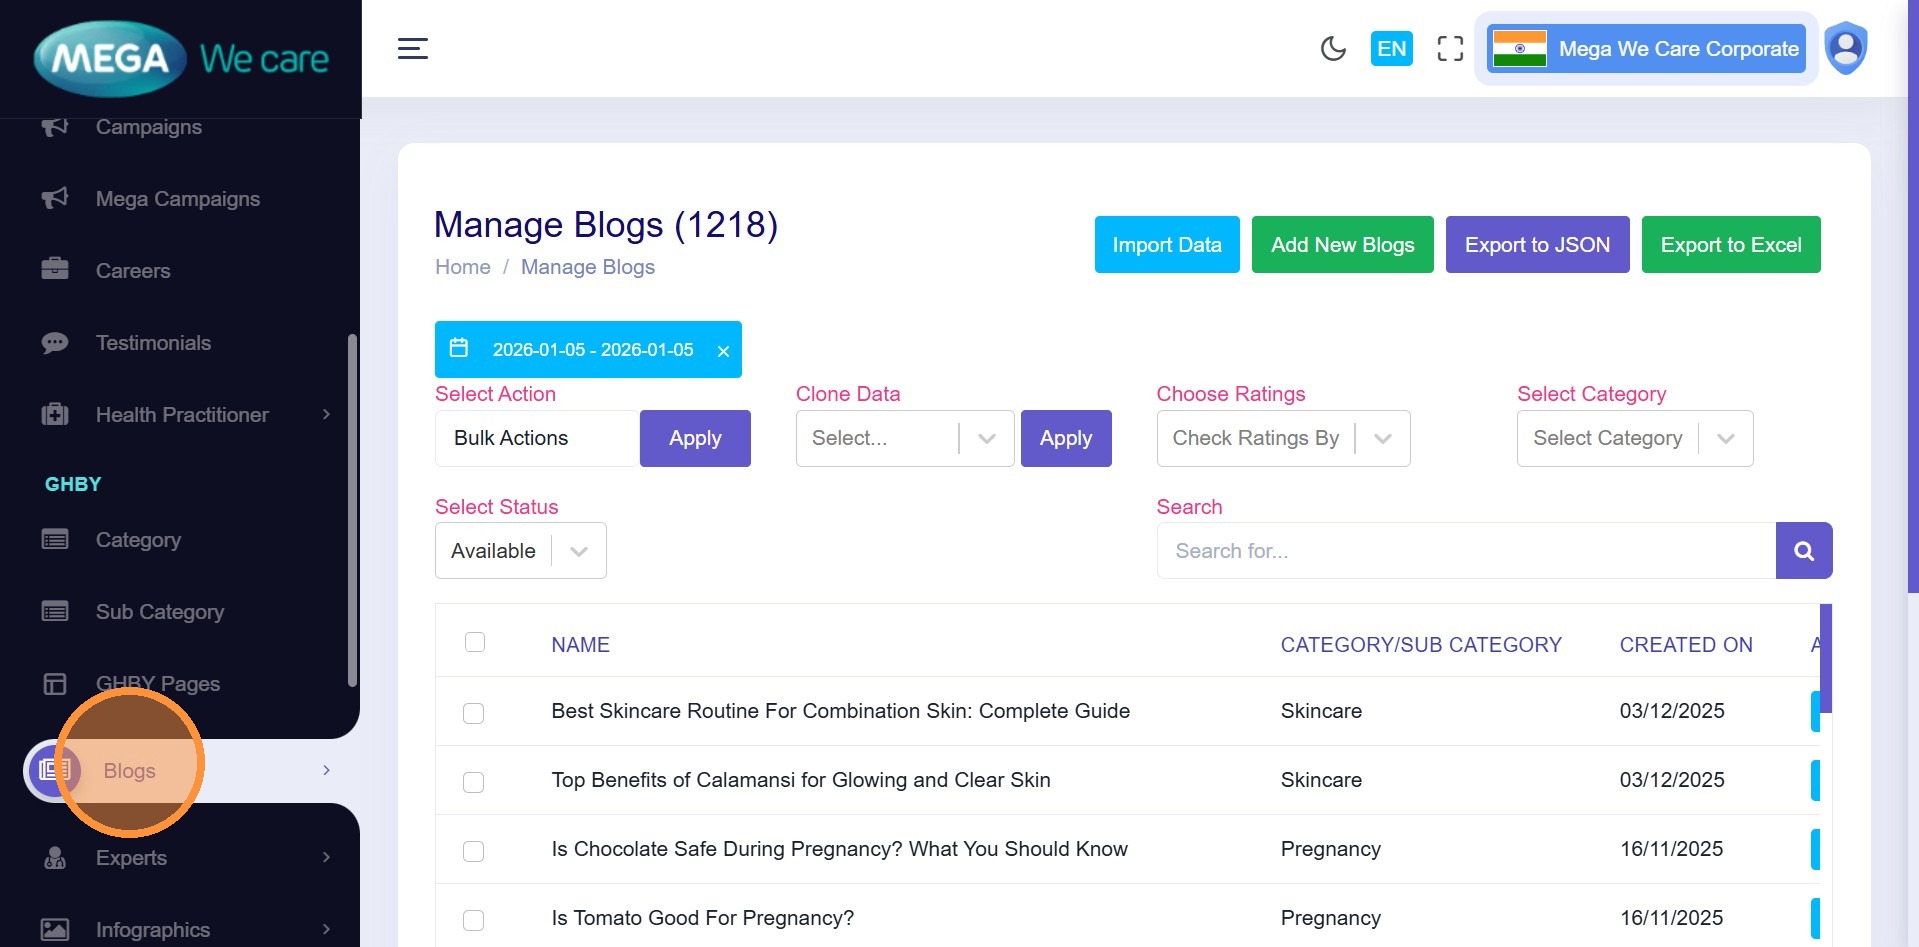
Step 1: Open Blogs
From the Admin Dashboard, click Blogs.
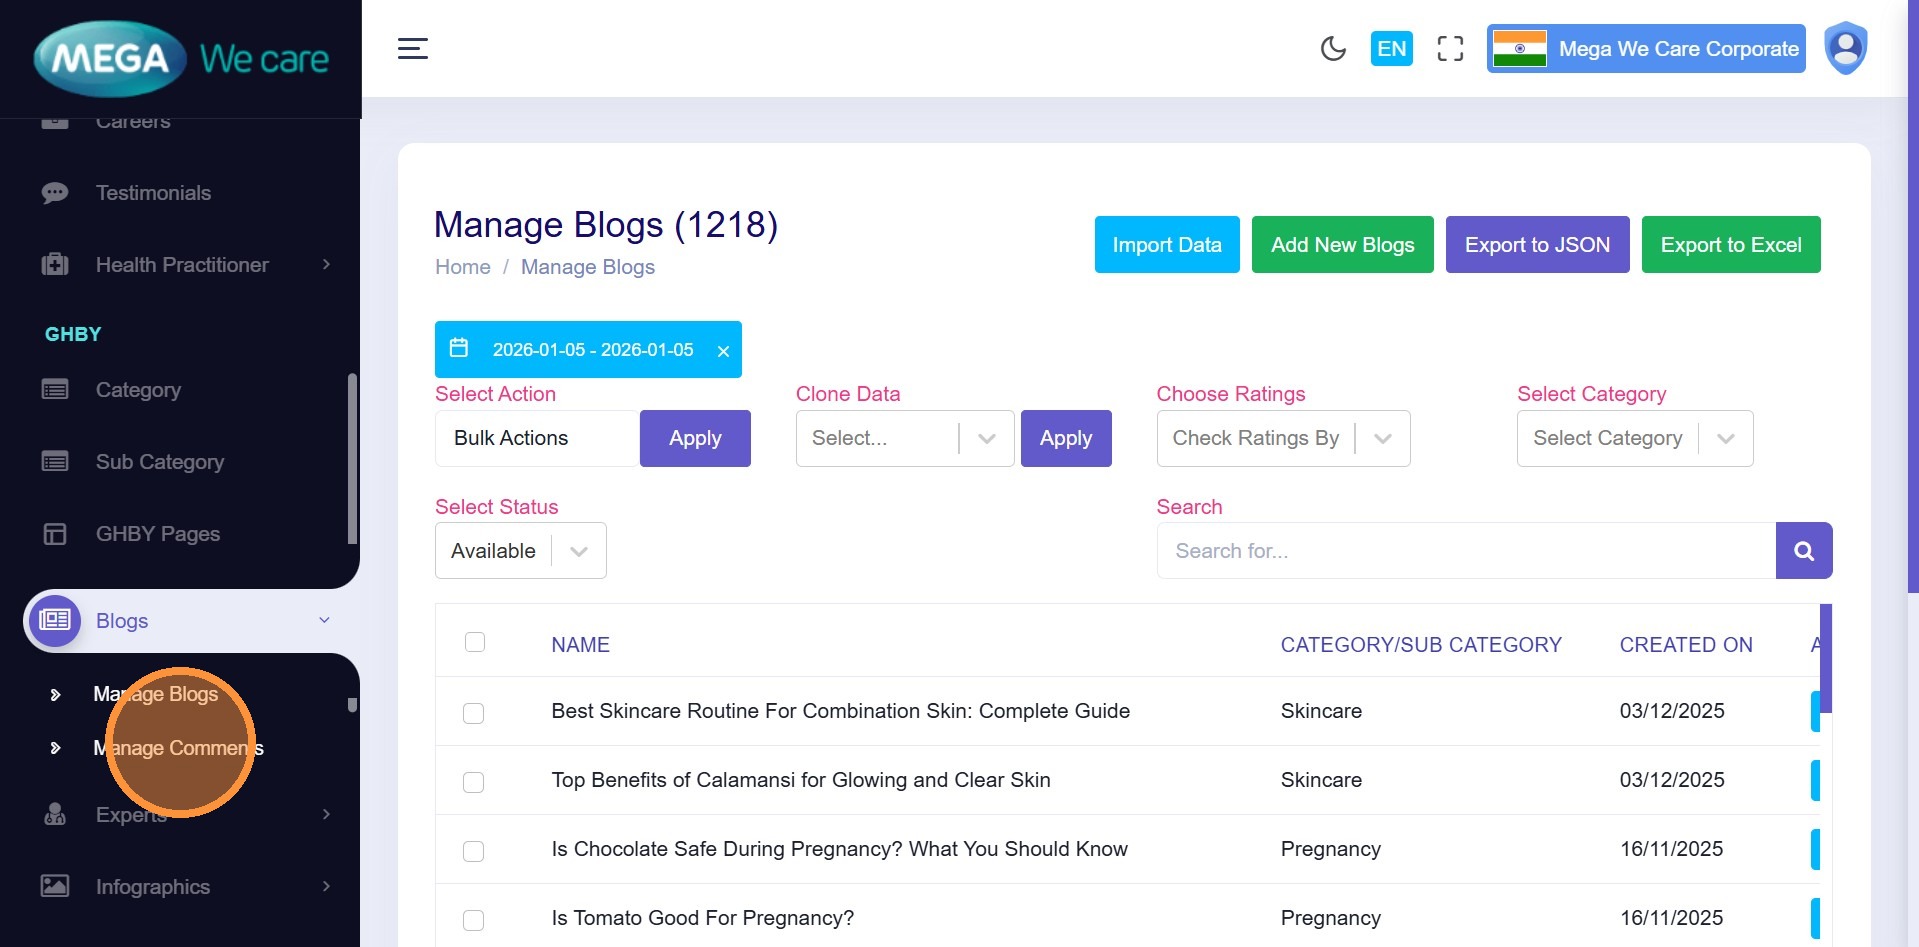
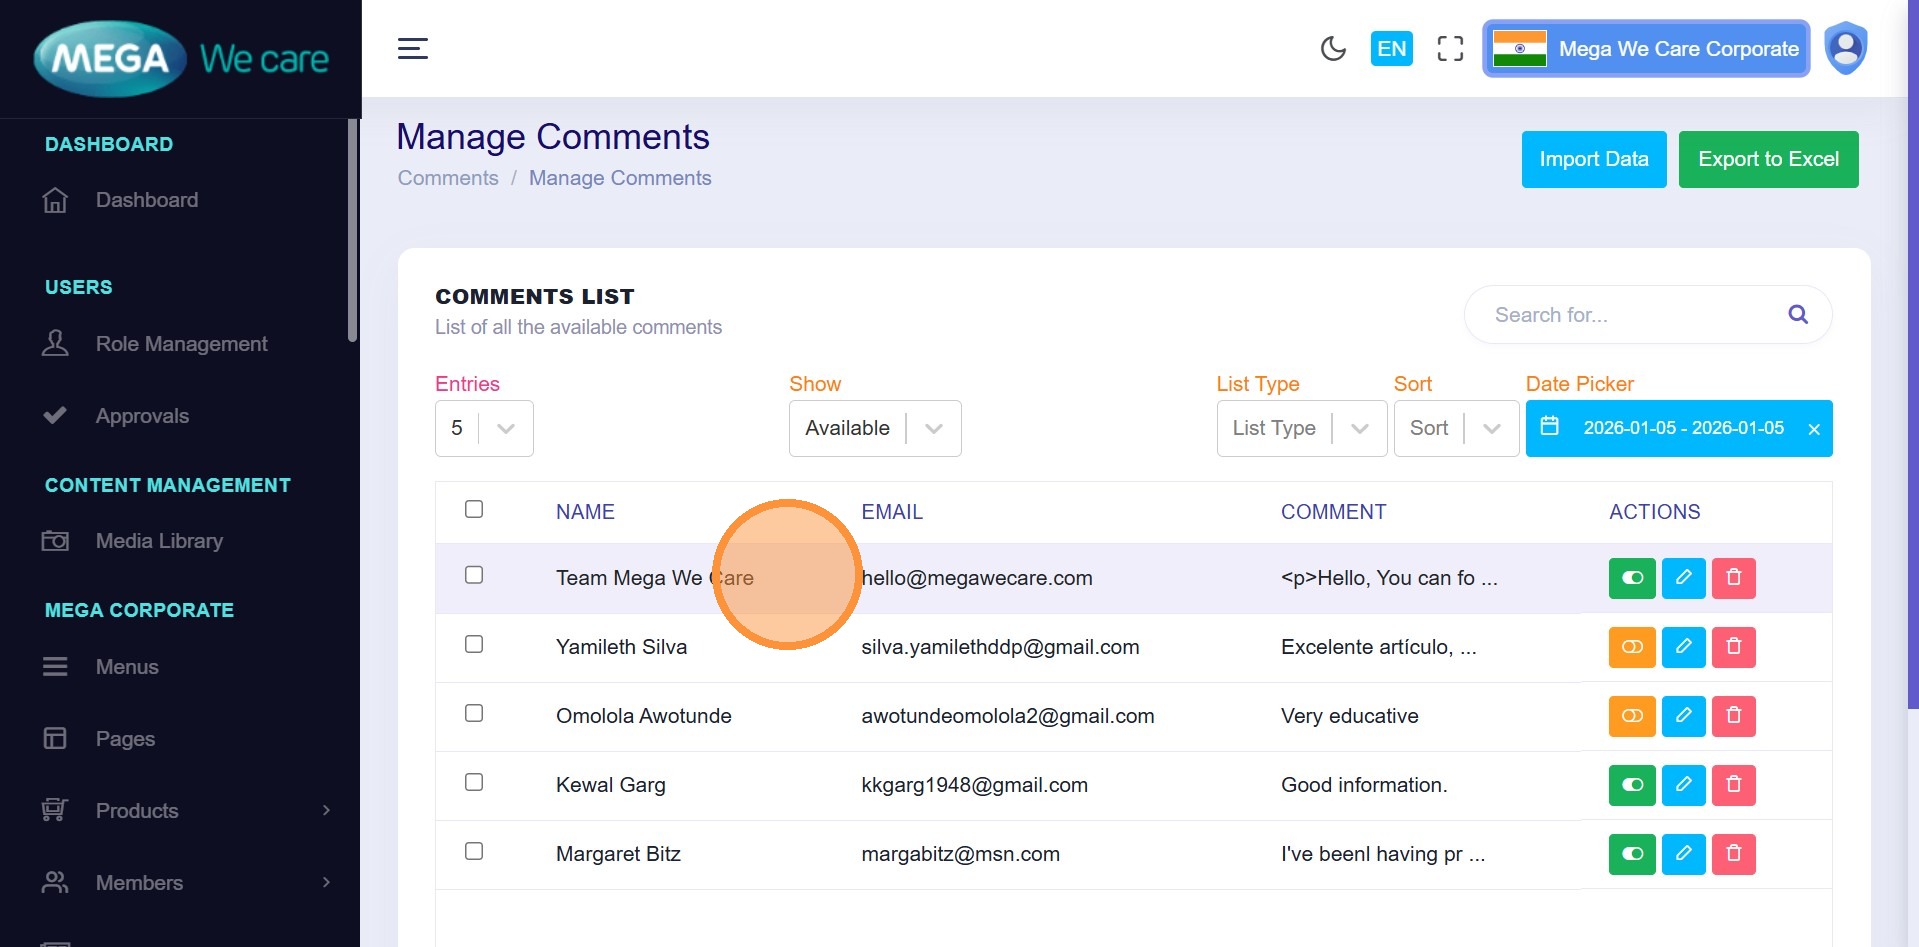
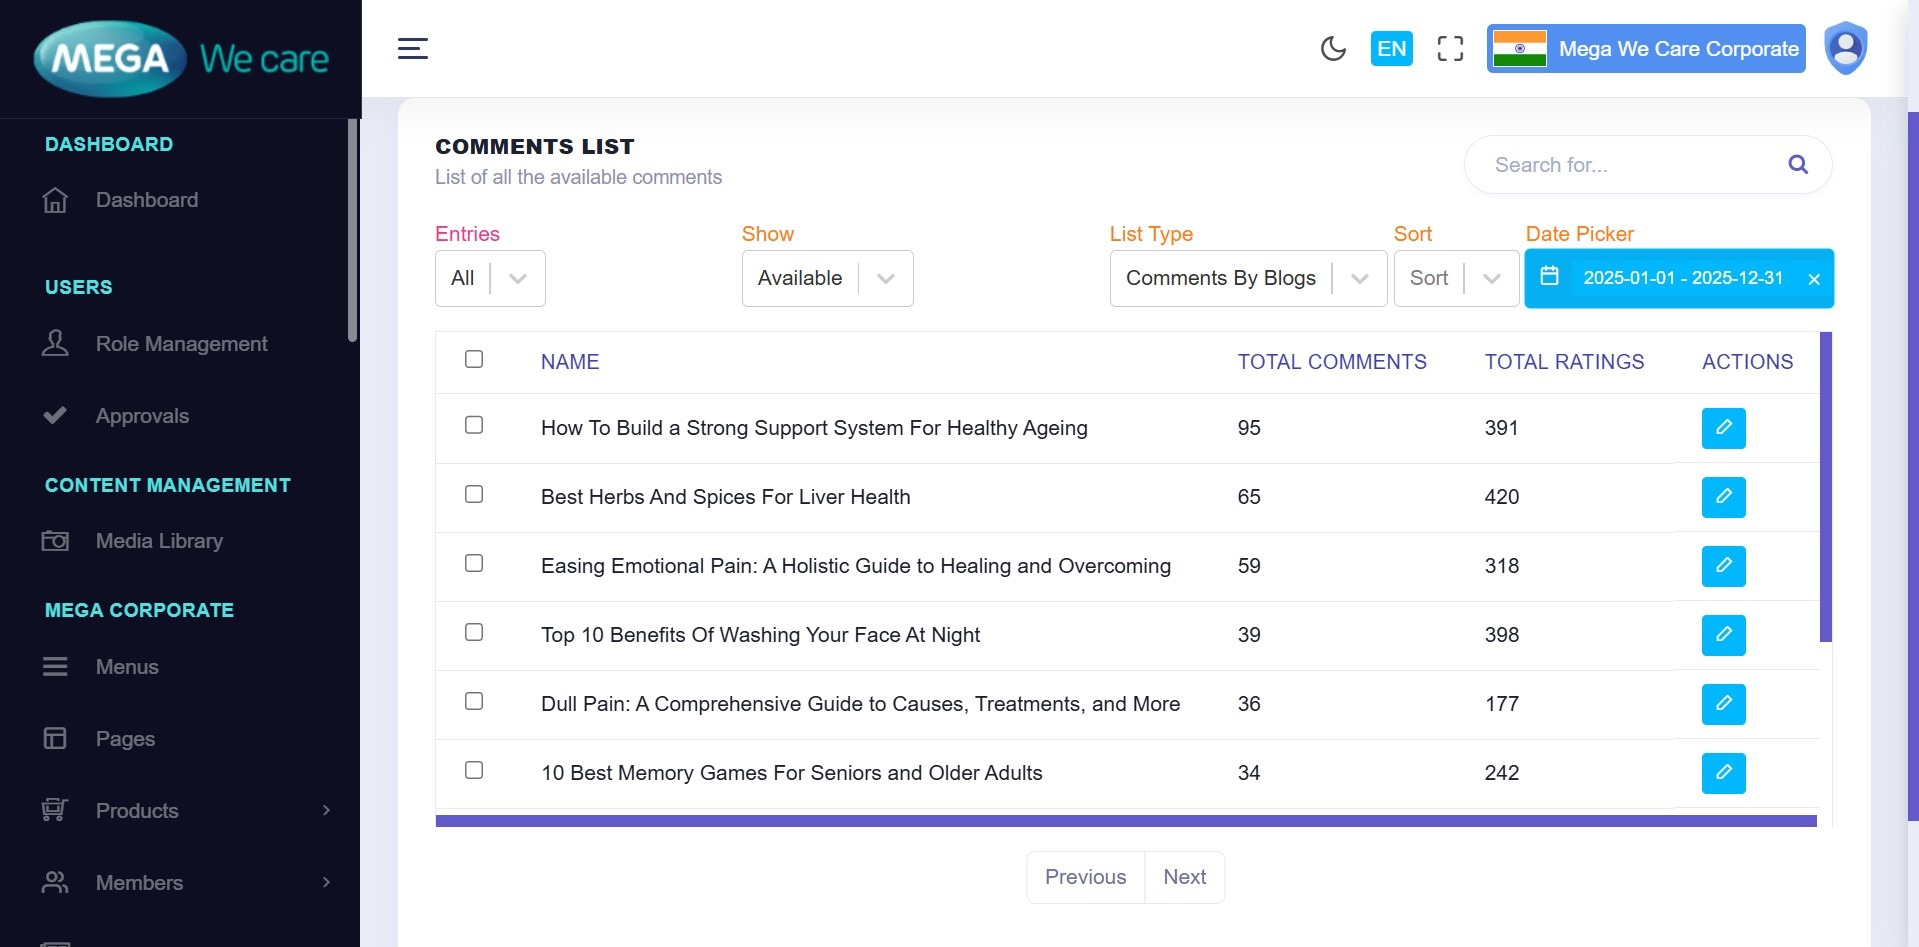
Step 2: Click “Manage Comments”
Open Manage Comments to view:
- User-submitted comments
- Blog-wise reactions
- Moderation actions
Publish & Reply to Comments
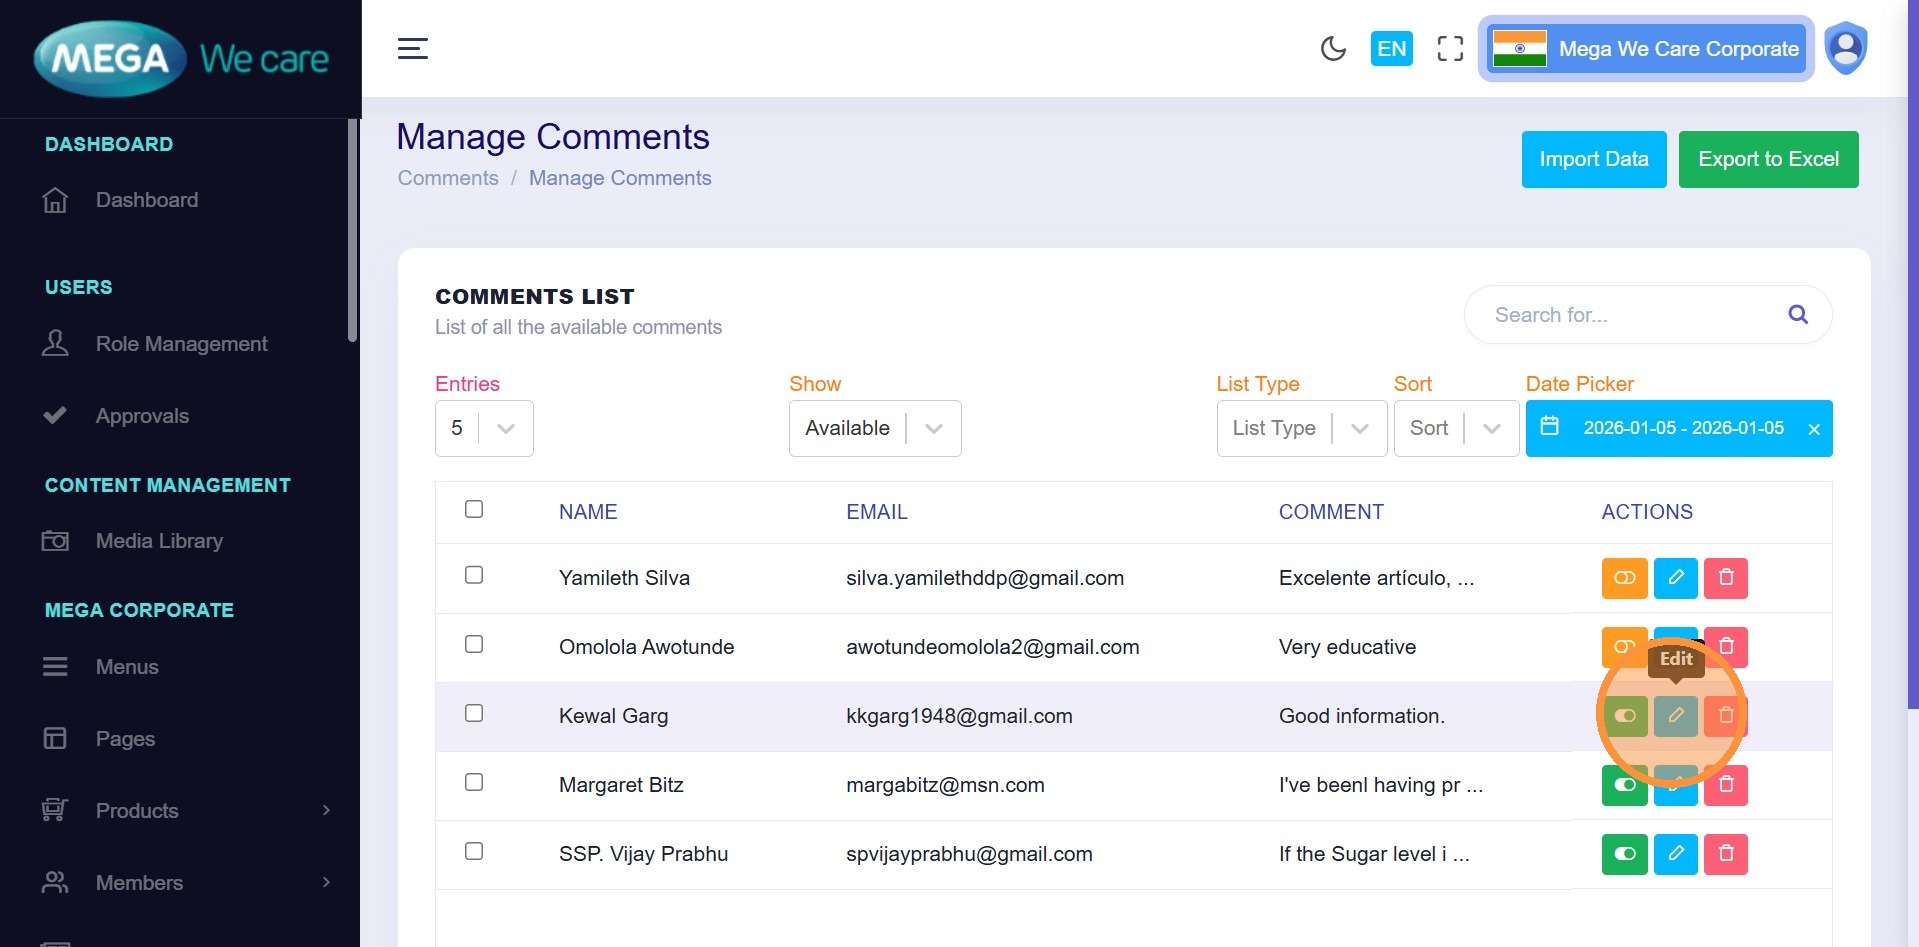
Step 3: Publish a Comment
Review the comment list:
- Click Publish to make a comment visible on the frontend
- Leave it unpublished if it is not relevant

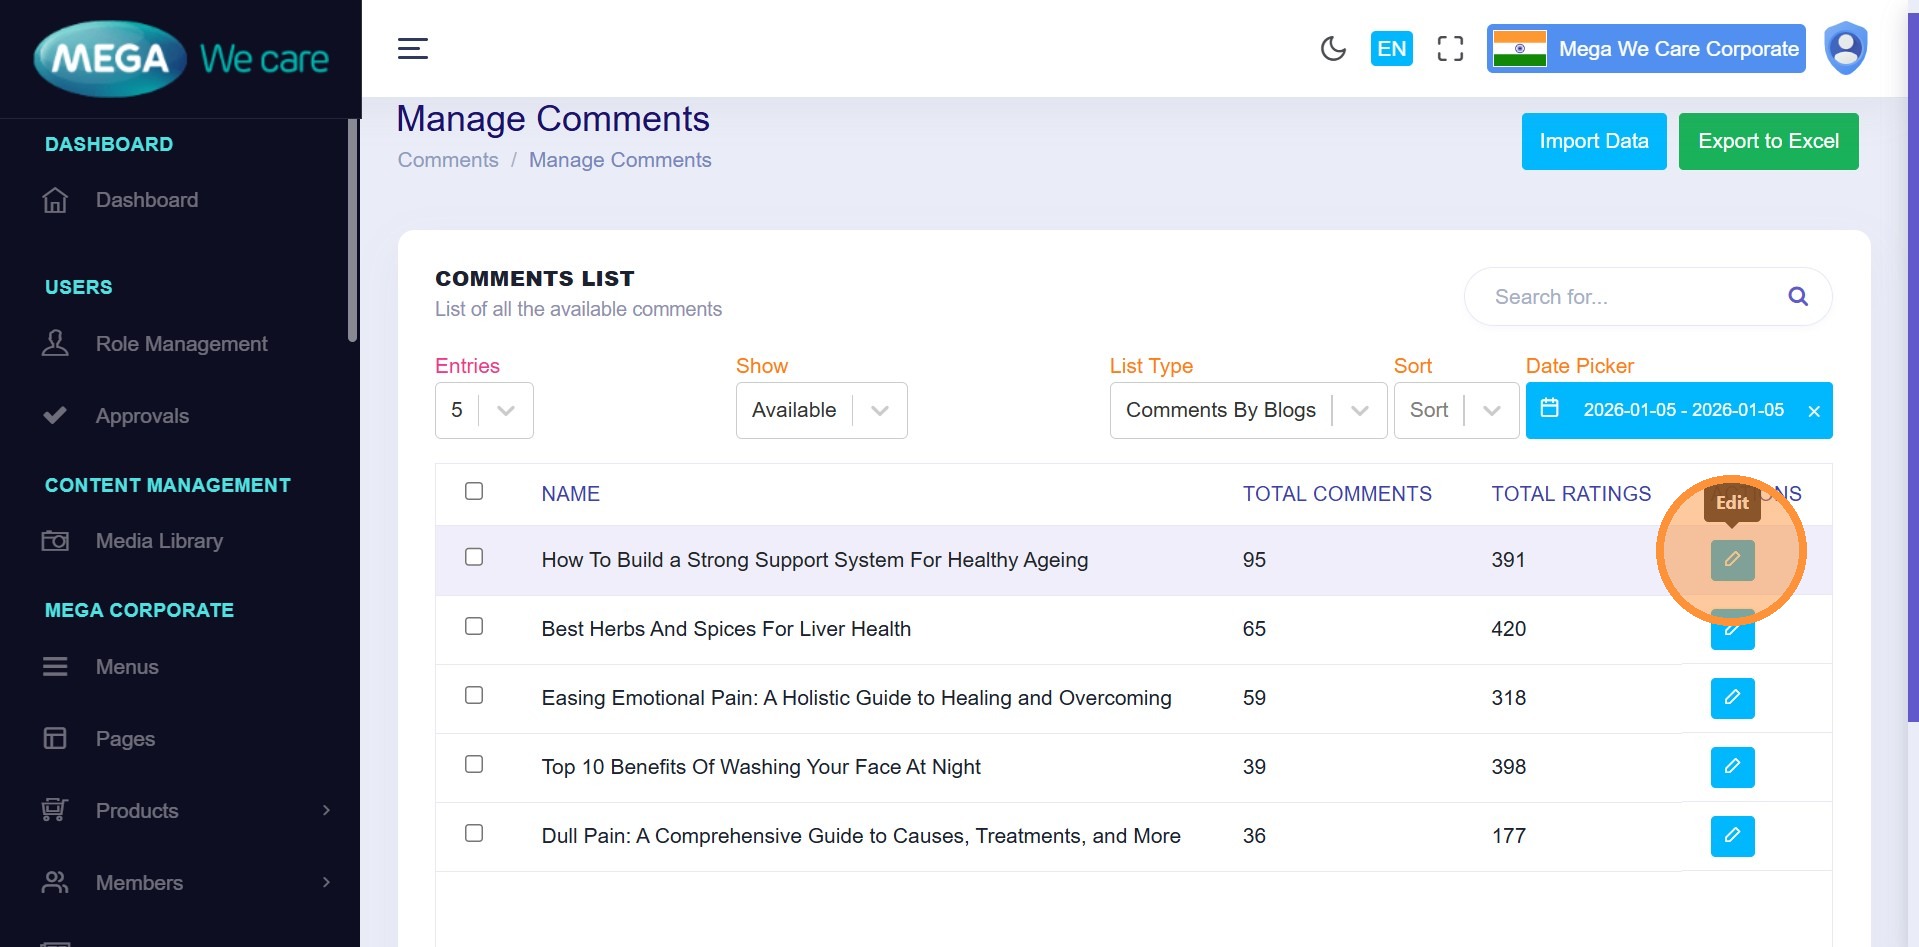
Step 4: Reply to a Comment
Click the Edit icon to reply to a user comment.
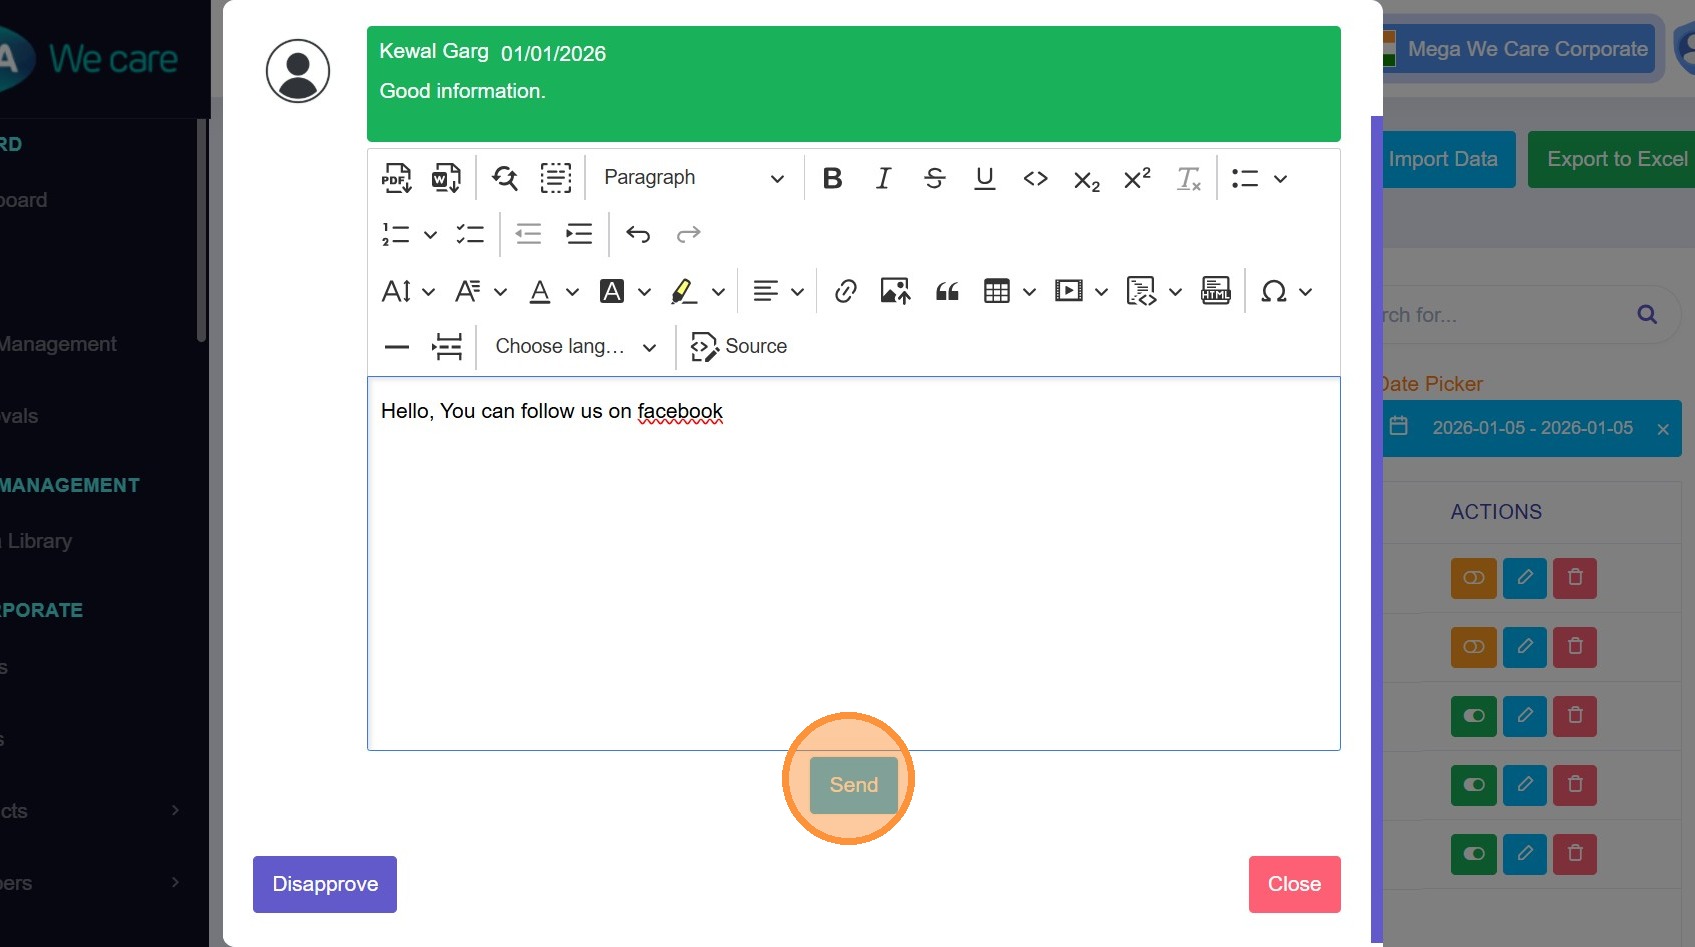
Step 5: Write the Reply
Use the editor to write your response.
You can apply
formatting such as:
- Headings (H1, H2)
- Bold or italic text
- Links
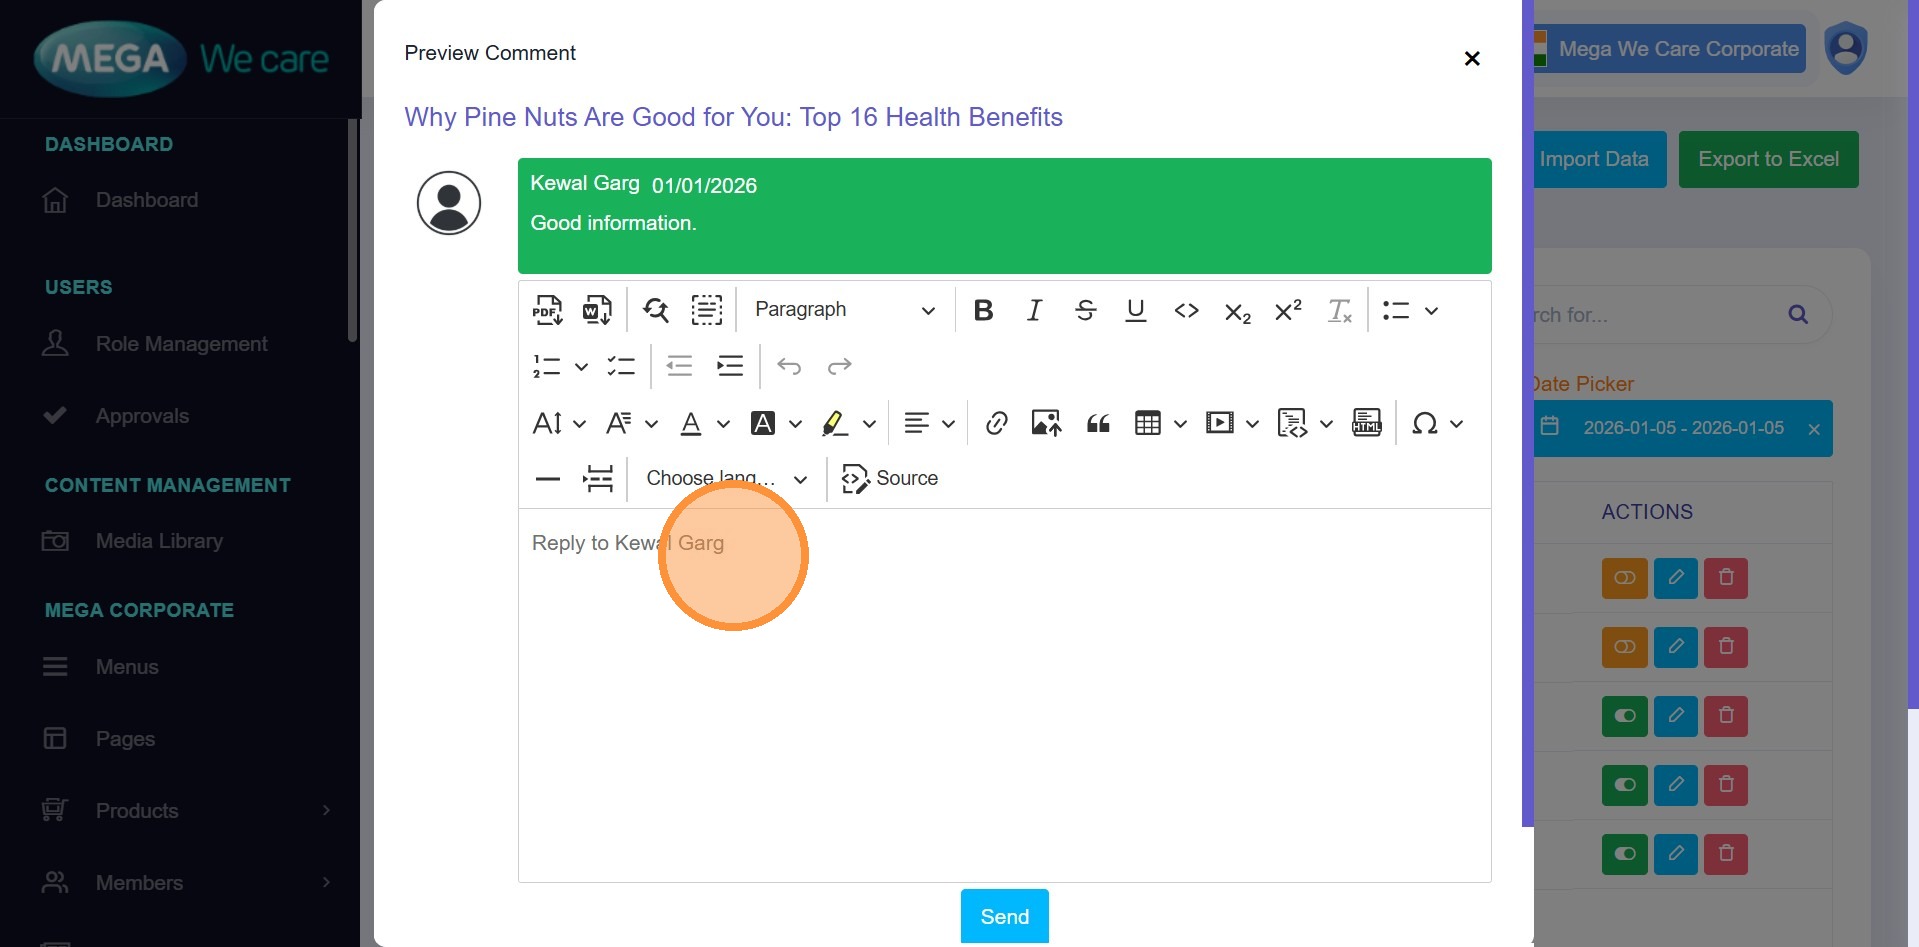
Step 6: Send the Reply
Click Send to publish the reply.
- The reply appears under the original comment
- Users can also reply from the frontend comment form
Step 7: Unpublish a Reply (If Needed)
To hide a reply, click the Unpublish icon.
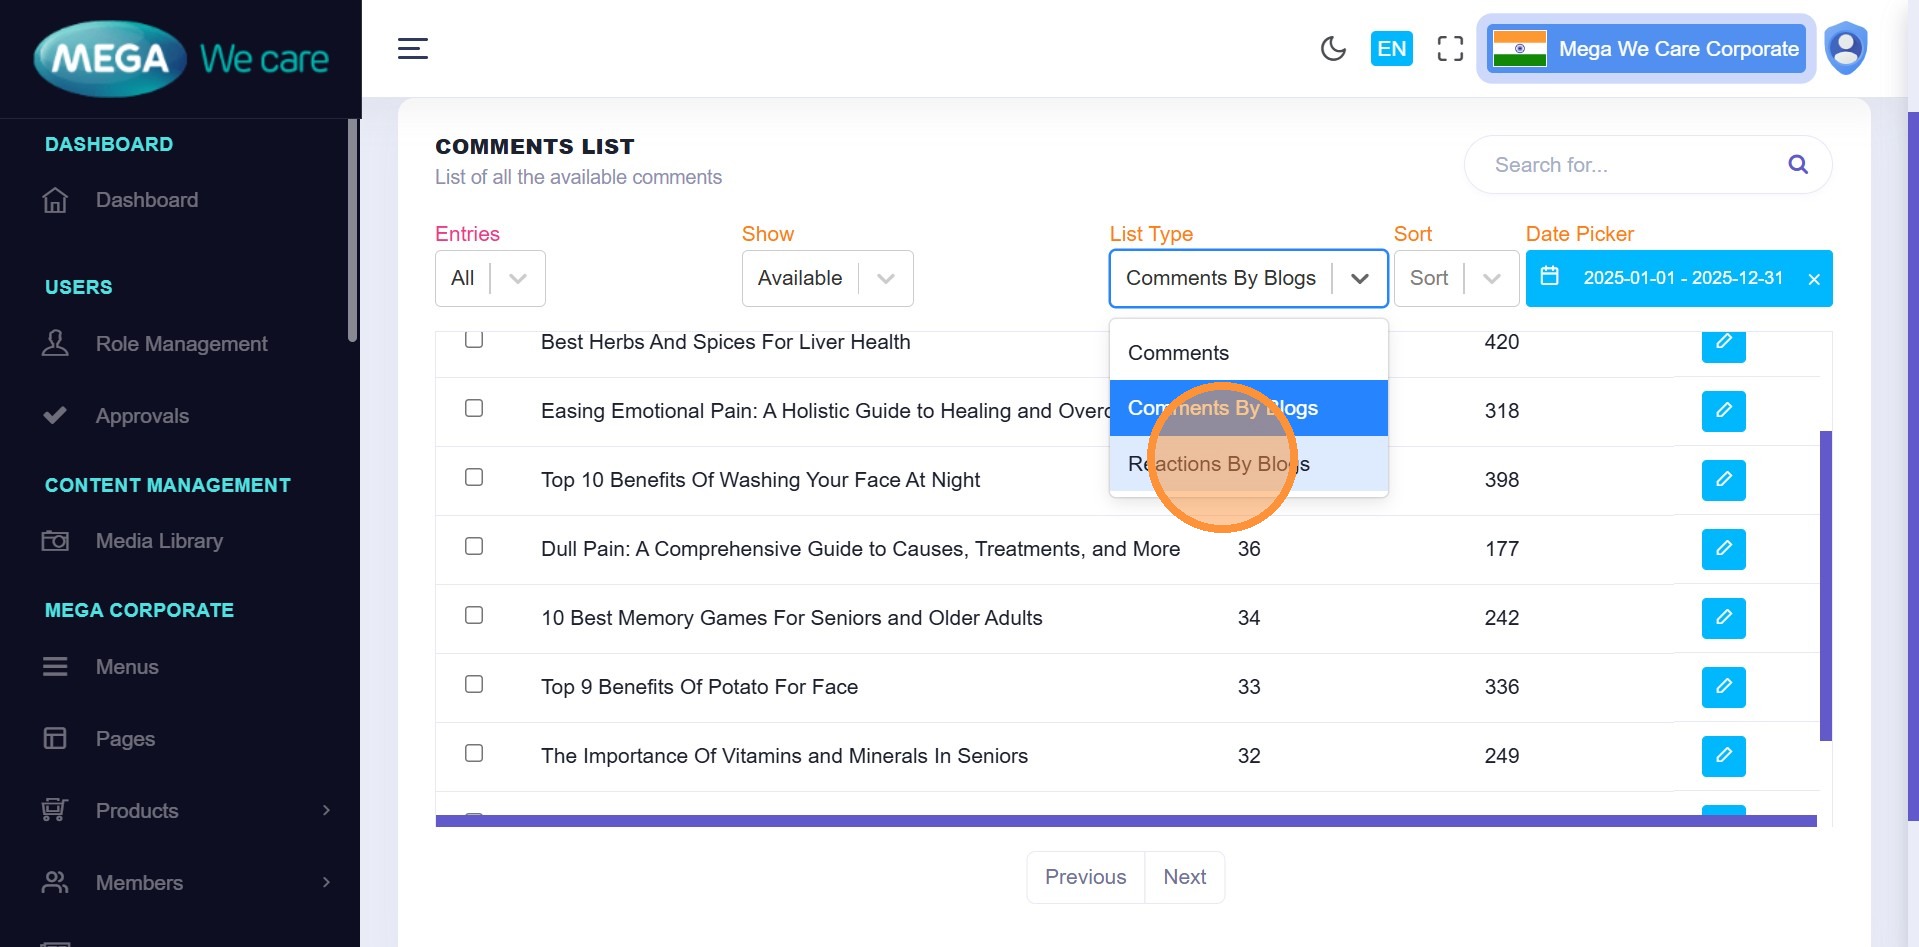
View Comments by Blogs
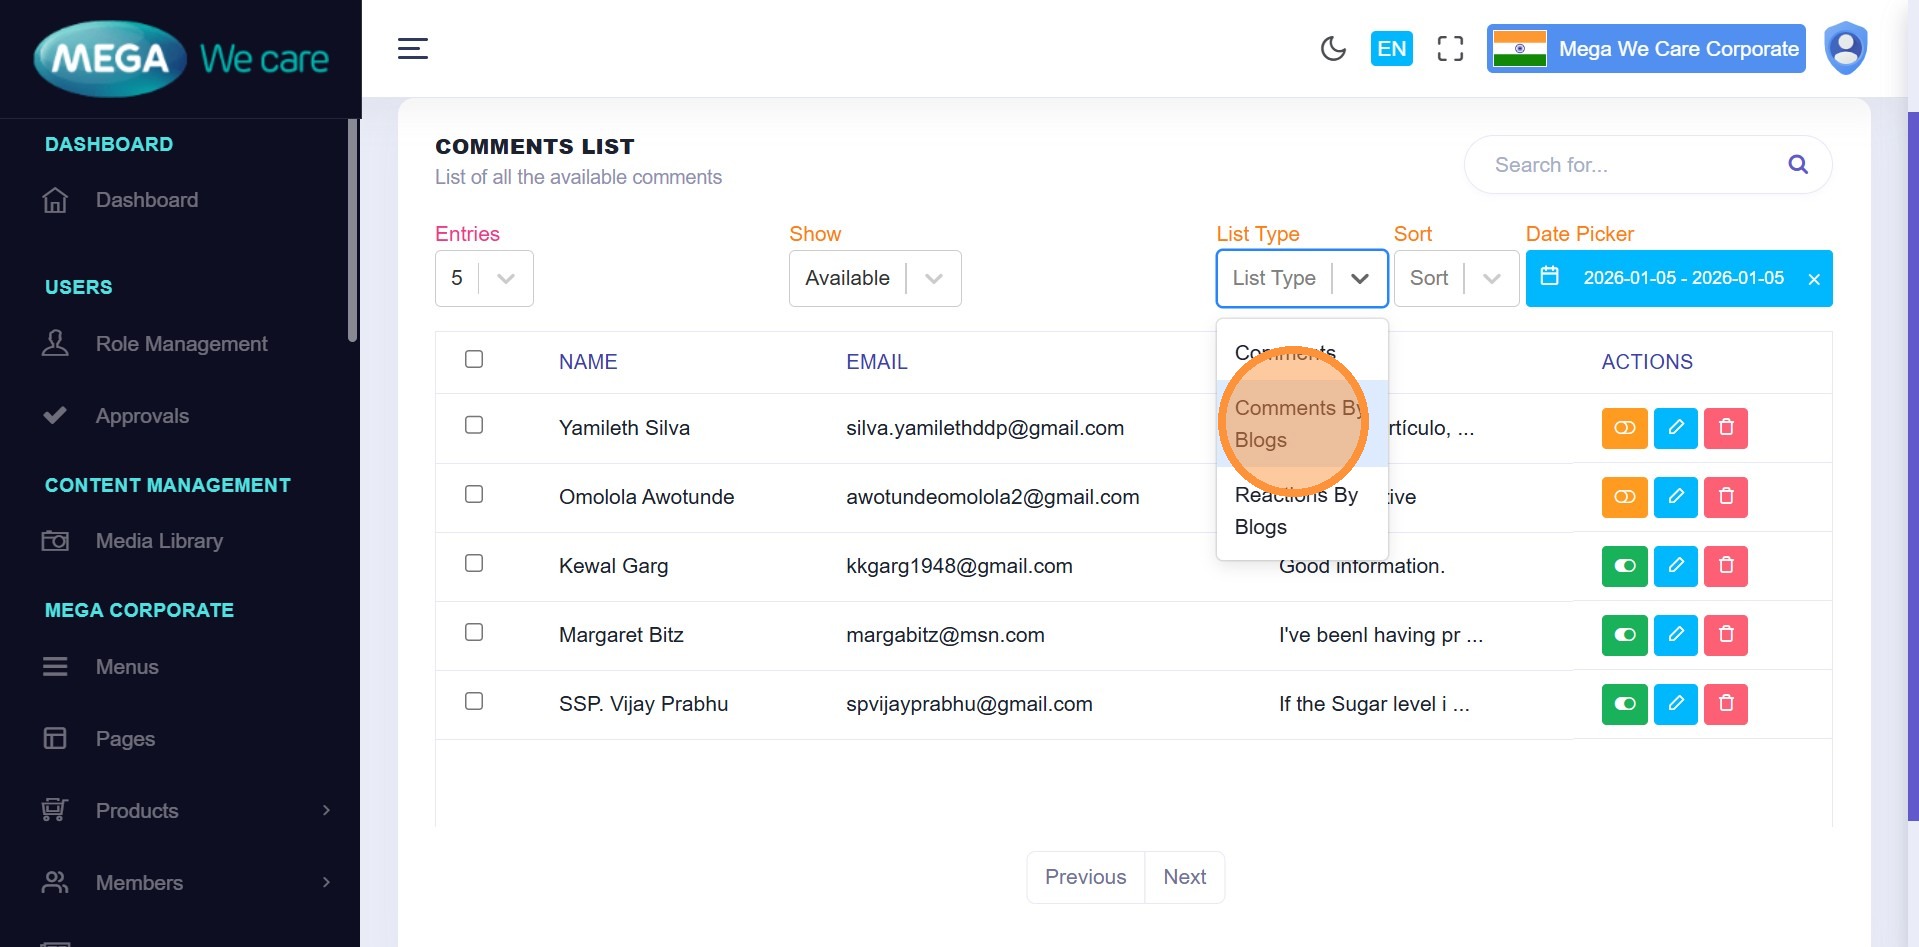
Step 8: Switch List Type
From List Type, select Comments by Blogs to group comments blog-wise.
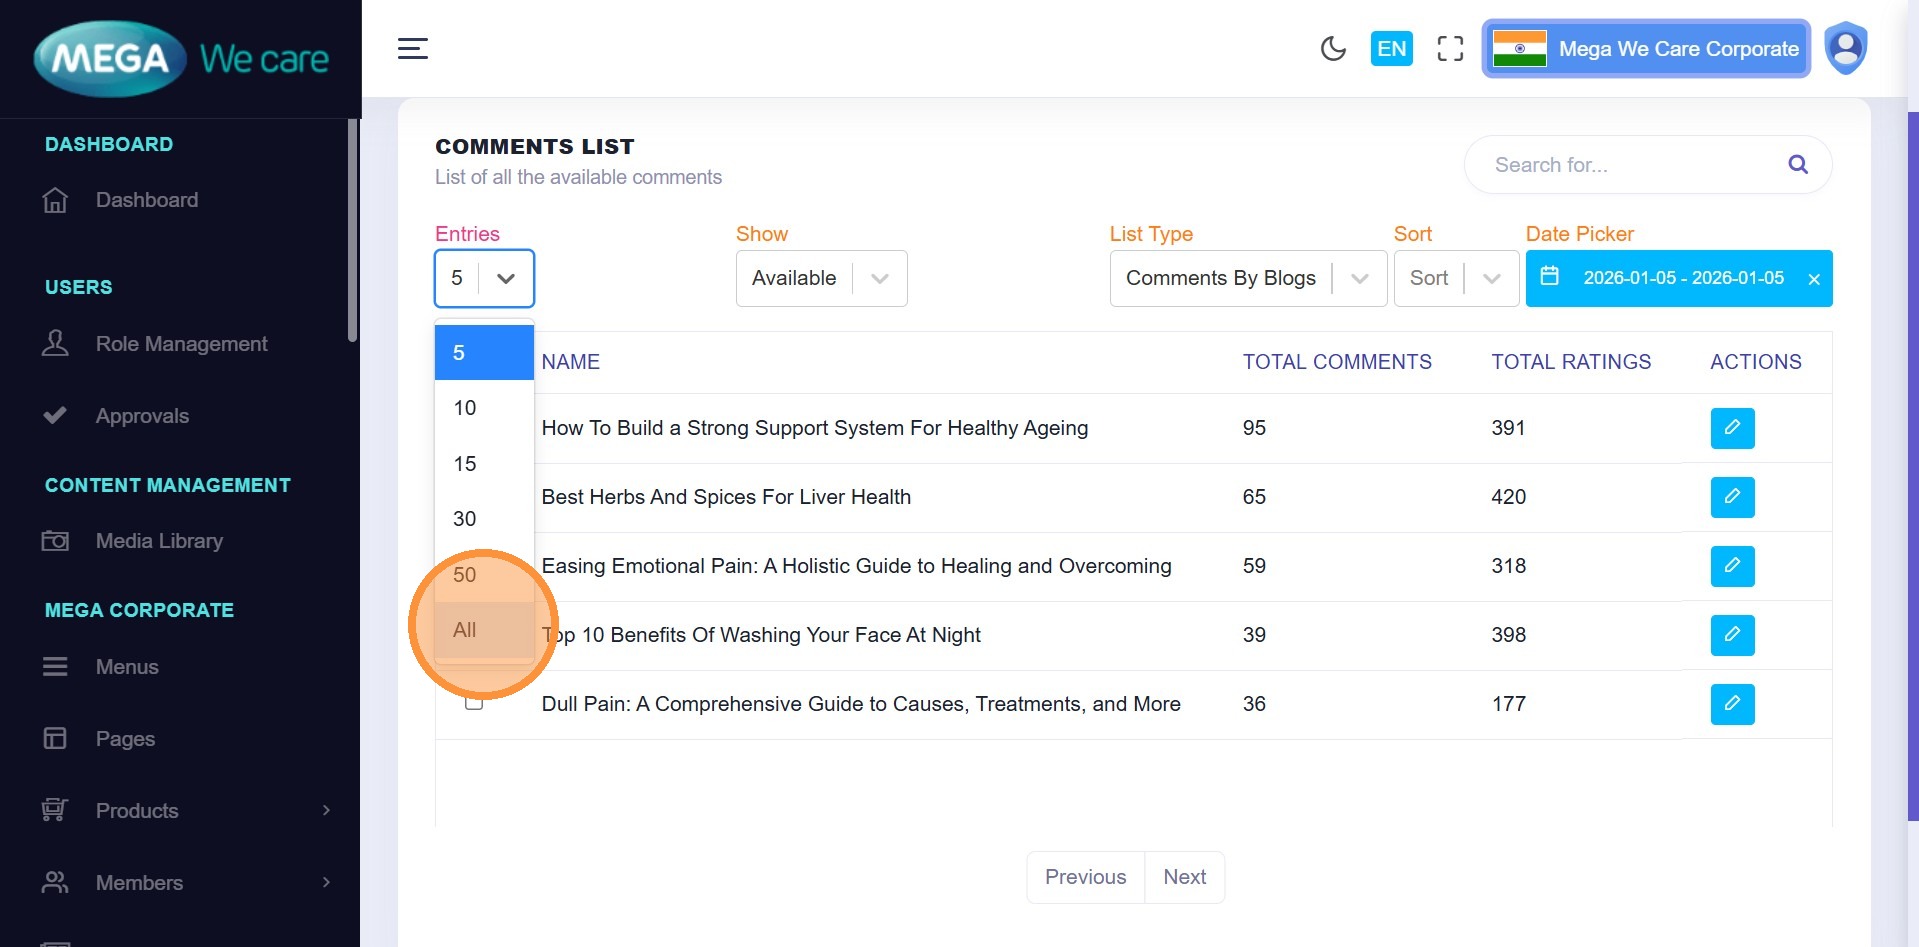
Step 9: Set Pagination to All
Change pagination to All so filters apply across all blogs.
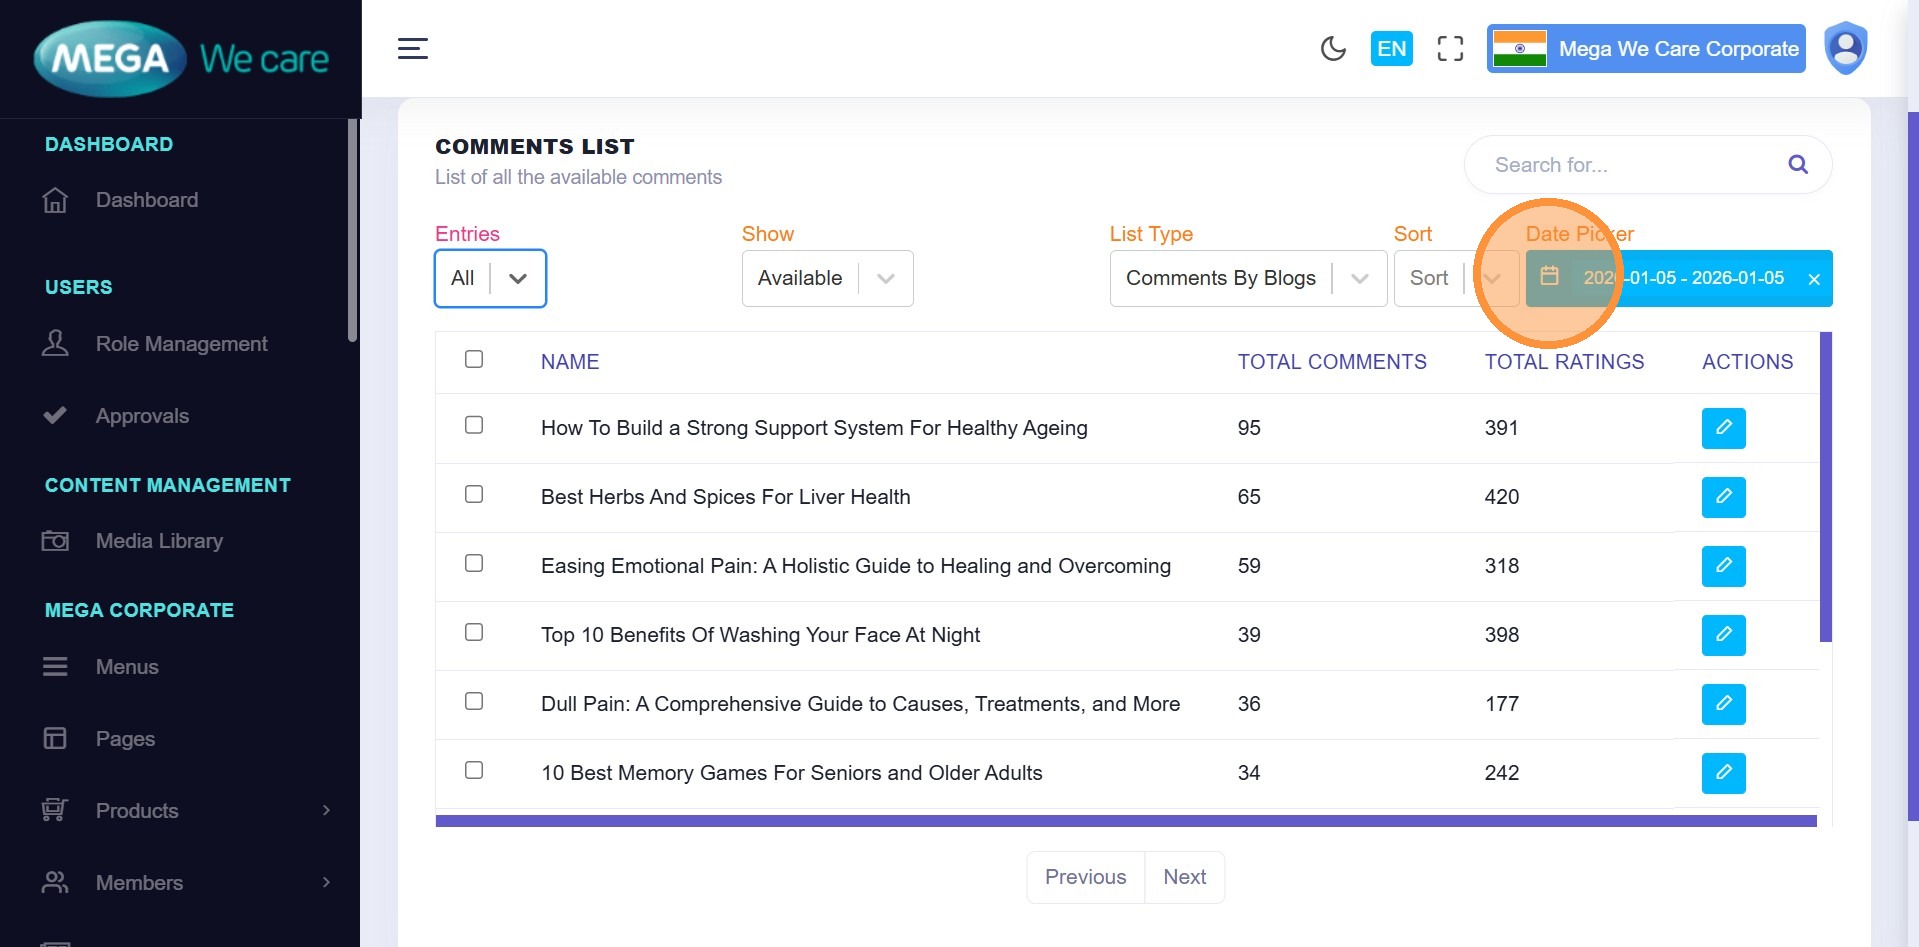
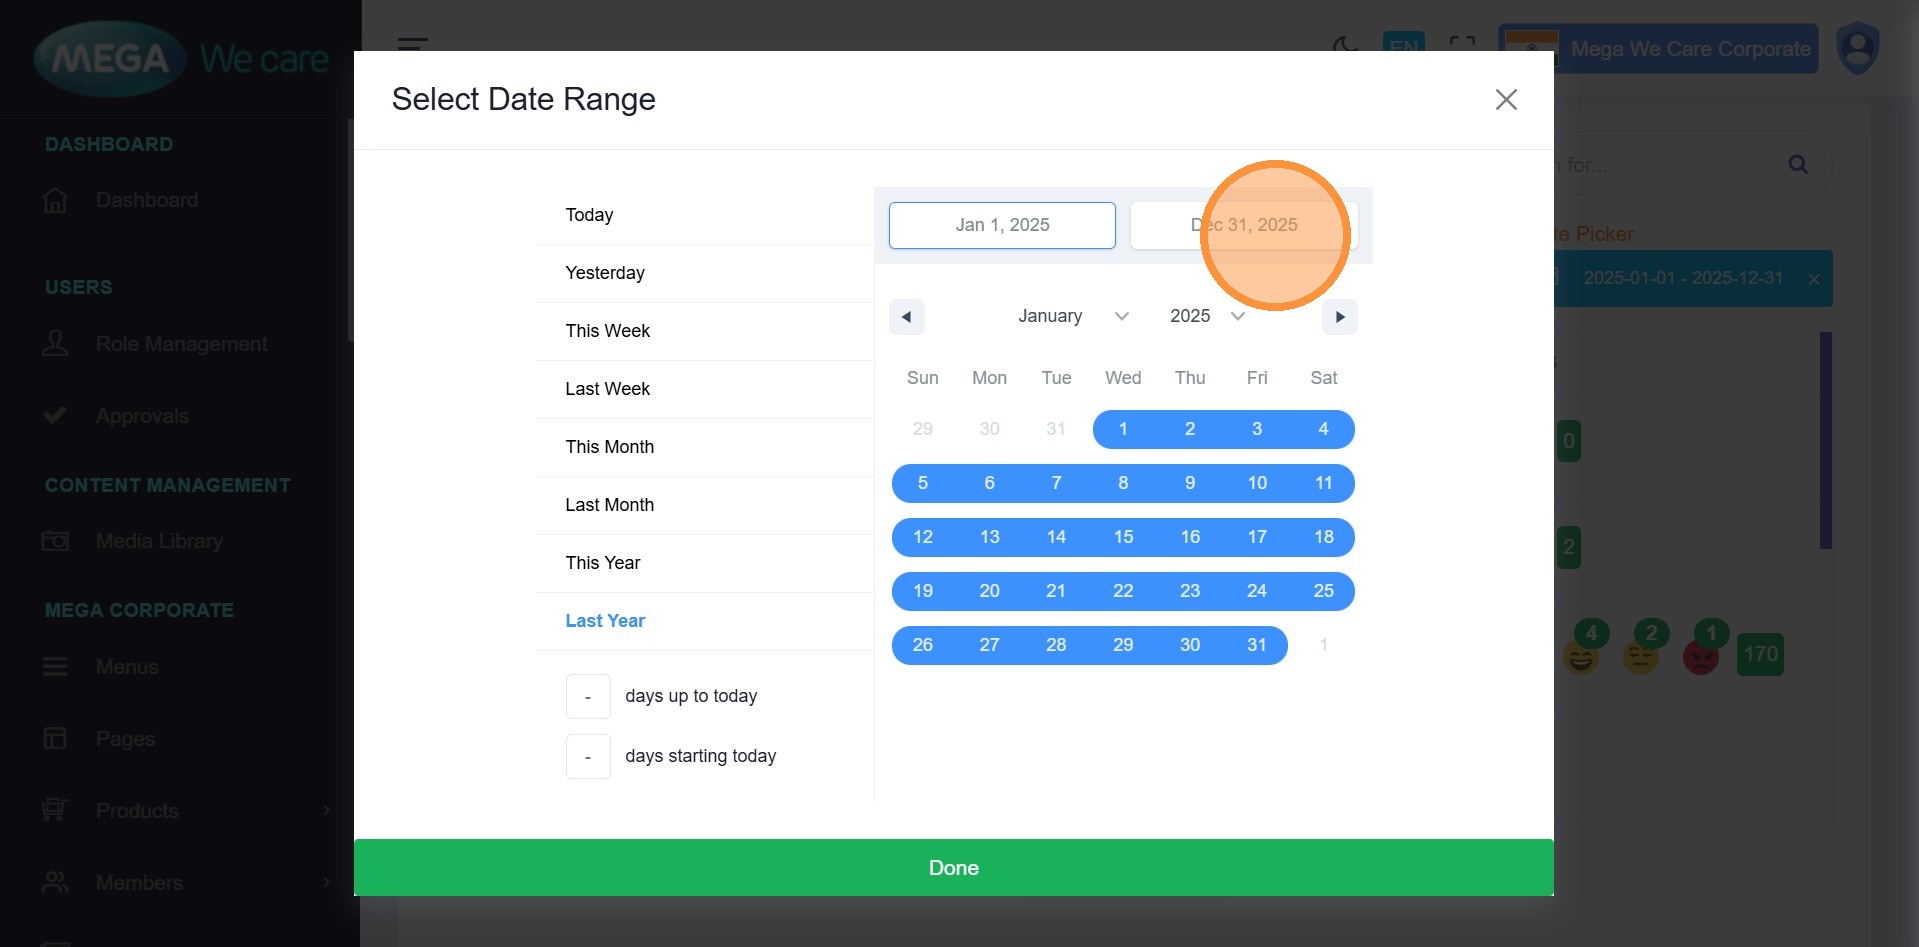
Filter Comments by Date
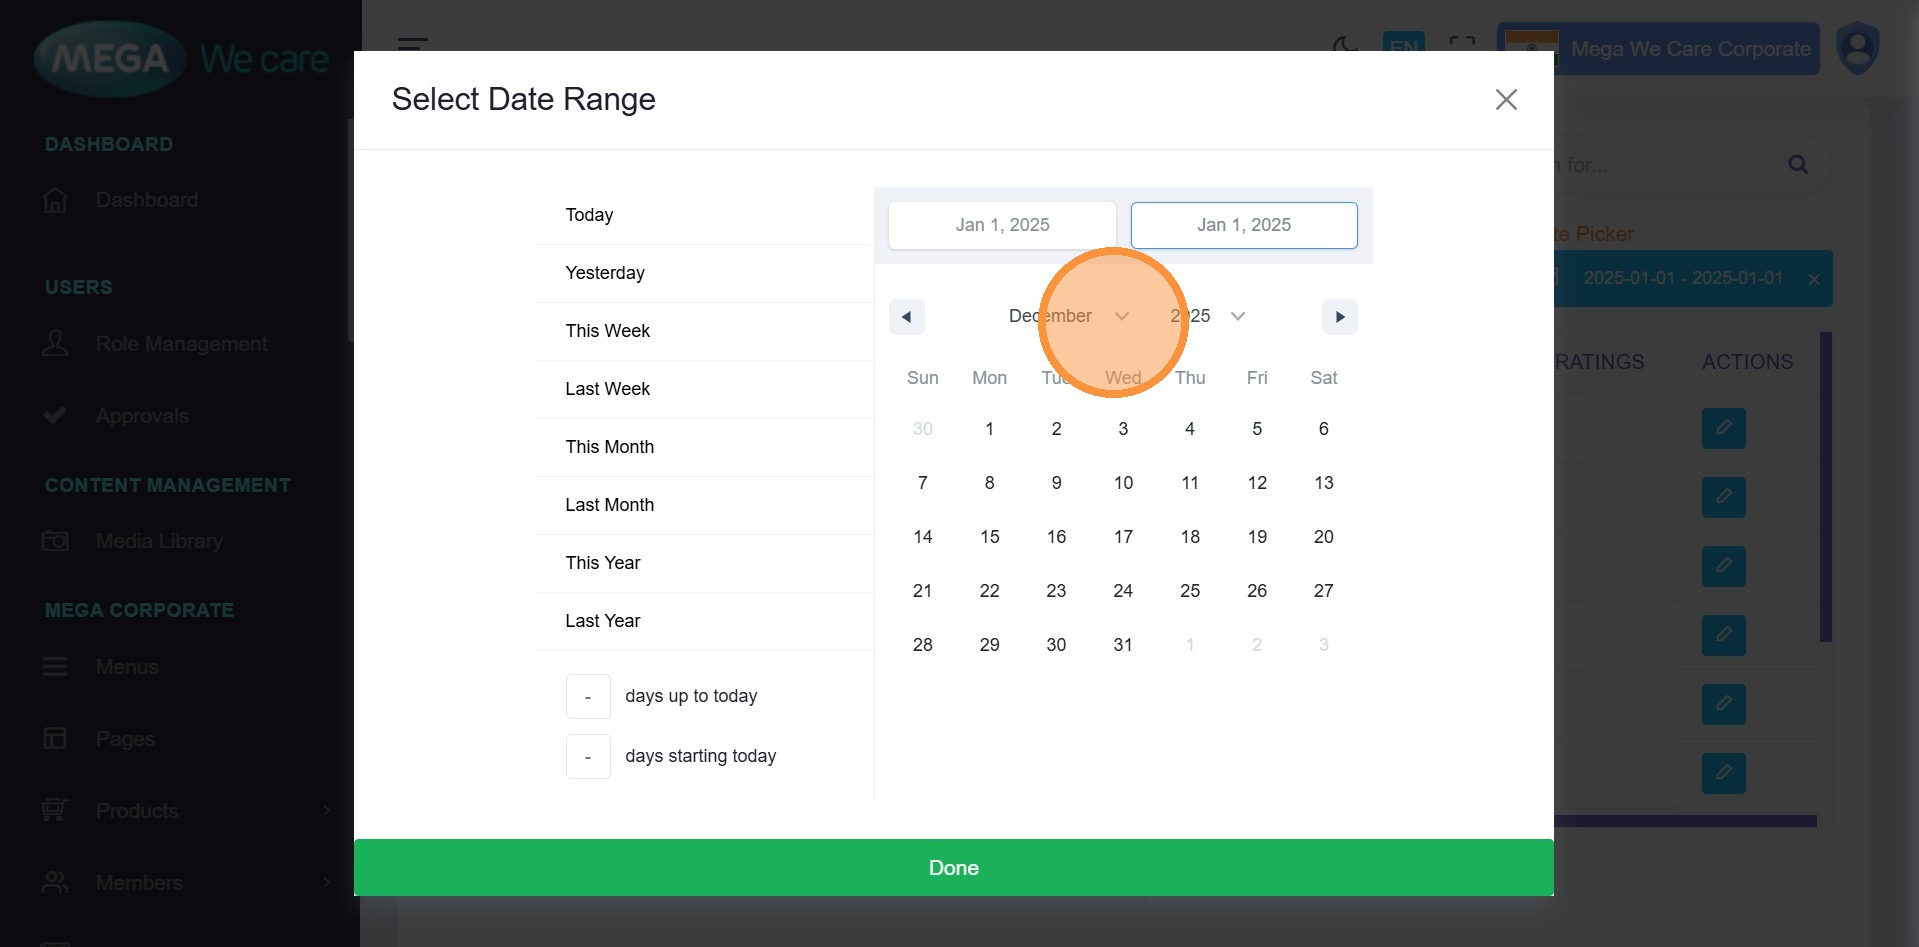
Step 10: Open Date Selector
Click the Custom Date Selector.
Step 11: Choose Date Range
You can select:
- Yesterday
- This Week
- This Month
- This Year
-
Last Year
Or define a custom range.
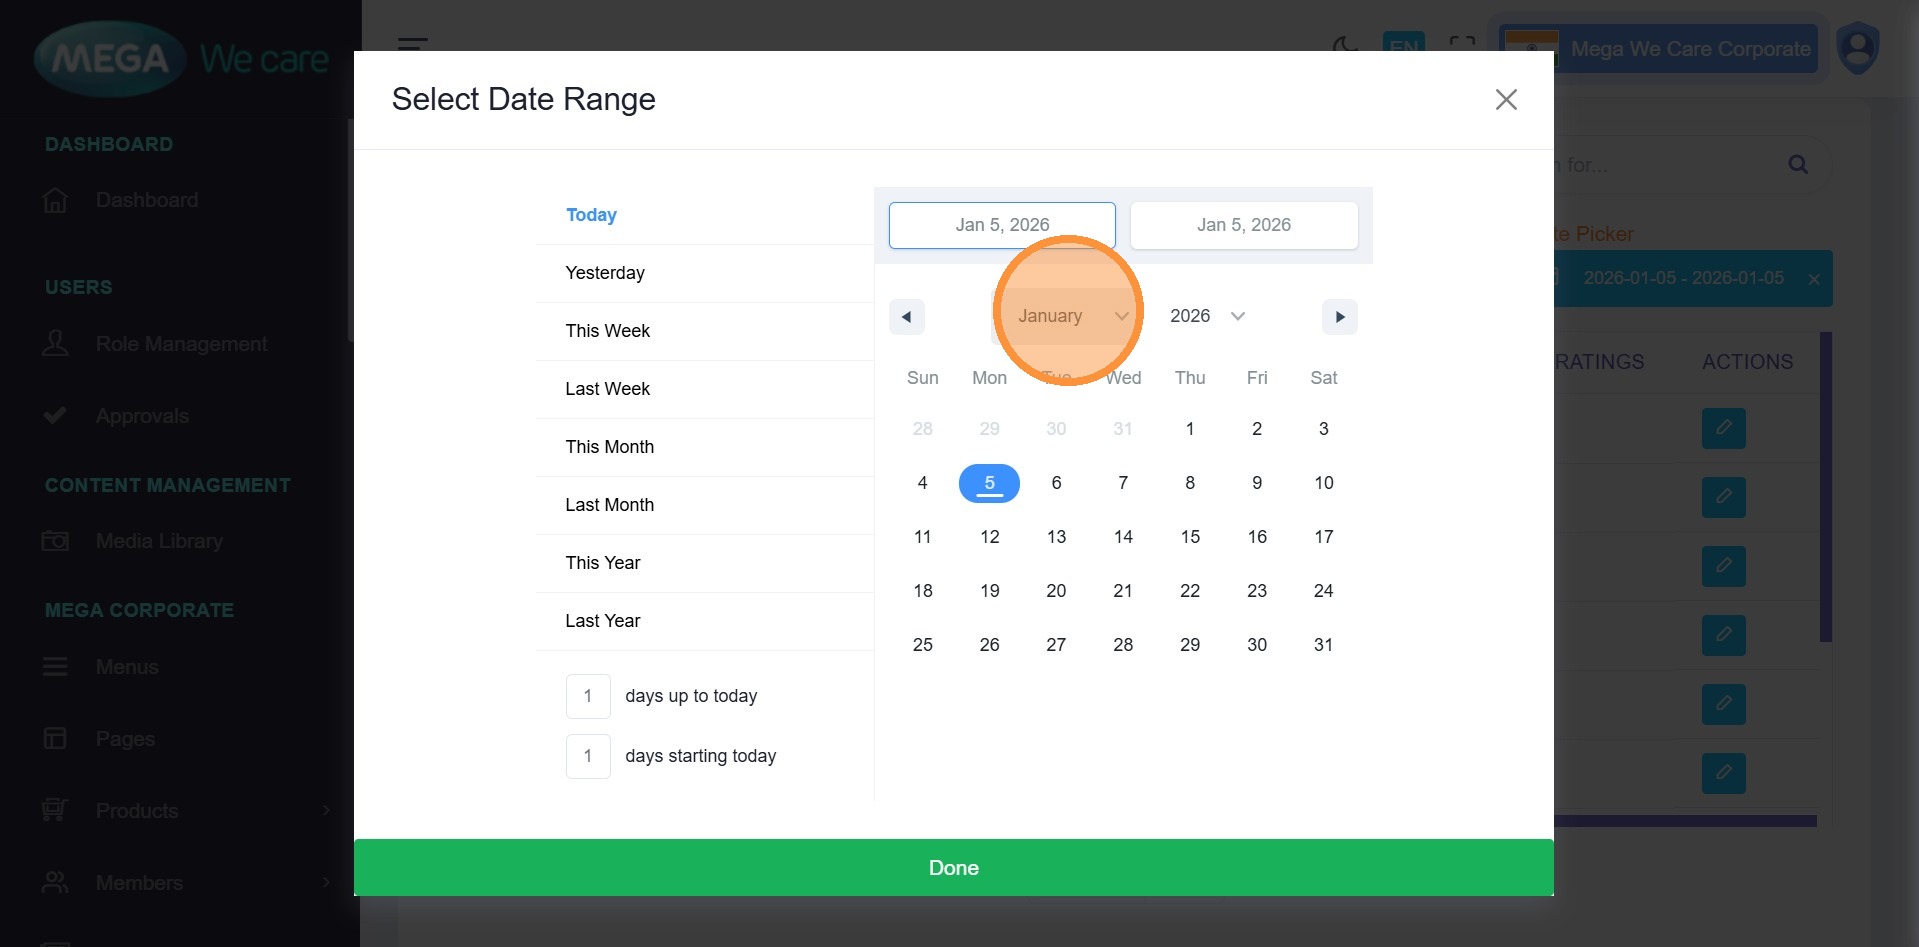
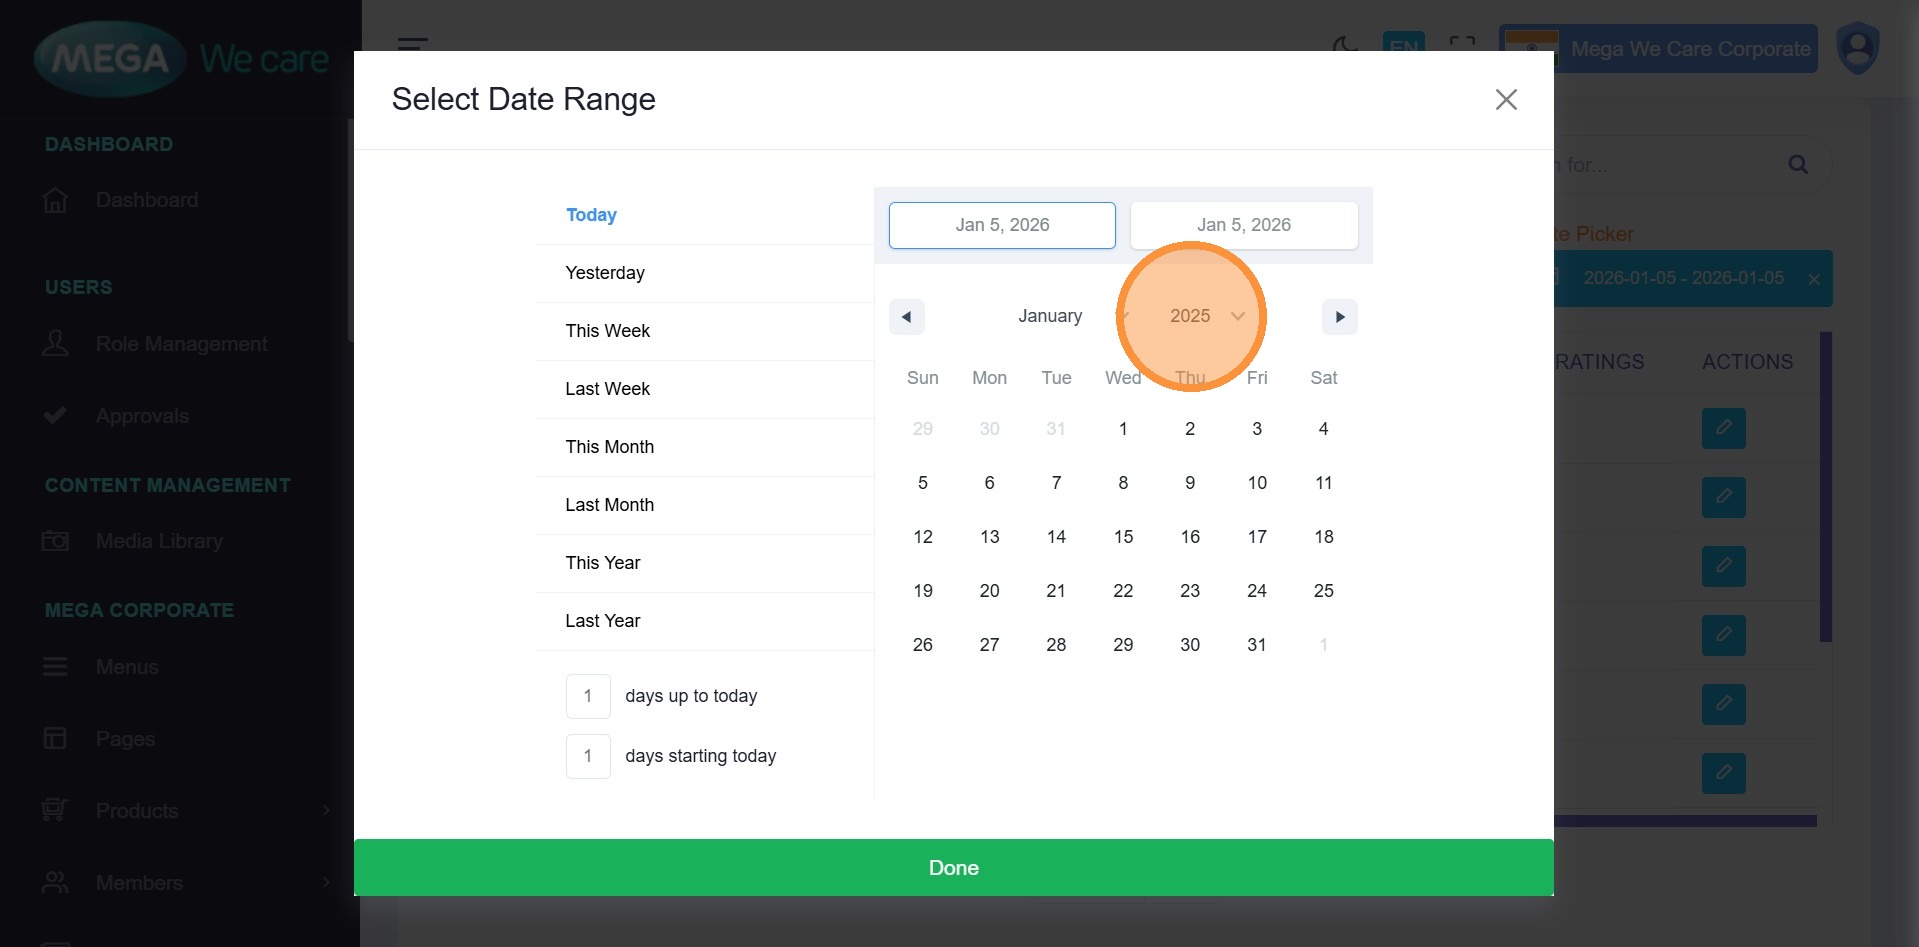
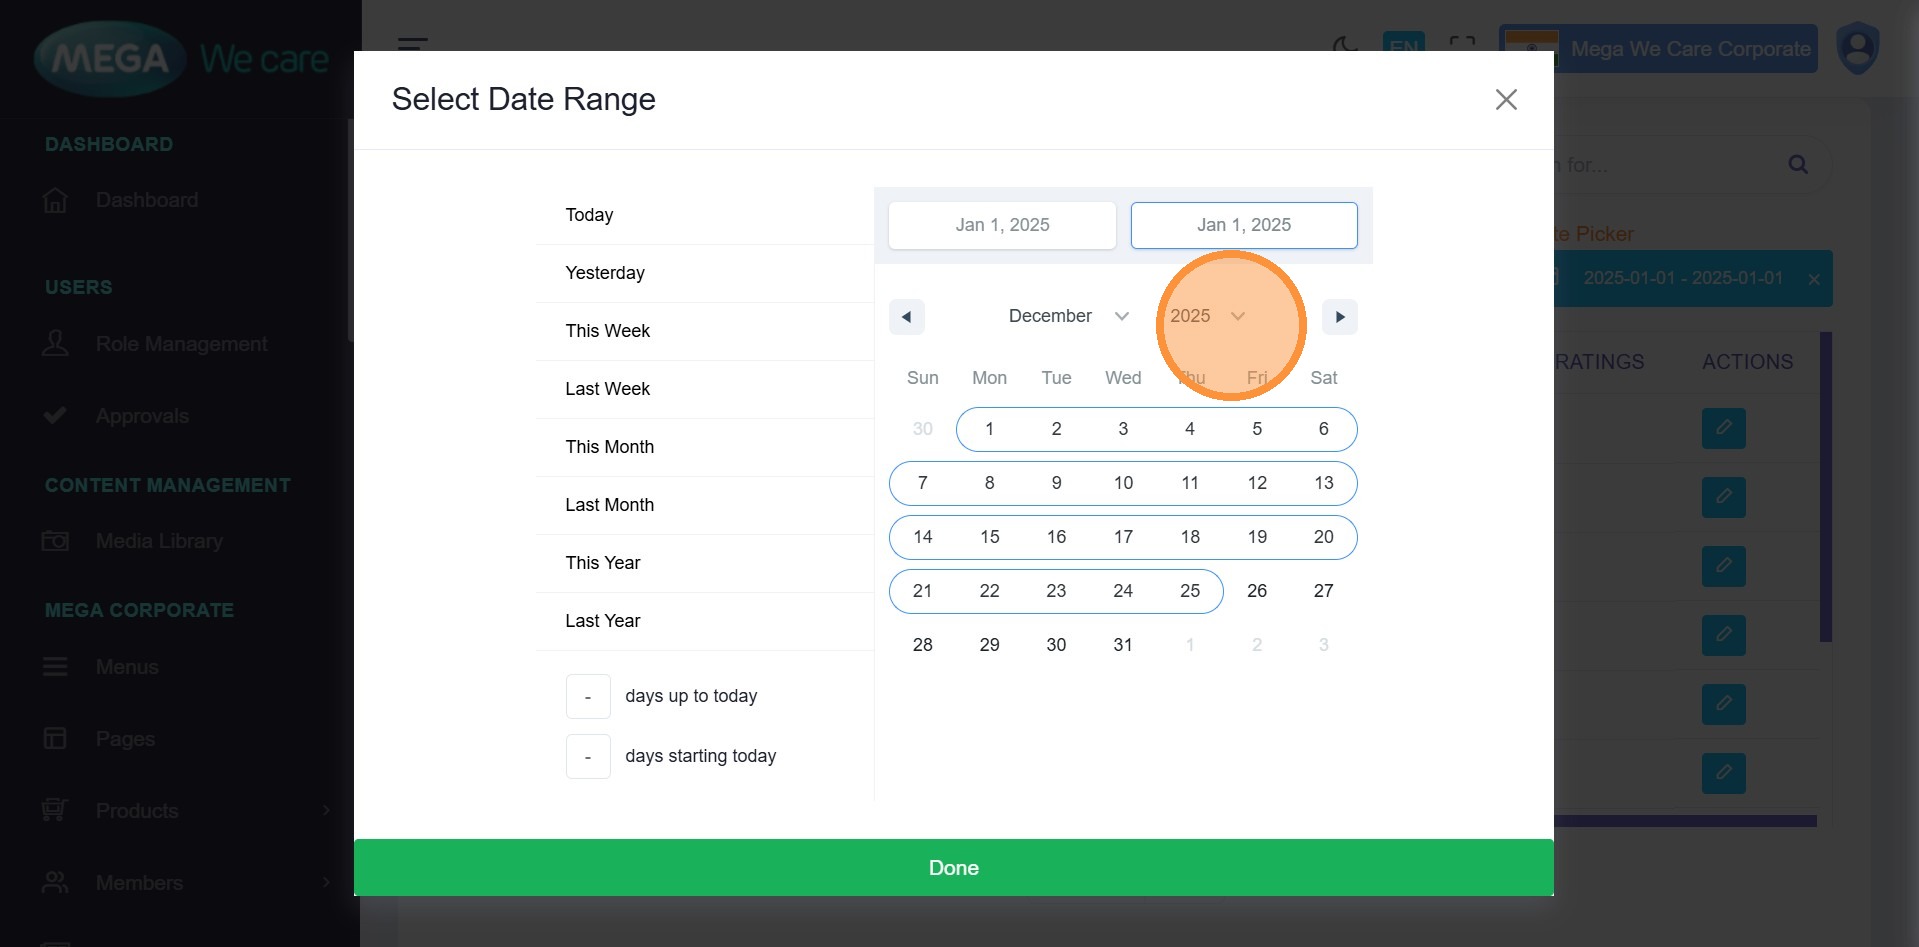
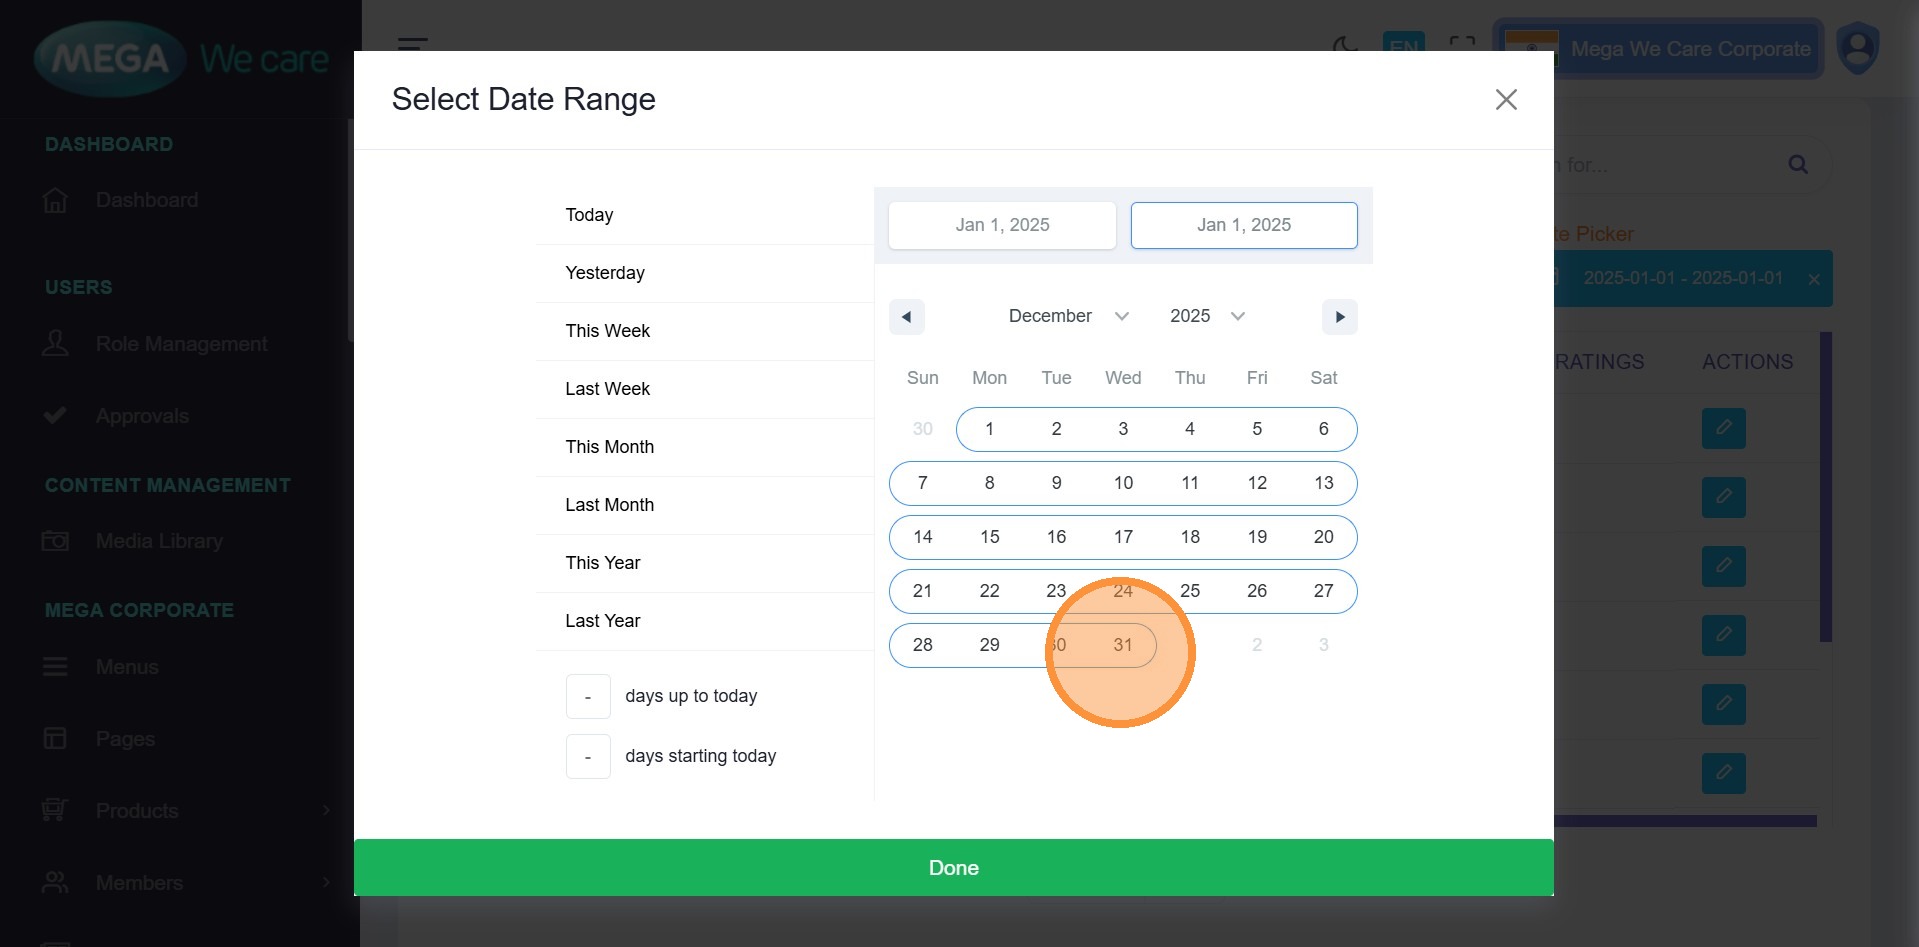
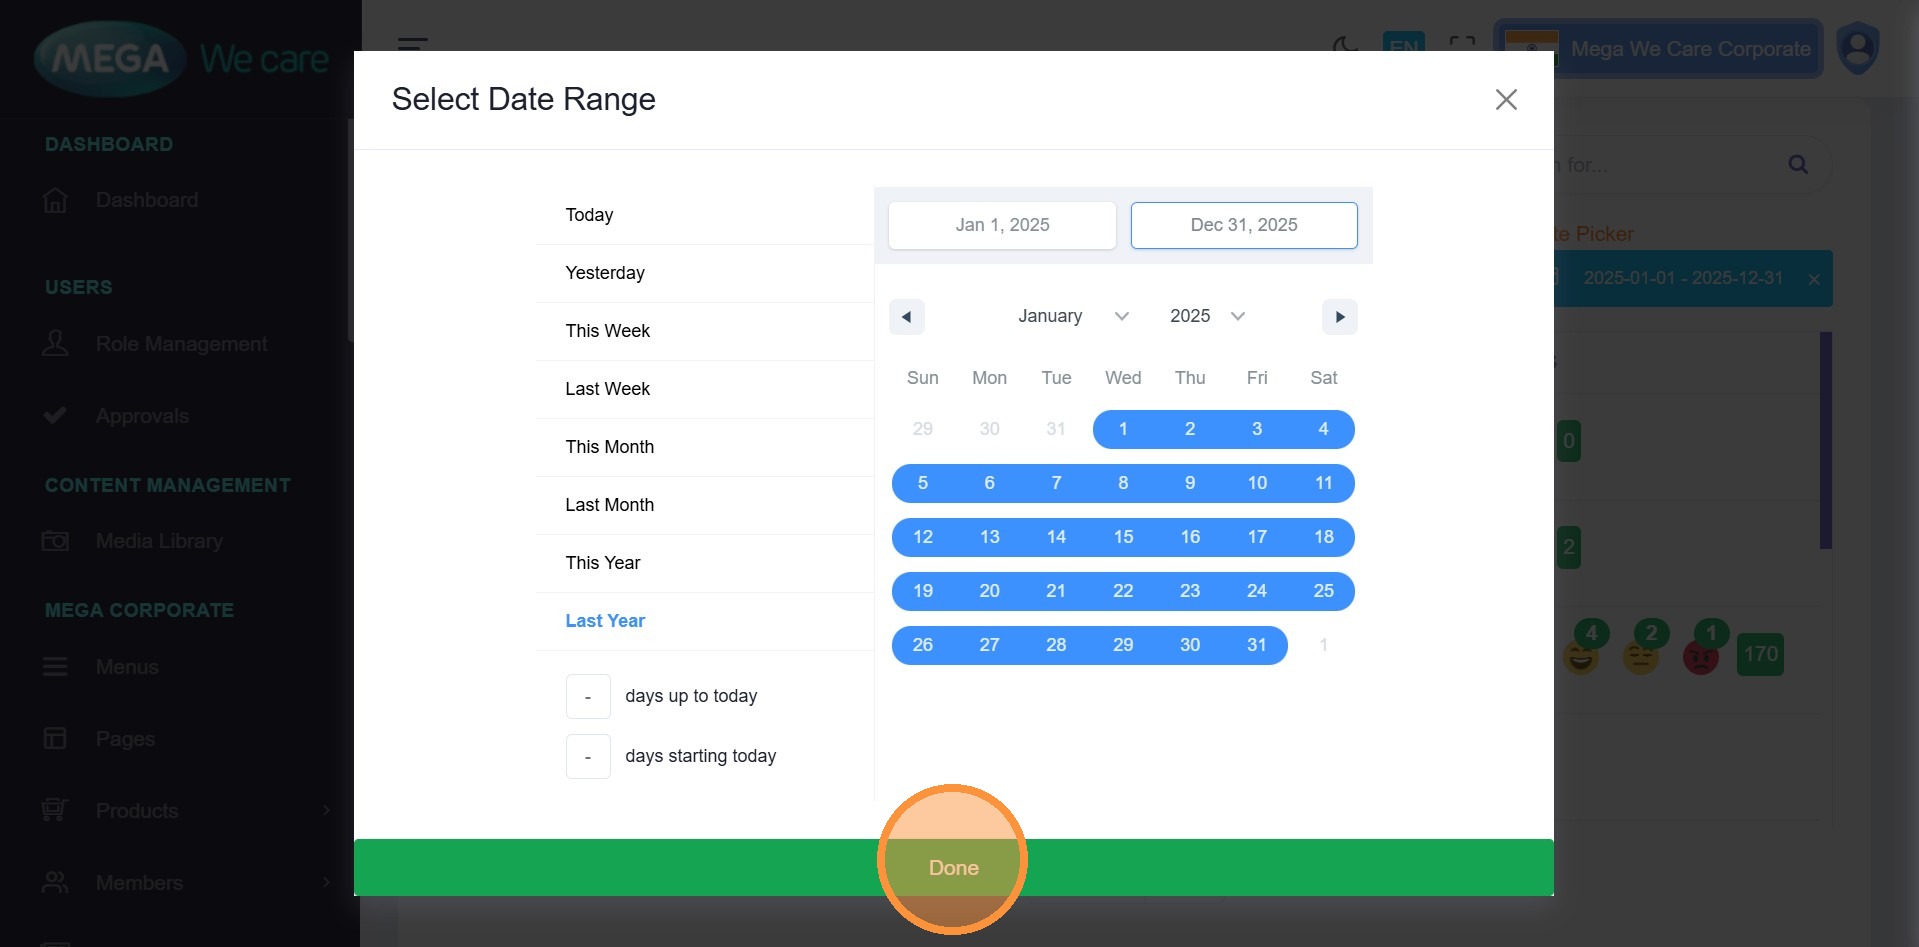
Step 12–16: Define Custom Range
Select:
- Start Year
- Start Date
- End Month
- End Year
- End Date
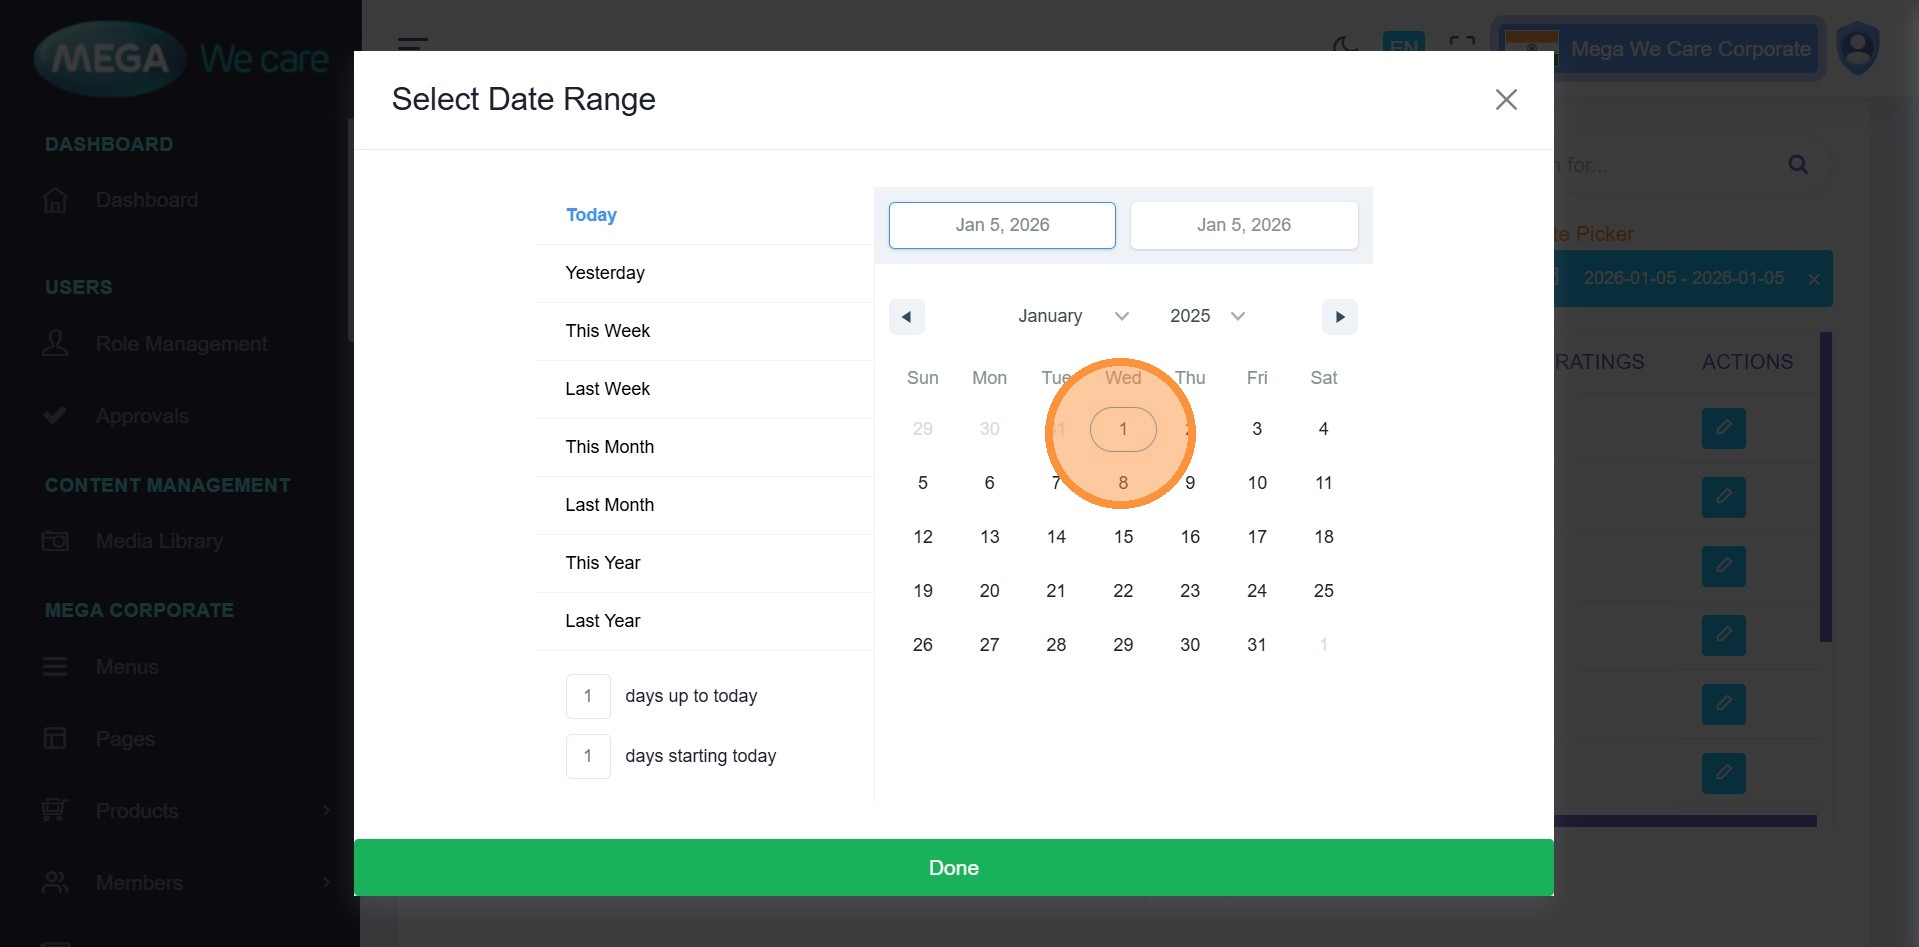
Step 17: Apply Filter
Click Done to apply the date filter.
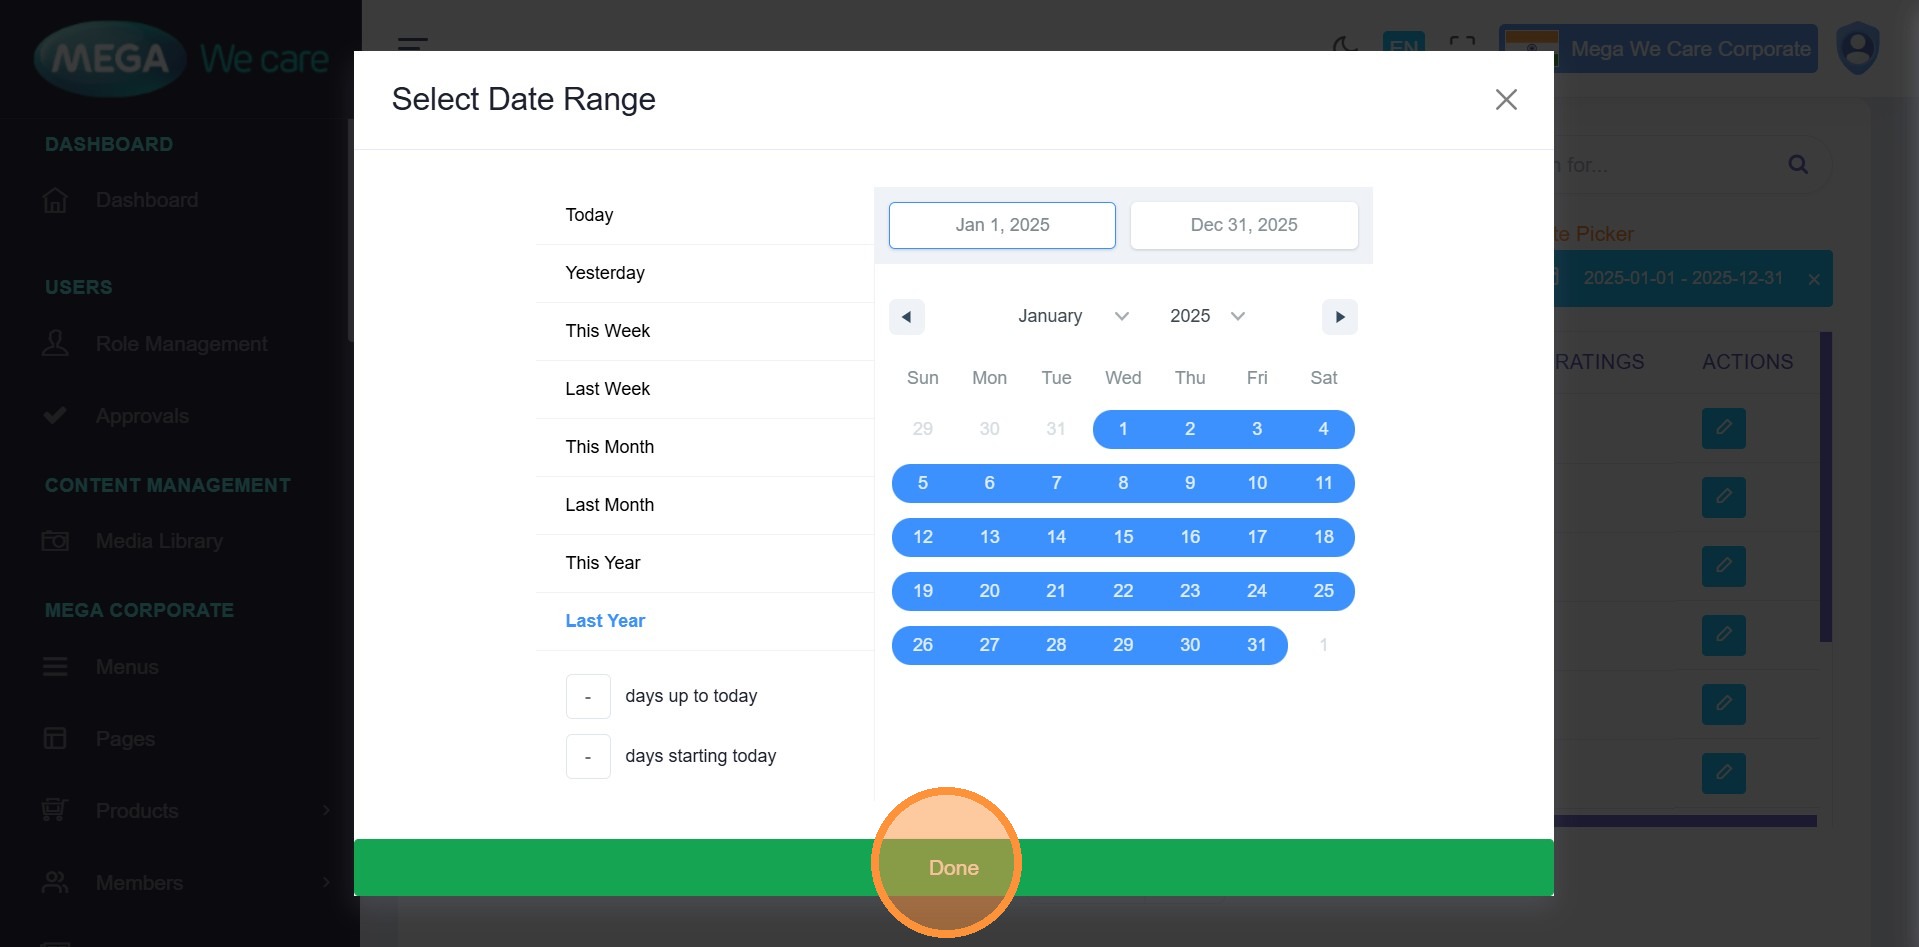
Step 18: Review Filtered Results
Blogs now appear with comment counts for the selected period.
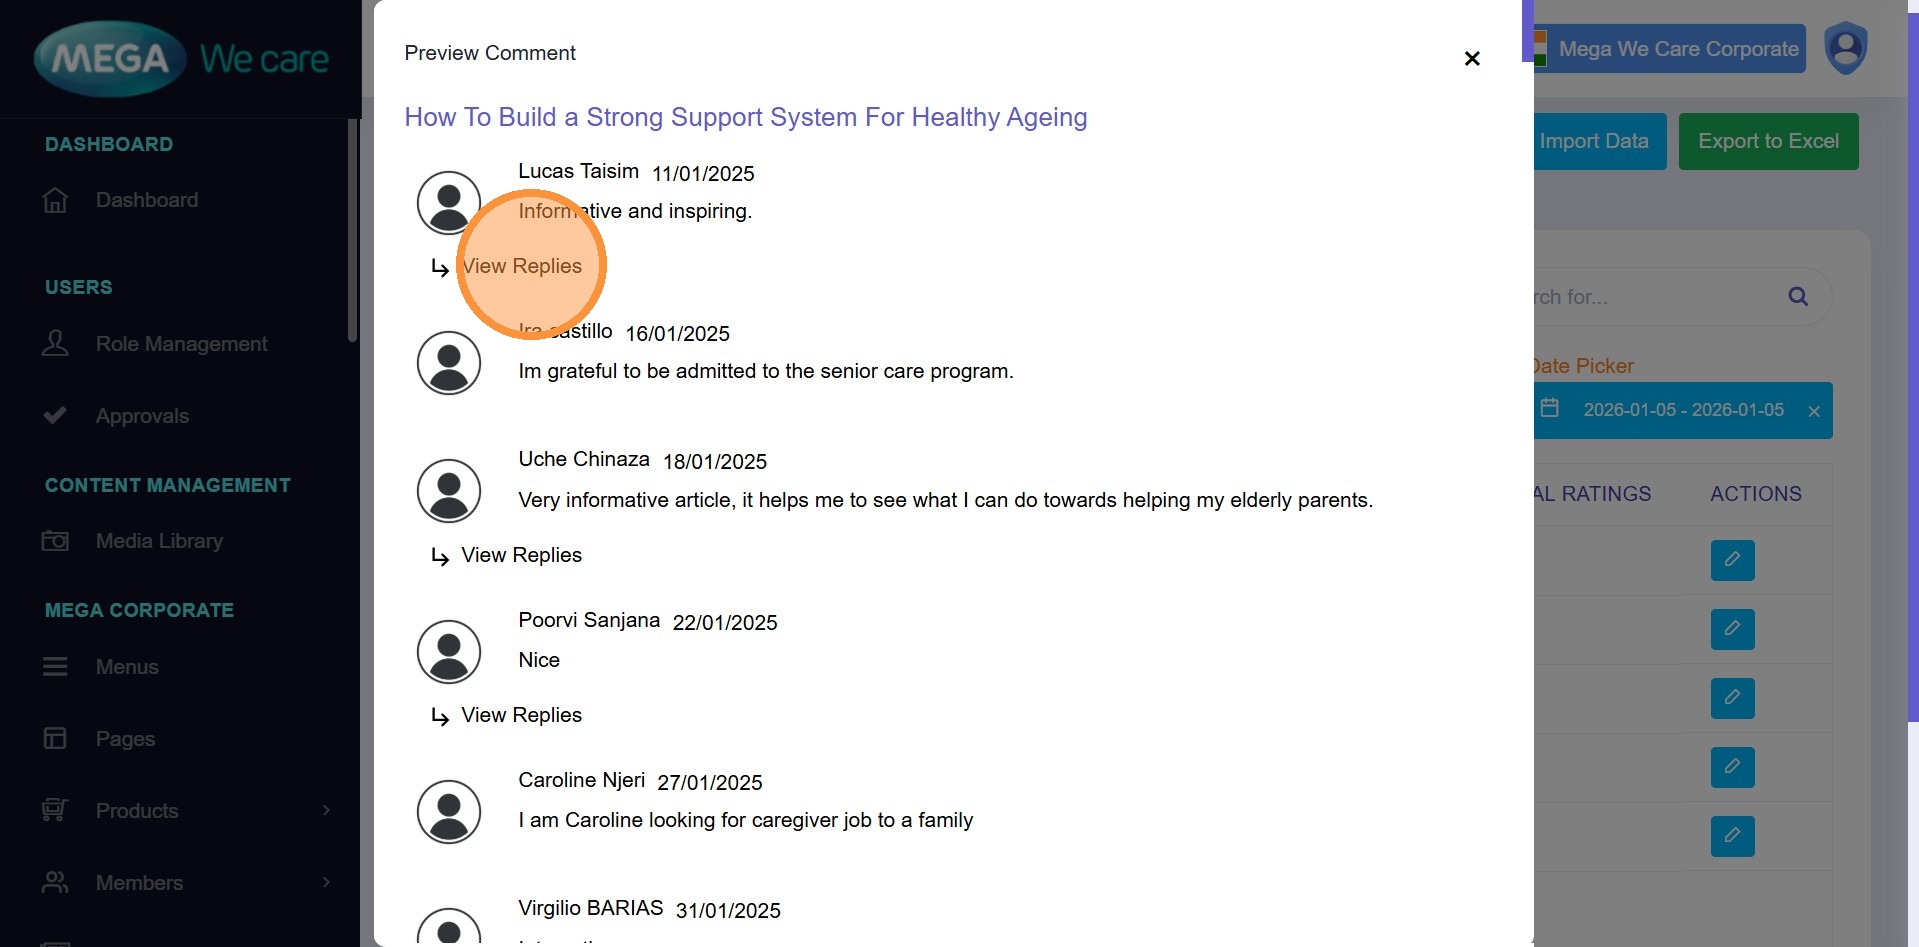
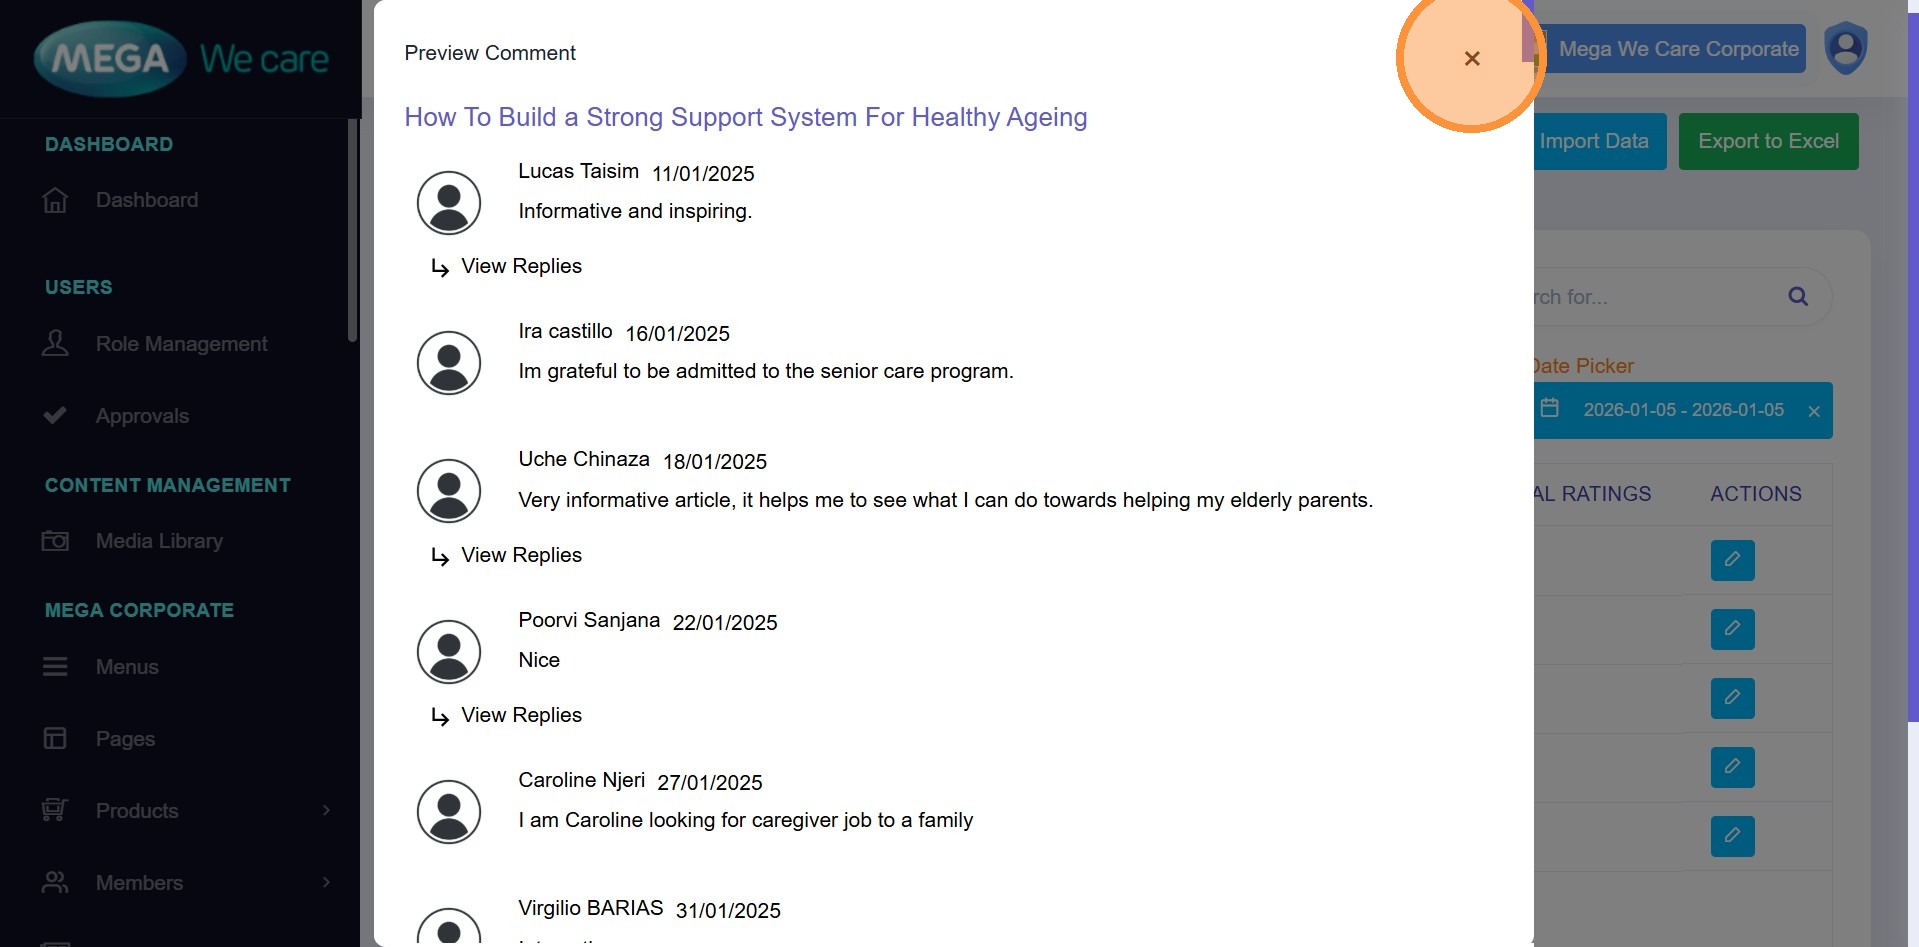
Step 19–21: View Comment Details
Click Edit to view all comments and replies for
a blog.
You can:
- Edit replies
- Unpublish replies
- Remove replies
Close the popup using × when done.
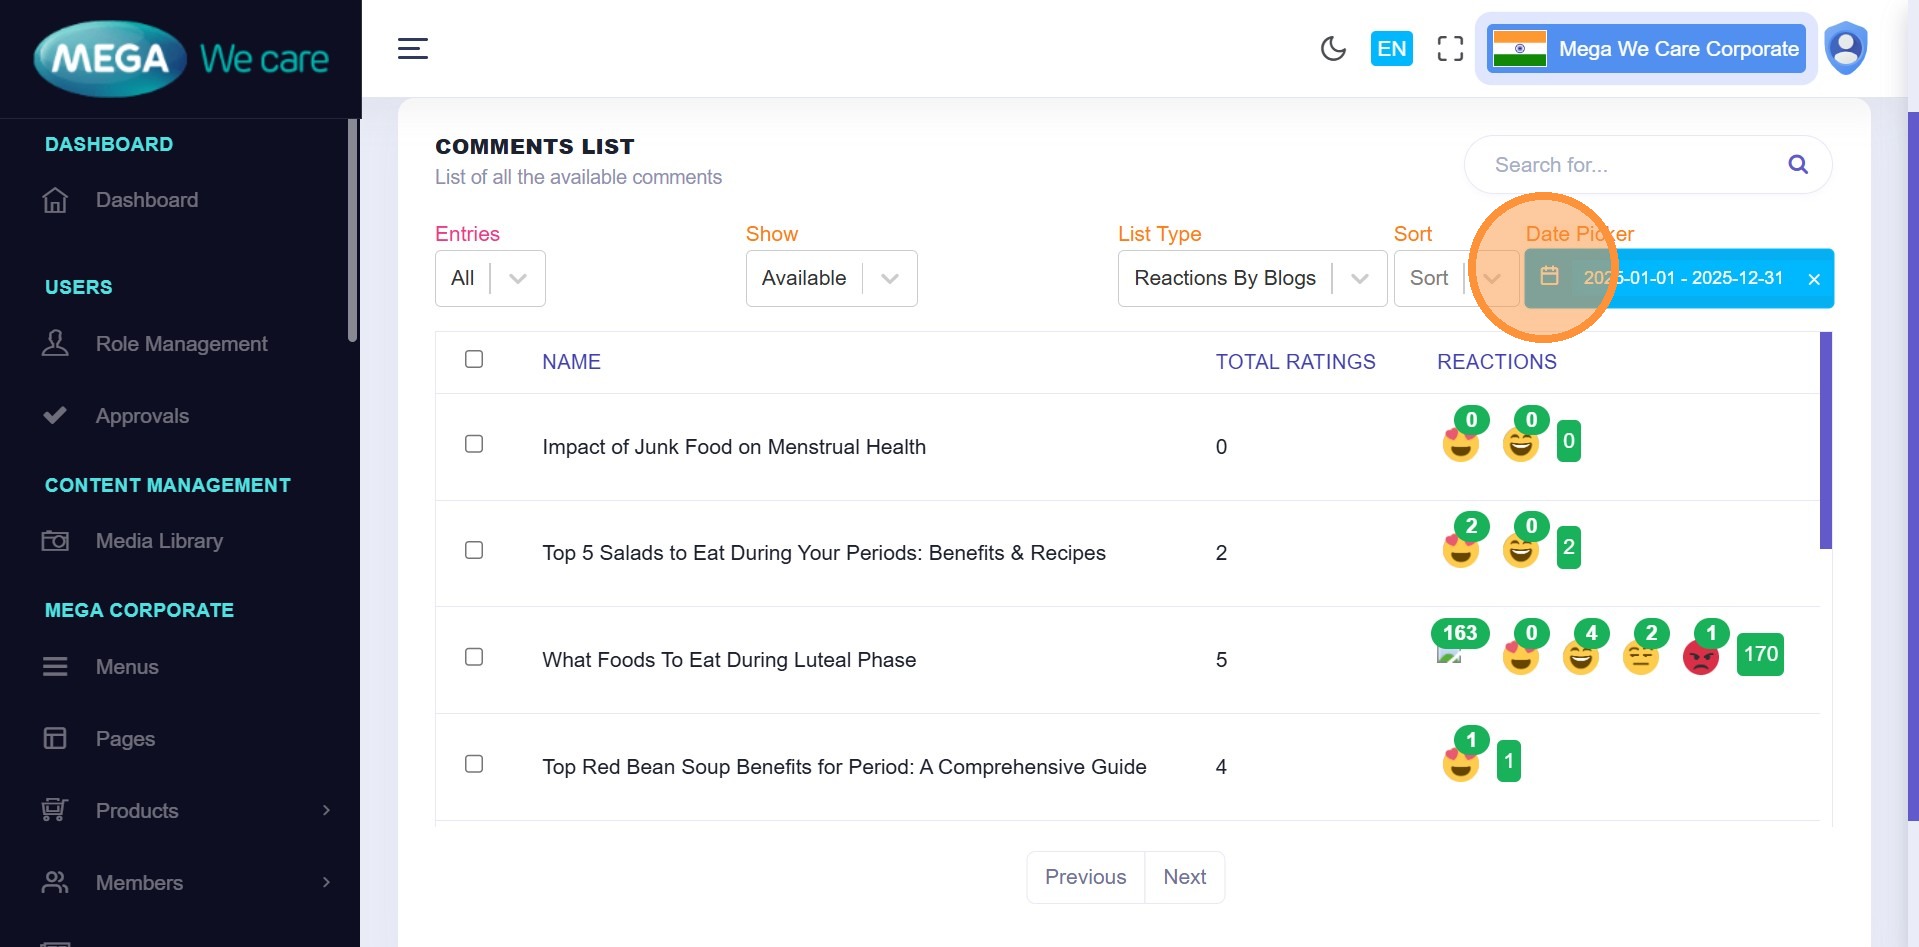
Analyze Reactions by Date
Step 22: Switch to Reactions
From List Type, select Reactions by Blogs.
Step 23: Set Pagination & Date Filter
Set pagination to All, then open the Custom Date Selector.
Step 24–25: Apply Date Range
Follow the same steps used for comments and click Done.
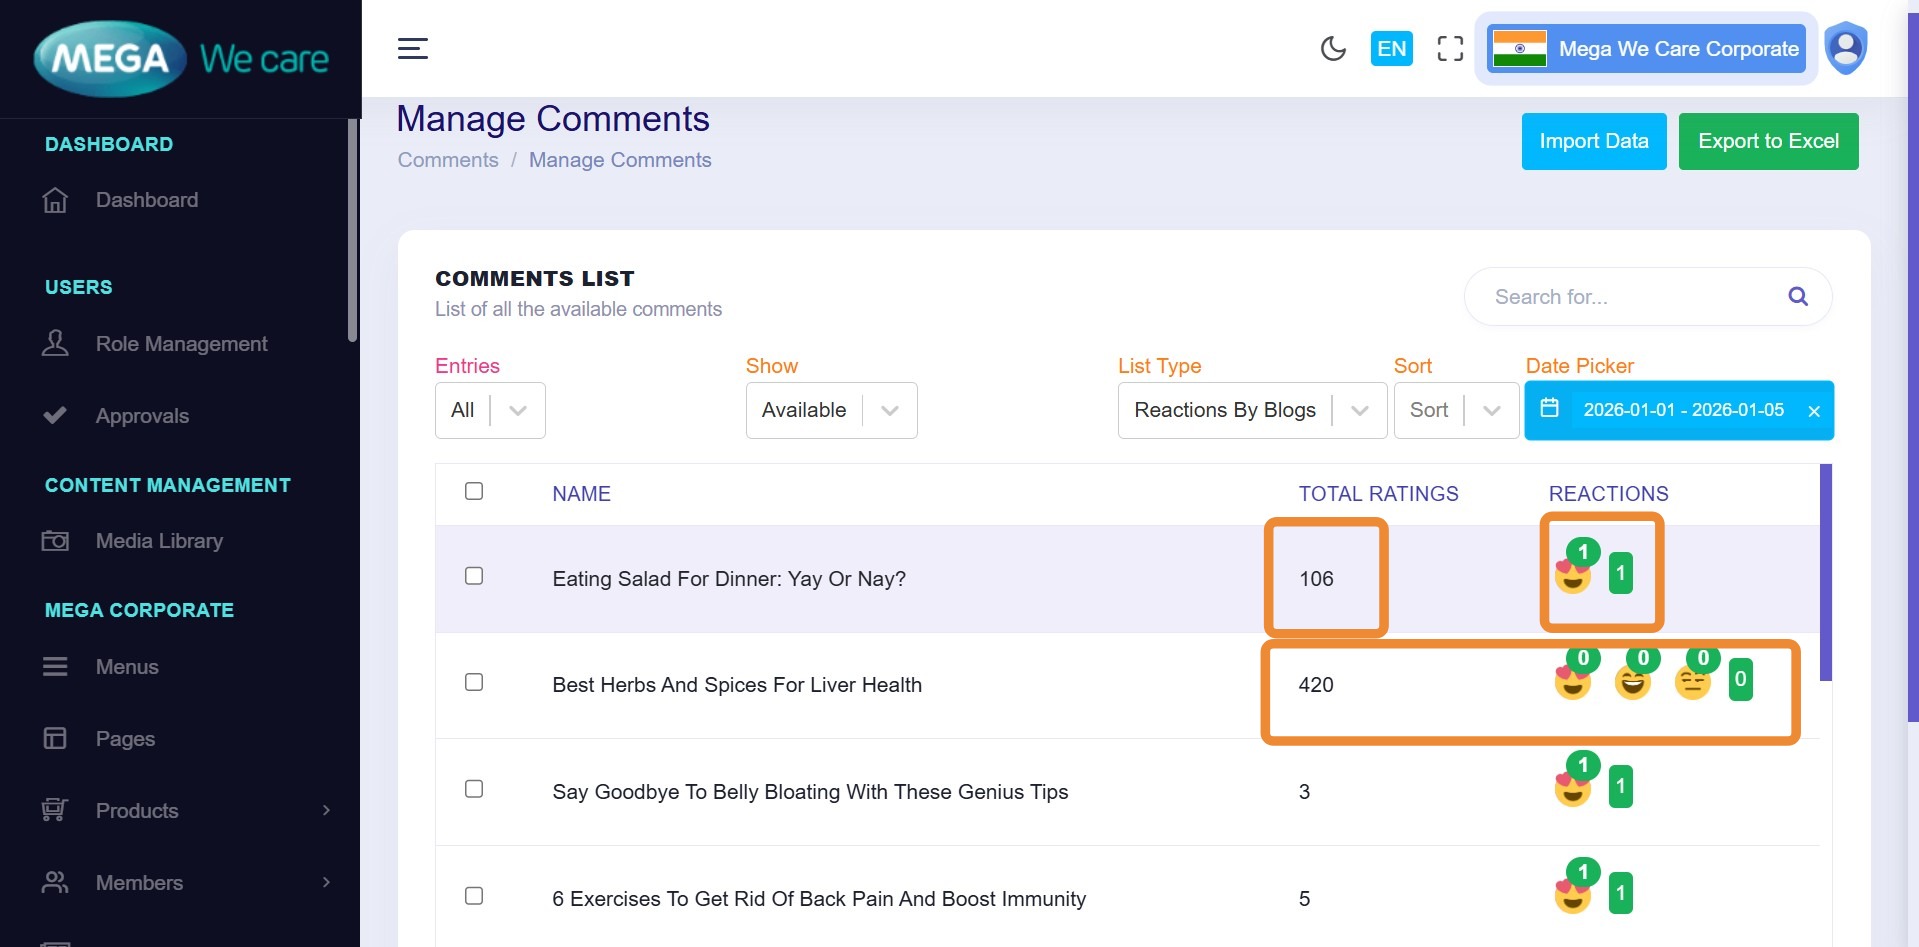
Step 26: Review Reaction Analytics
Filtered reaction data is displayed with total reaction counts per blog.
Delete & Manage Comments (Trash)
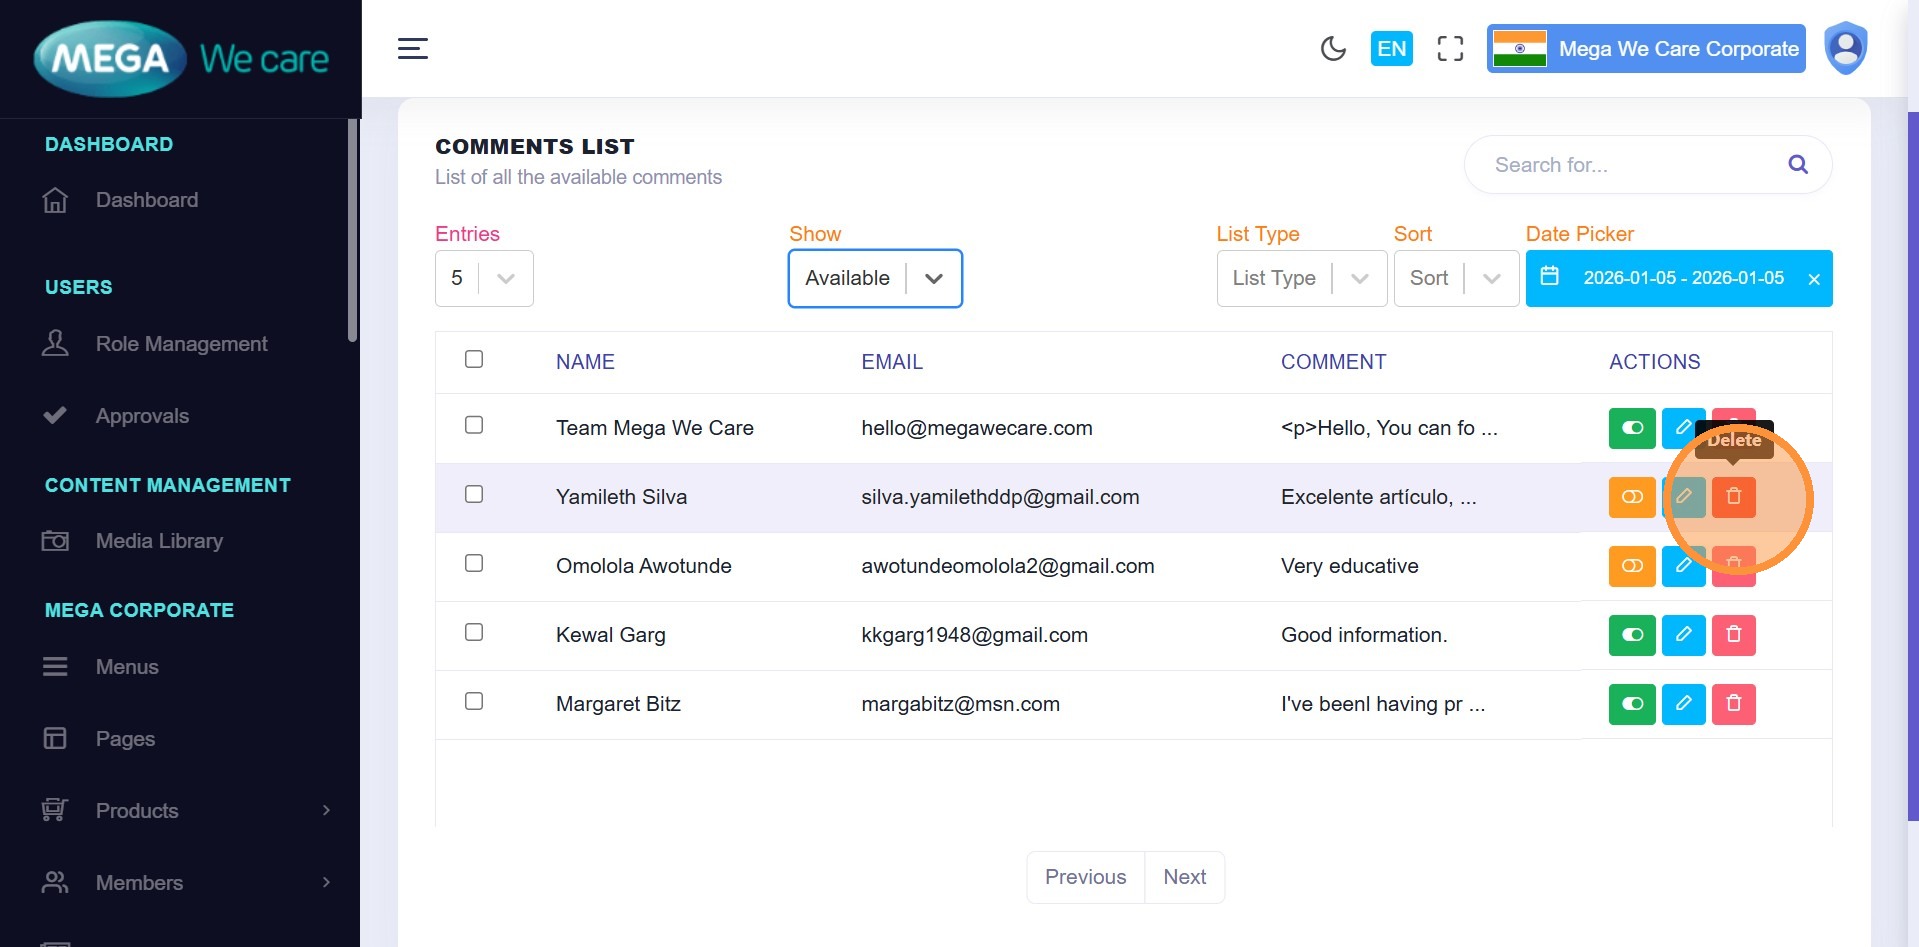
Step 27: Delete a Comment
Click the Delete icon next to a comment.
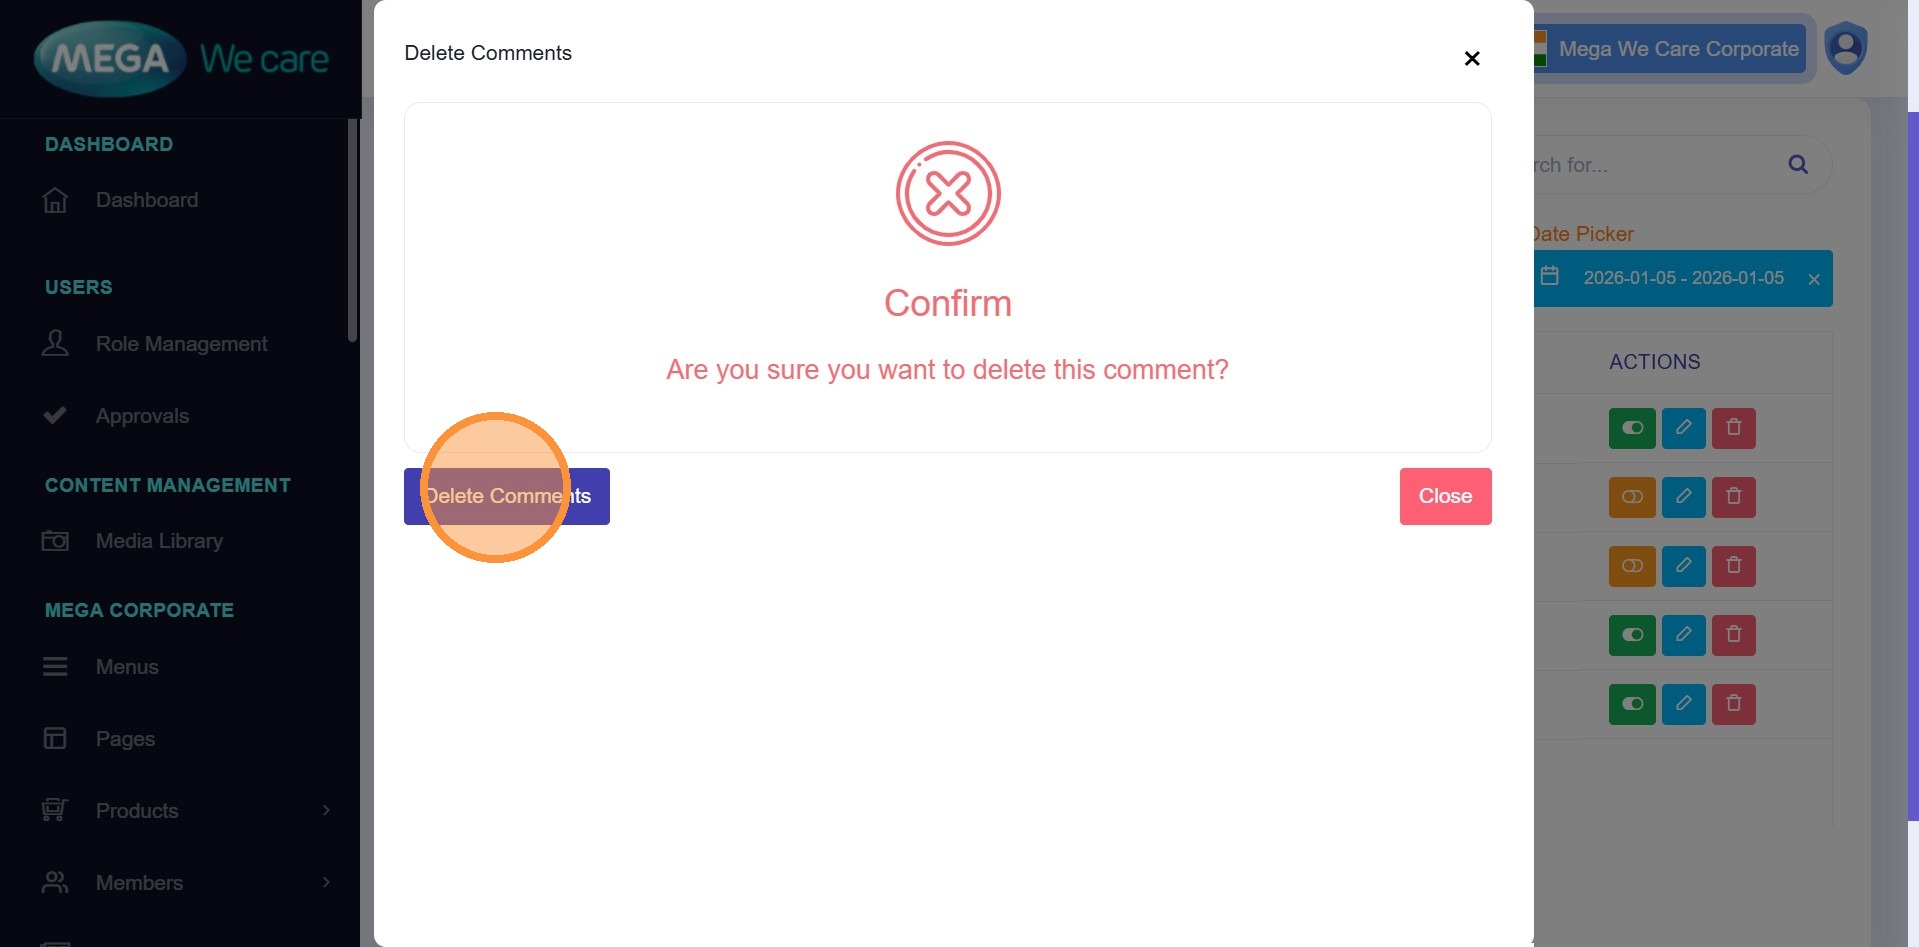
Step 28: Confirm Soft Delete
Click Delete Comment.
- The comment moves to Trash
- It remains there for 30 days
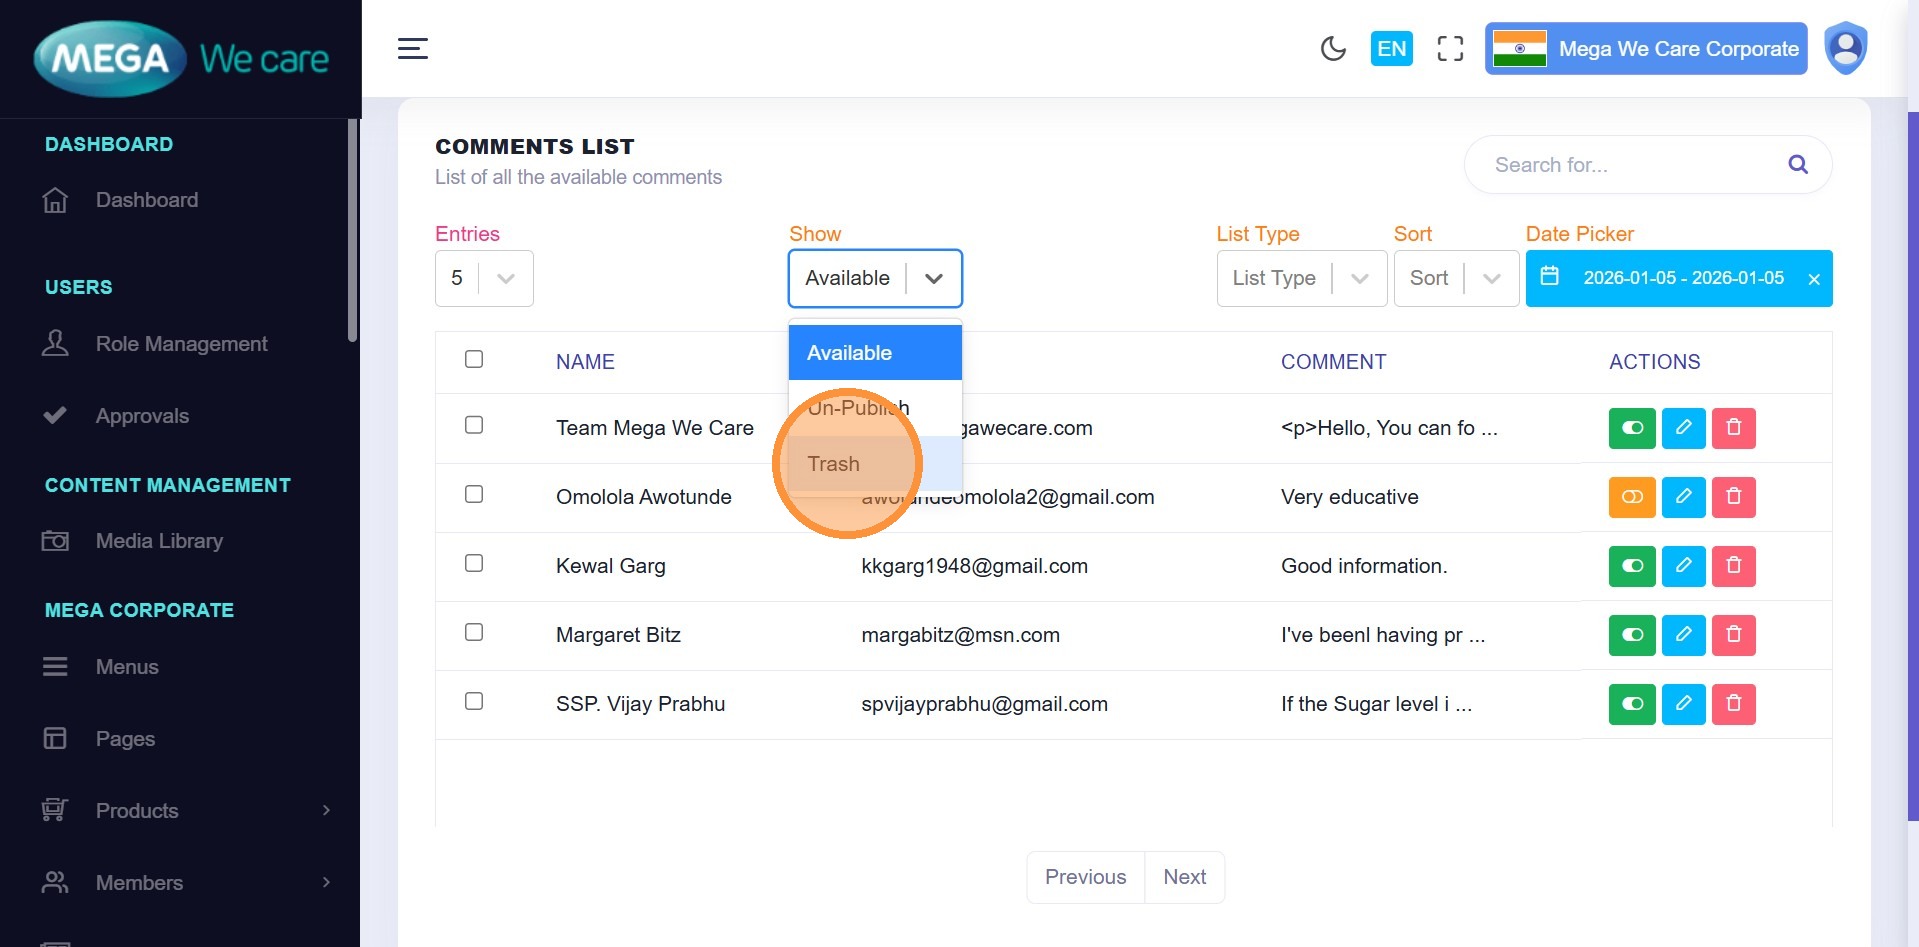
Step 29: Permanently Delete or Restore
Open Trash from the
Show dropdown.
You can:
- Restore the comment
- Permanently delete it manually
Step 30: Automatic Cleanup
If no action is taken, trashed comments are automatically deleted after 30 days.

Important Notes
- Always review comments before publishing
- Use date filters to audit engagement trends
- Reply professionally to maintain brand credibility
- Prefer soft delete before permanent removal
- Regularly review Trash to avoid accidental data loss
Summary
By following this workflow, users can effectively moderate blog comments, publish or hide comments as needed, analyze reactions and engagement by date, safely delete or restore comments, and maintain a healthy and trustworthy comment system across all blogs.