Page Navigation
How to Add, Update and Delete Products
This document explains how users can add, edit, and manage products on the website. It shows how to enter product details, upload images and documents, manage product availability and FAQs, design product pages, and delete or restore products when needed.
Overview
By following this document, you will be able to:
- Add new products with complete details and media
- Assign categories, subcategories, and availability
- Customize product colors and appearance
- Add features, descriptions, FAQs, videos, and related products
- Build modern product landing pages using Advanced Custom Fields
- Restore deleted products or permanently remove them
Add New Product
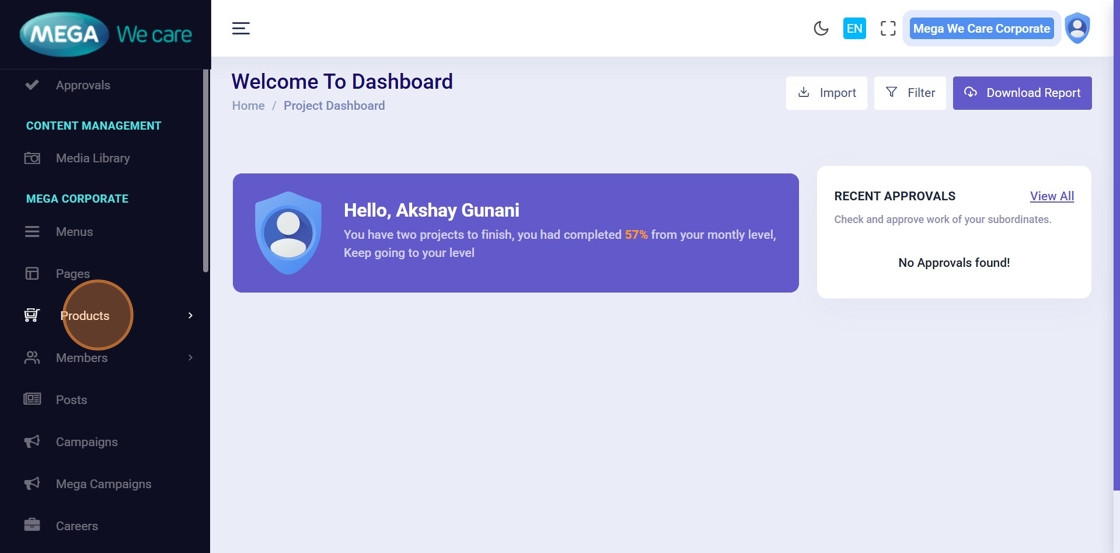
Step 1: Open Products
From the Admin Dashboard sidebar, click Products.
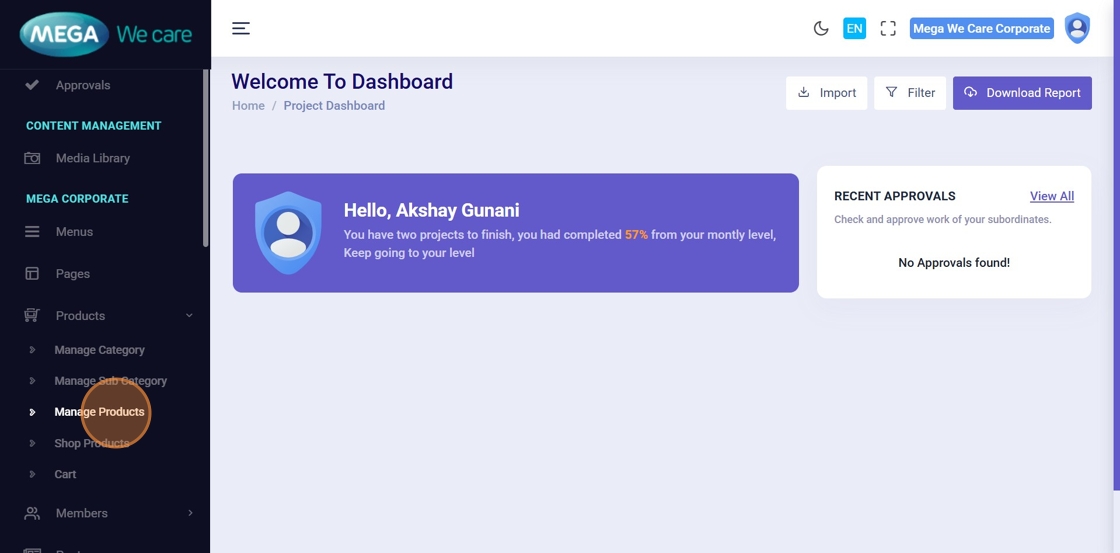
Step 2: Click “Manage Products”
This opens the product listing page where all products are managed.
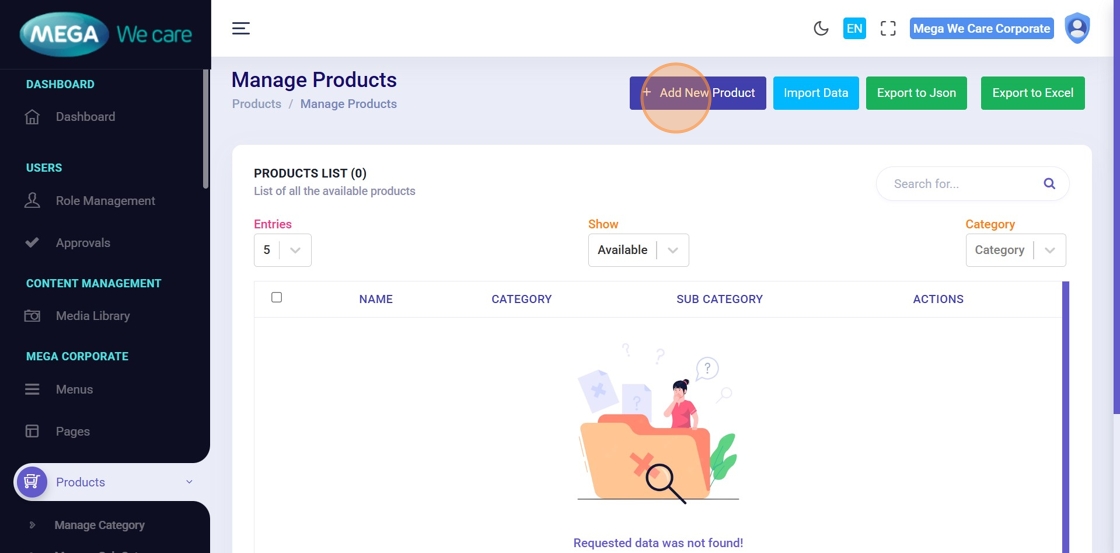
Step 3: Click “Add New Product”
Click Add New Product to open the product creation form.
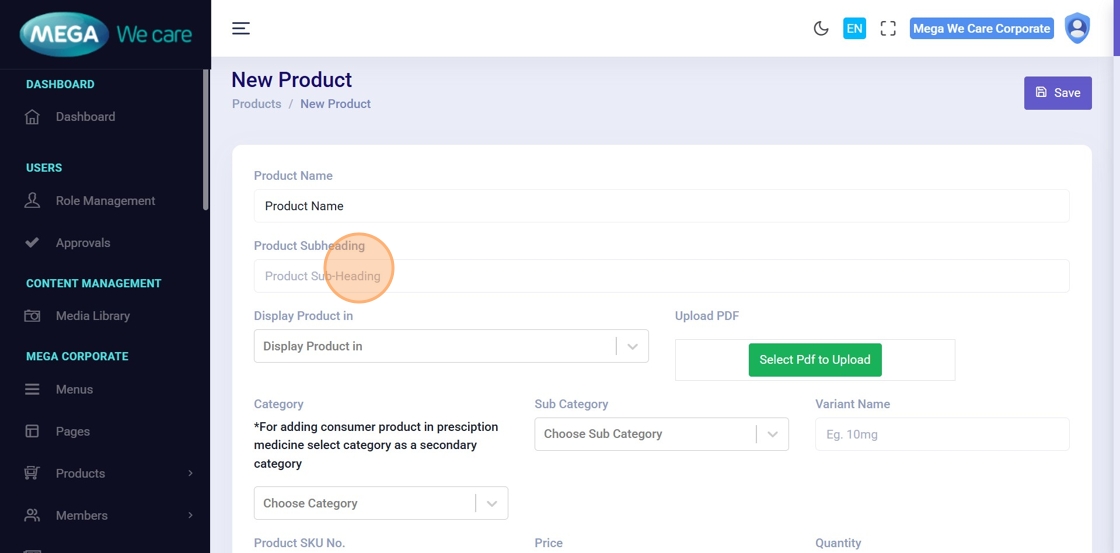
Step 4: Enter Product Name
Add the main Product Name.
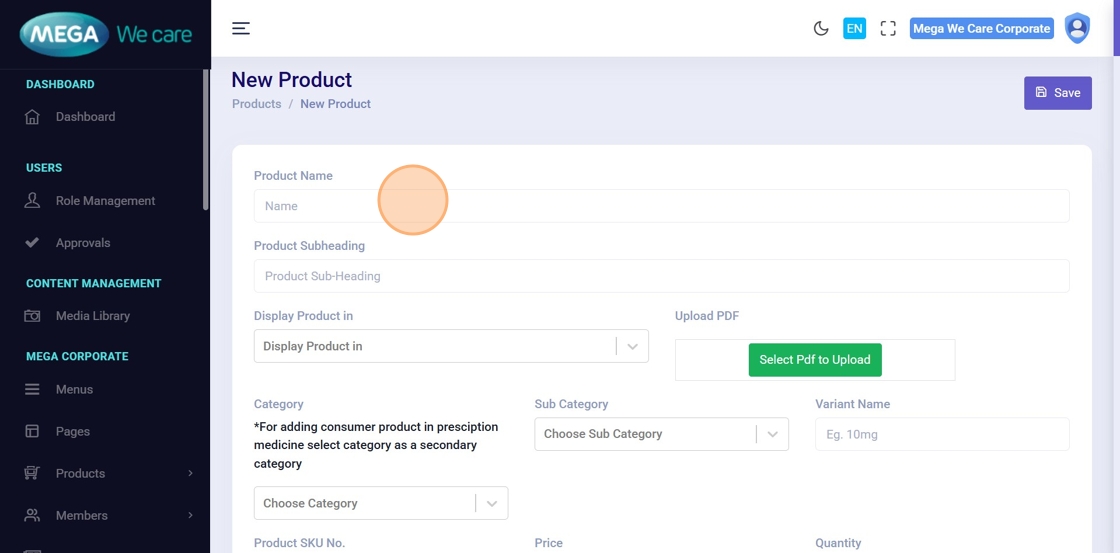
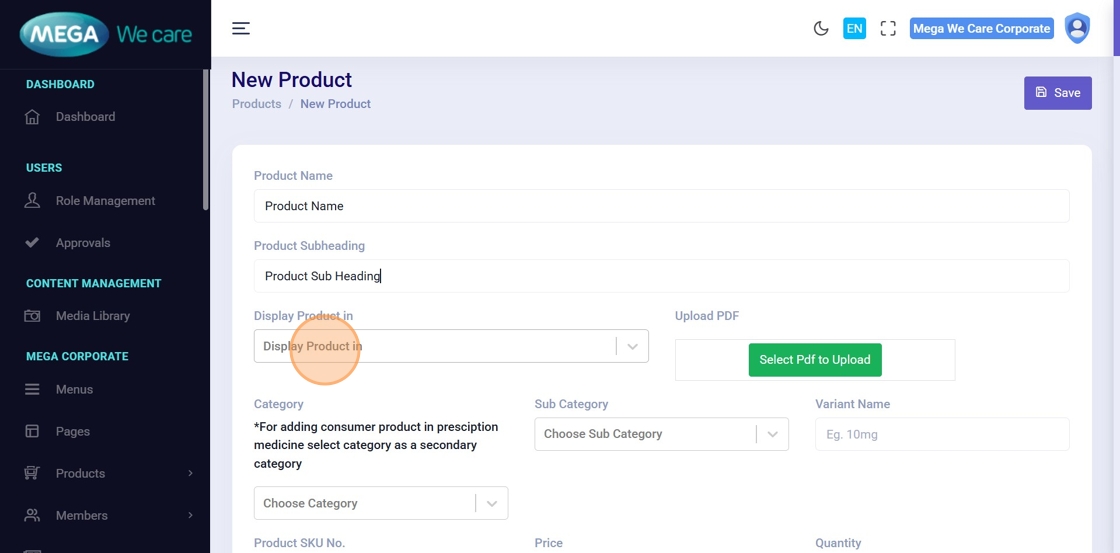
Step 5: Enter Sub Heading
Click the Product Sub-Heading field and enter the product subtitle.
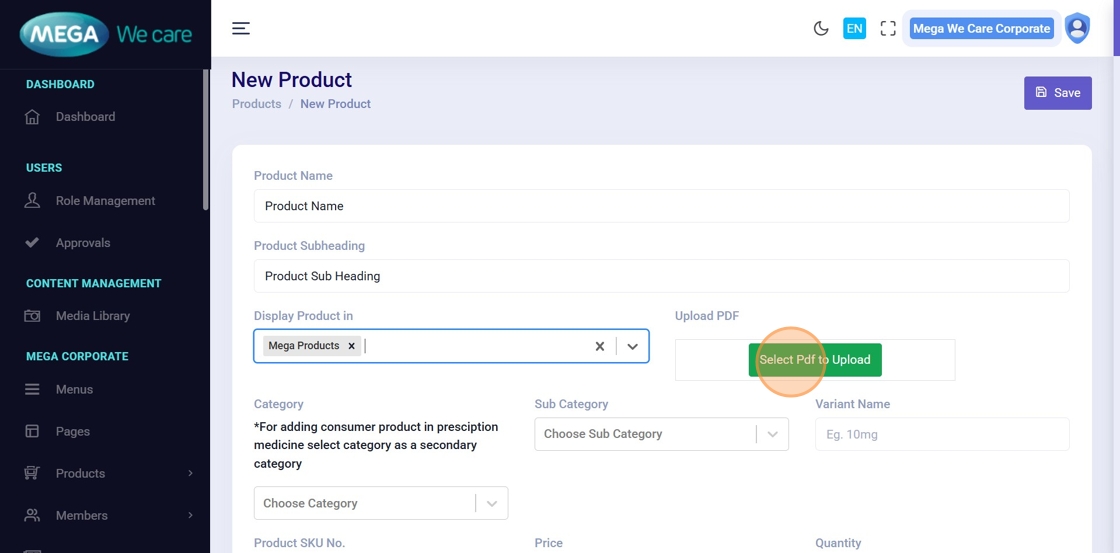
Step 6: Select Display Product Type
Choose whether the product belongs to:
- Mega Products
- HCP Products
Step 7: Upload Product PDF
Click Select PDF to Upload and choose the product PDF from existing files or upload a new PDF from your device.
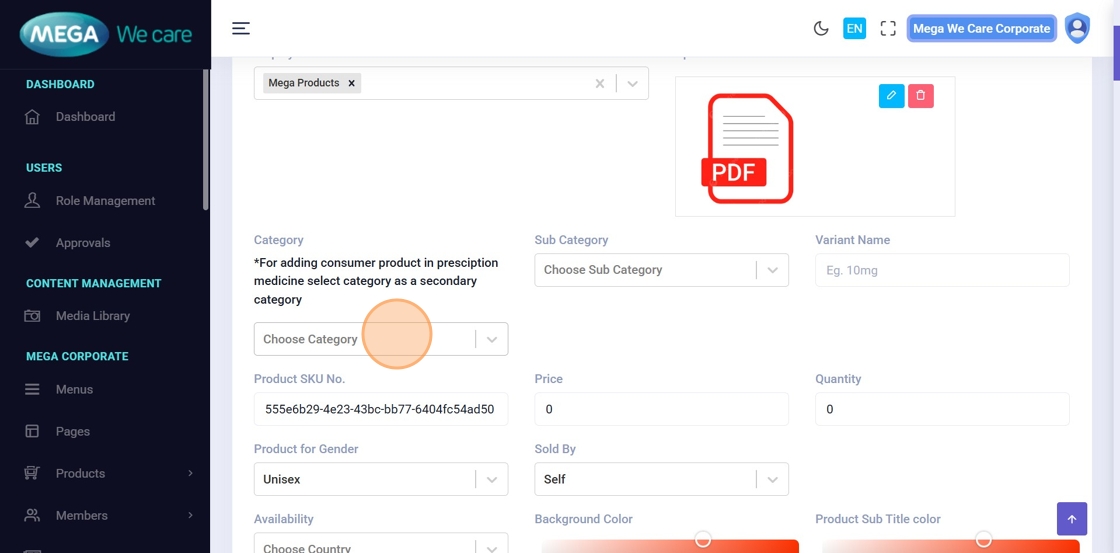
Step 8: Select Categories
Click the Category dropdown and select one or more relevant product categories. You can reorder the selected categories using drag-and-drop to set their priority.
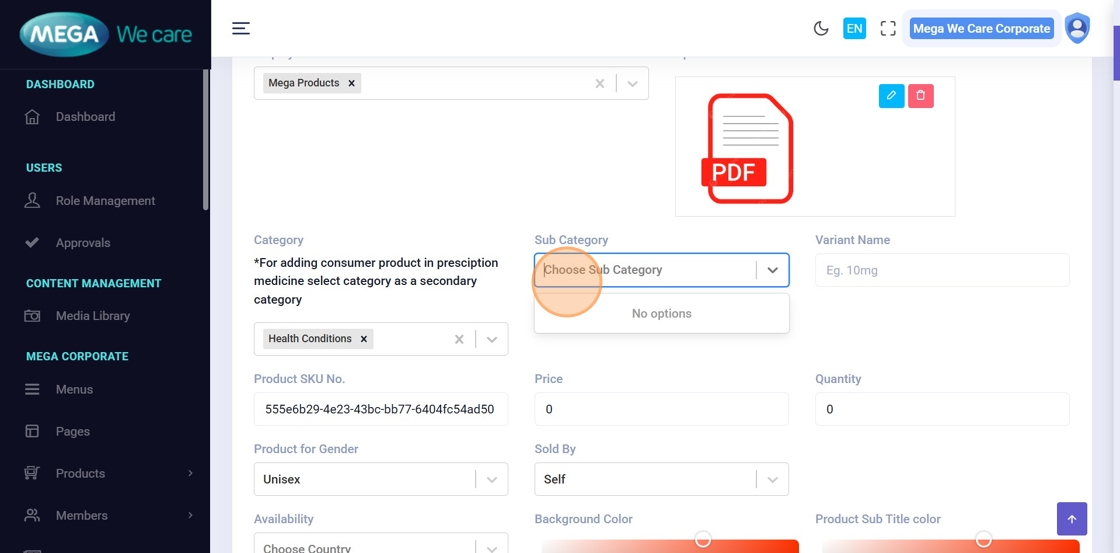
Step 9: Select Subcategories & Reorder
Select the relevant Sub Categories. You can assign the product to multiple subcategories and use drag and drop to set the display order.
Please note that: (Don't forget to set primary category first).
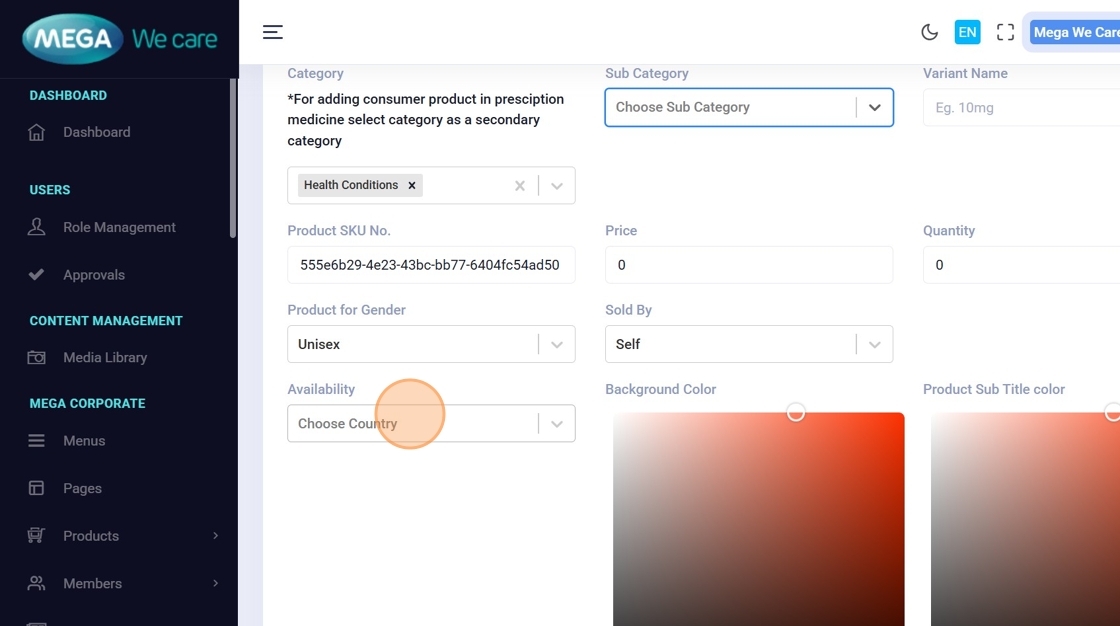
Step 10: Select Product Availability
Choose the countries where this product will be available.
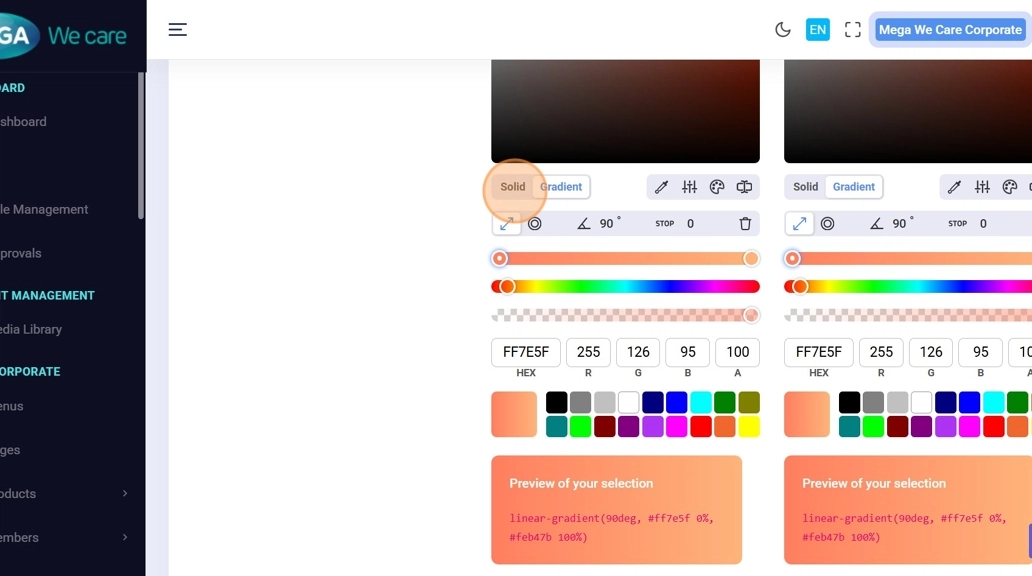
Step 11: Customize Product Colors
You can change the Background Color, Product Subtitle Color, Tag Background Color, and Tag Title Color using the color picker. You can choose between Solid or Gradient colors. Select Gradient if you want a linear background color.
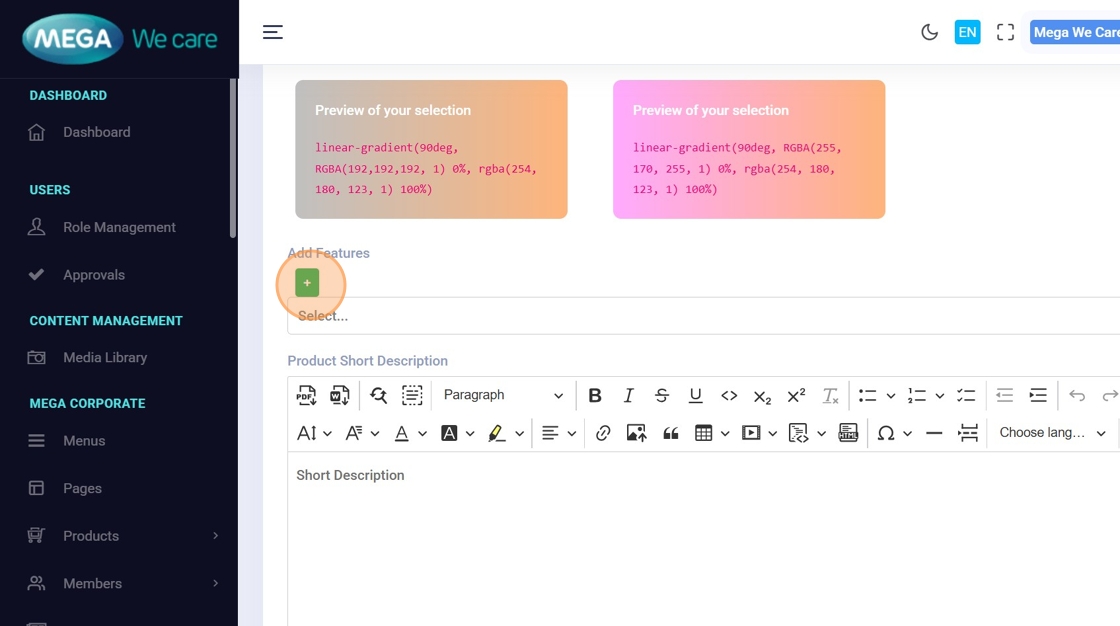
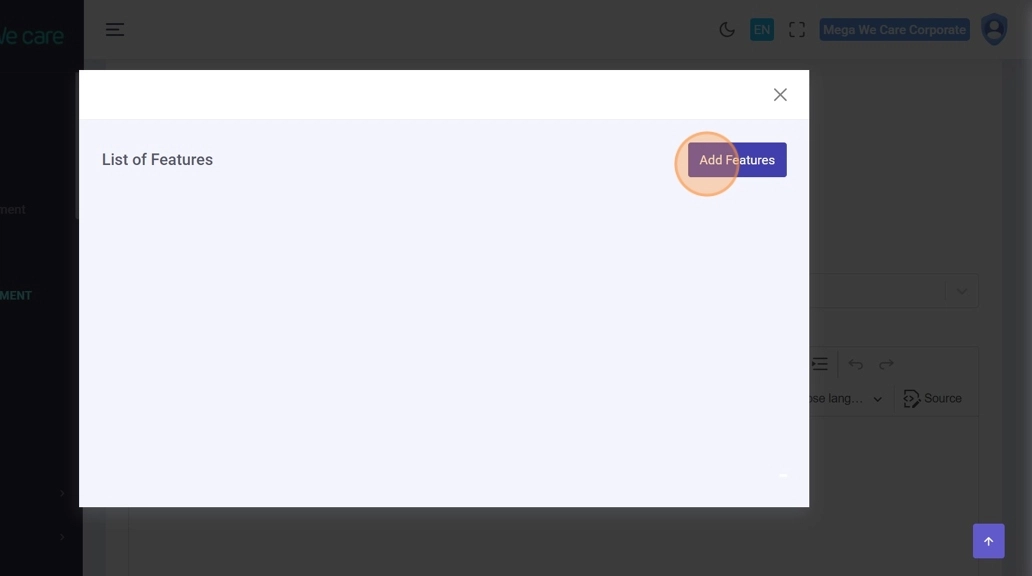
Step 12: Add Product Features
Click Add (+) → Add Features such as soft gelatin capsules, tablets, or capsules.
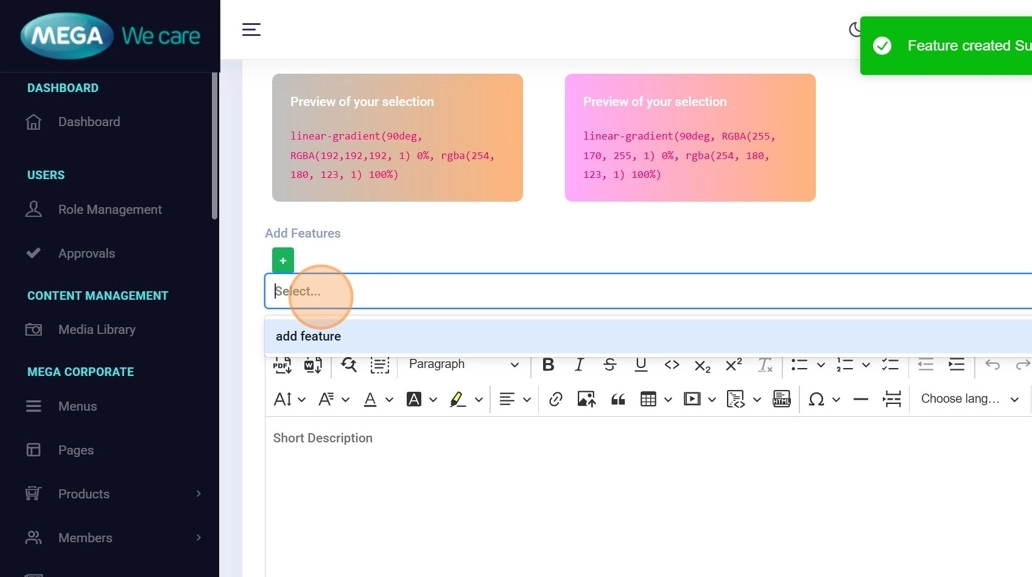
Step 13: Configure Feature Details
Enter the feature name, upload or select an image, and click Proceed.
Step 14: Add Short Description and Content
- After selecting the product features, add the Short Description, Full description, Available As, and Country Availability (enter countries separated by commas, matching the Availability dropdown list).
- Also, add How to Take section in bullet points. Use only an H3 heading for the Ingredients section and list the ingredients in bullet points
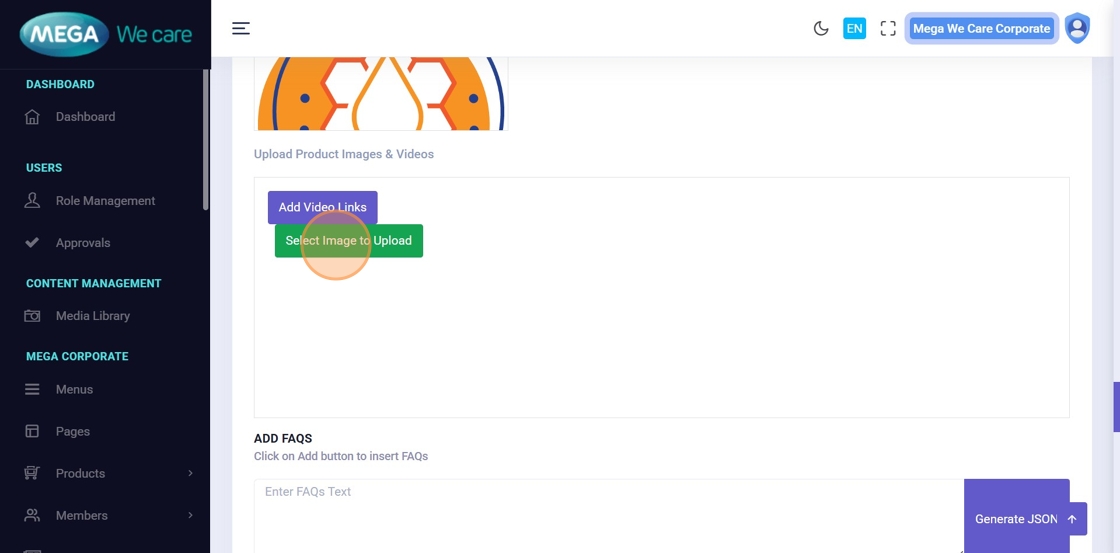
Step 15: Upload Product Images
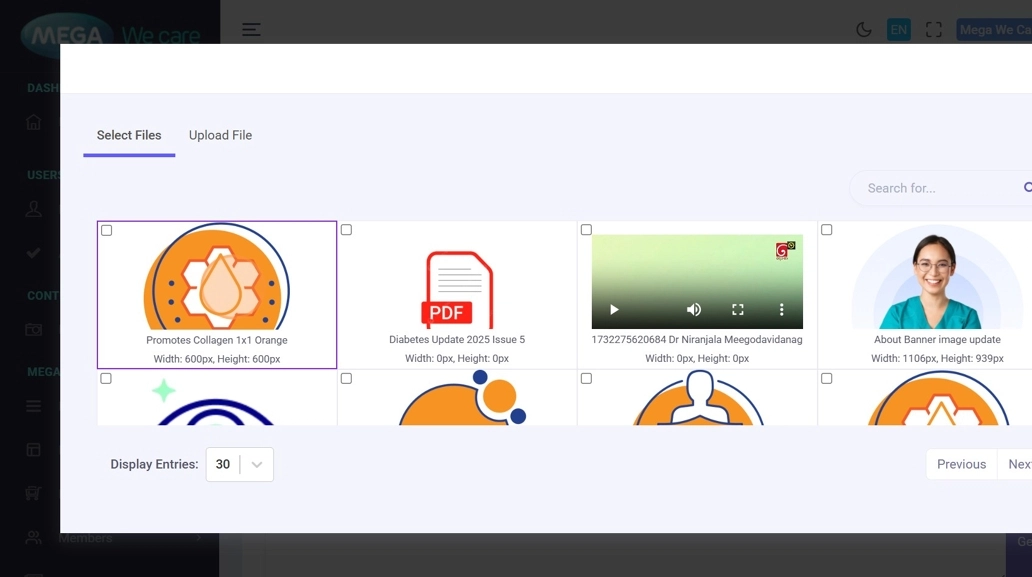
To add feature or description images, click “Select Image to Upload” to choose an existing image. If you want to upload a new image, click “Upload File,” then click “Click to upload file” and select the image from your device to finish uploading.

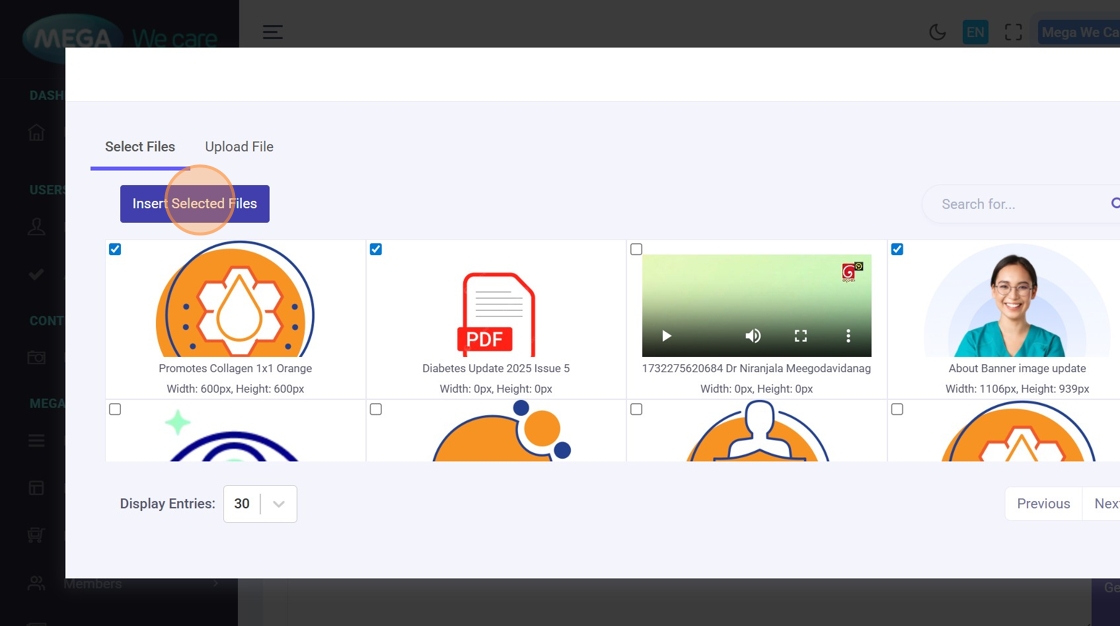
Step 16: Upload Product Gallery Images
You may select one or multiple images from the already uploaded files, or upload new images manually and choose the files you want to include as gallery images.
Step 17–18: Selecting Image Files for Product Gallery Images
You may select one or multiple images from the already uploaded files, or upload new images manually and choose the files you want to include as gallery images.
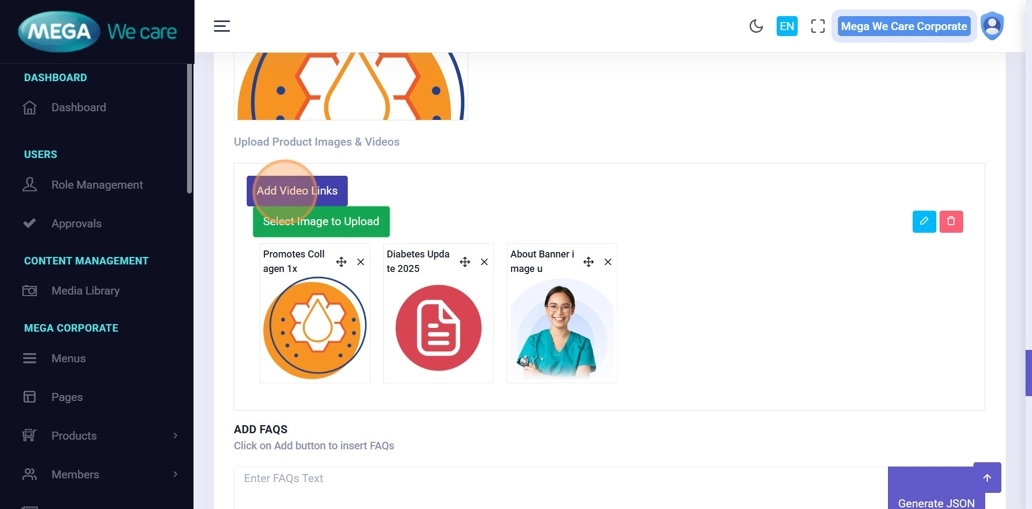
Step 19: Add Product Videos to Gallery
To add videos to the gallery, click Add Video Links. Enter the video URL in the paste your link here field, then click the icon to add it.
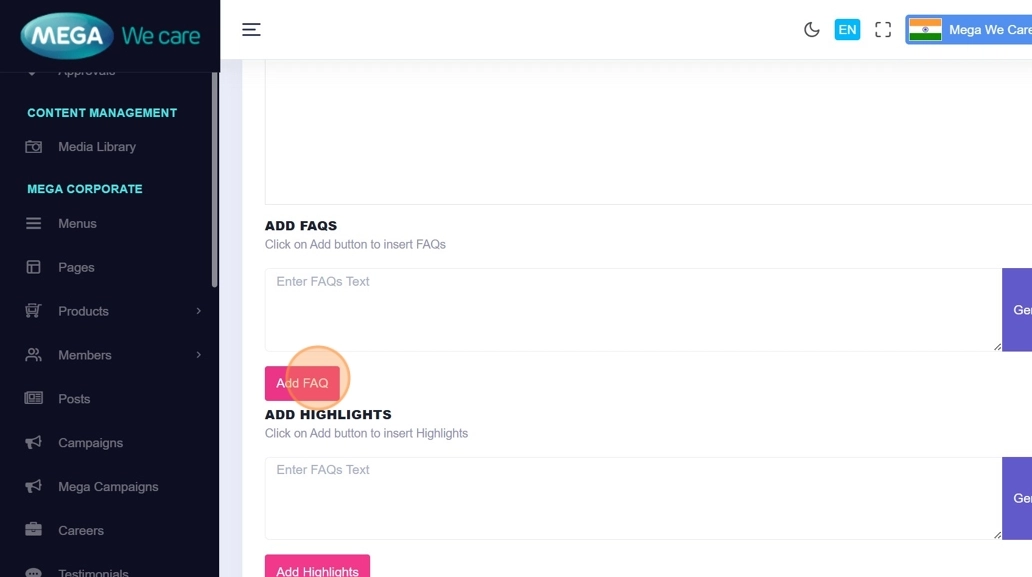
Step 20: Add FAQs
You can add questions and answers in the FAQs section. While writing answers, you can use formatting options such as headings, bullet points, and links. You can add multiple FAQs using the “+” icon, change their order by dragging and dropping them, and delete any FAQ using the trash icon.
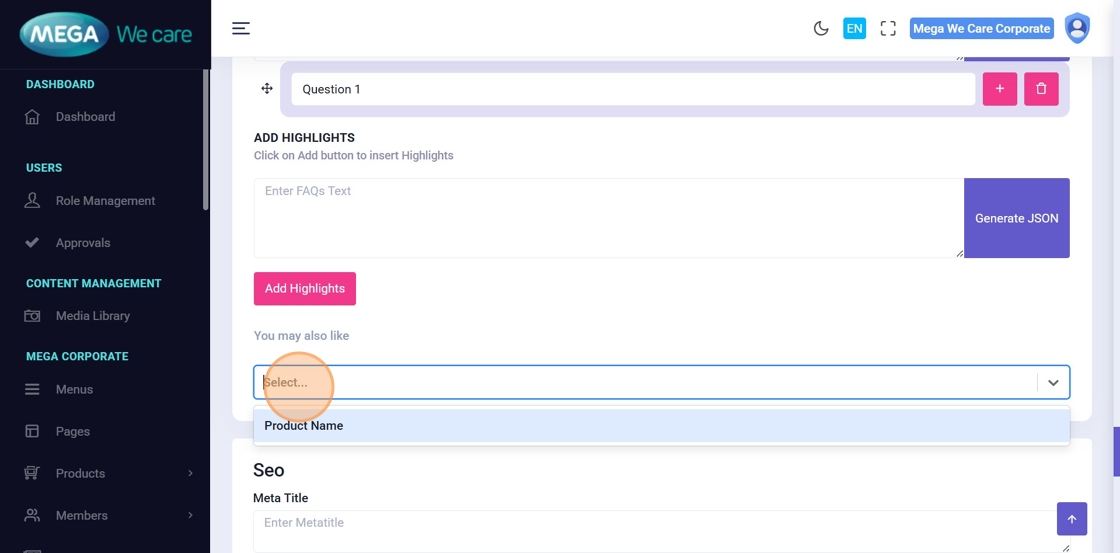
Step 21: Add Related Products
Use You May Also Like to select and reorder related products.
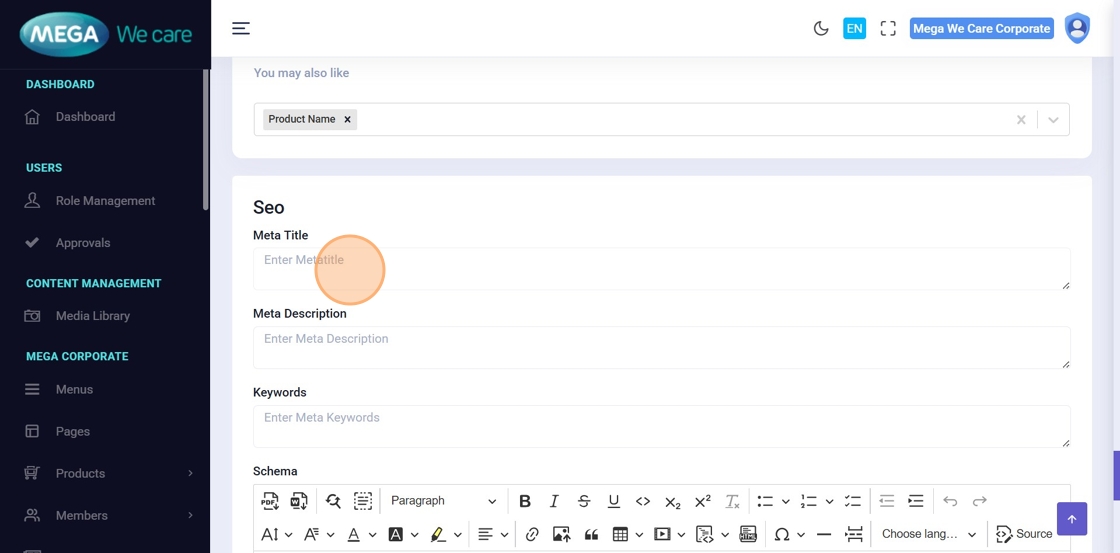
Step 22: Enter Meta Title
Add the SEO meta title.
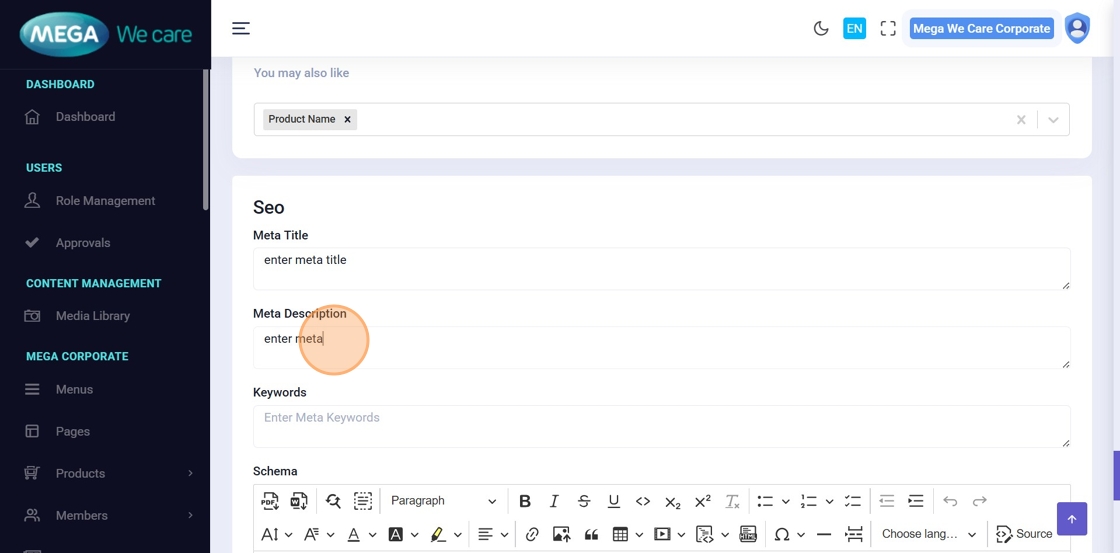
Step 23: Enter Meta Description
Add the meta description for search results.
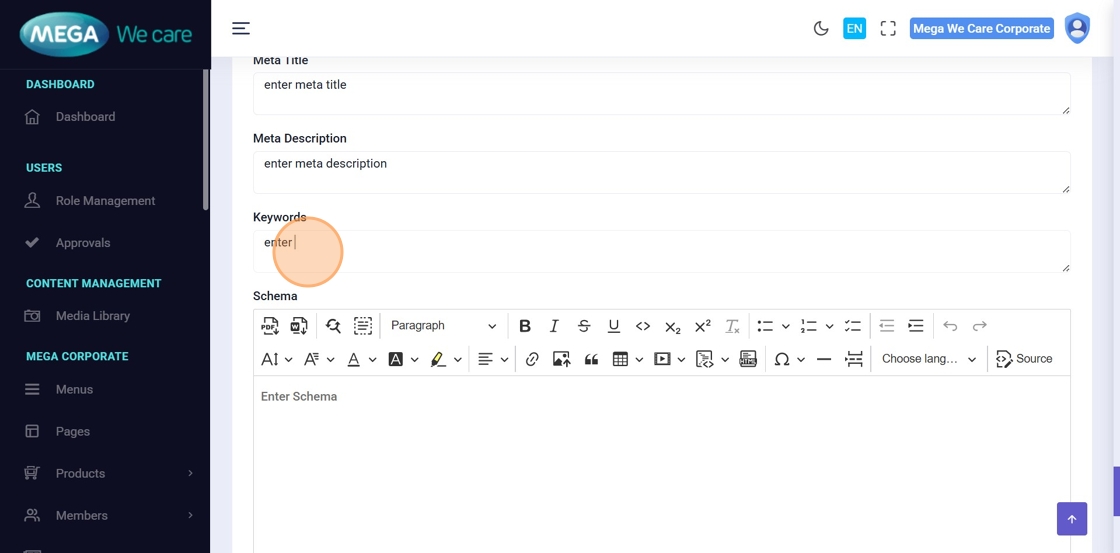
Step 24: Enter Meta Keywords
Add relevant keywords.
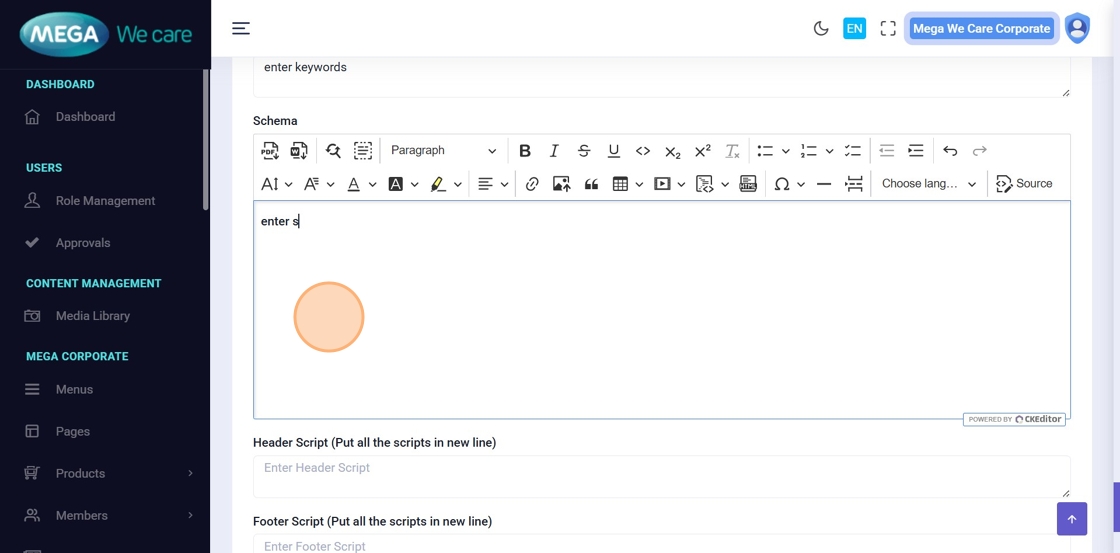
Step 25: Add Schema (JSON-LD)
Paste structured schema data if required.
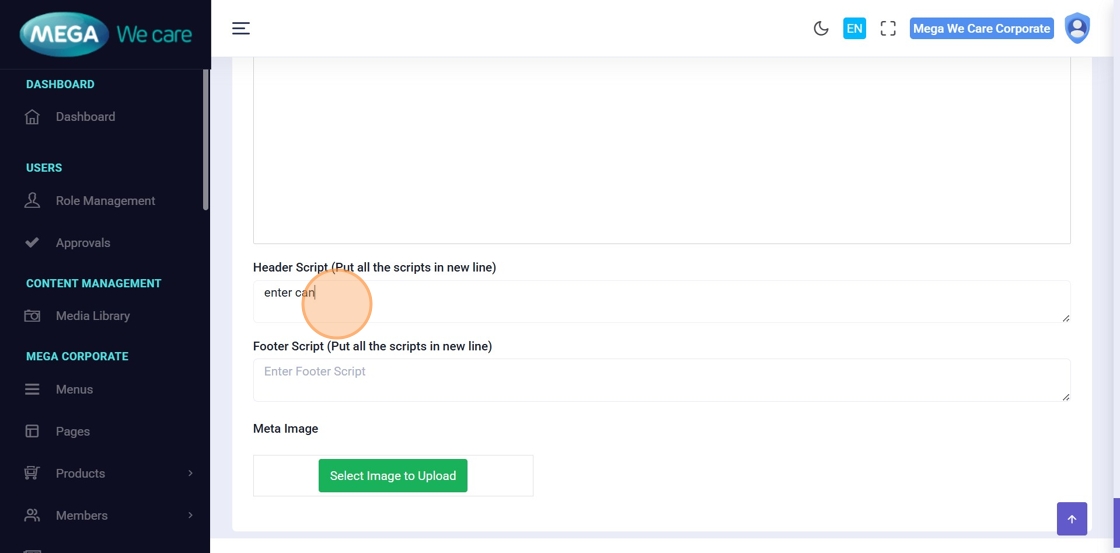
Step 26: Add Header Scripts
Click the Enter Header Script field and add the required header scripts for the product details page, such as canonical URLs or other scripts, each on a new line.
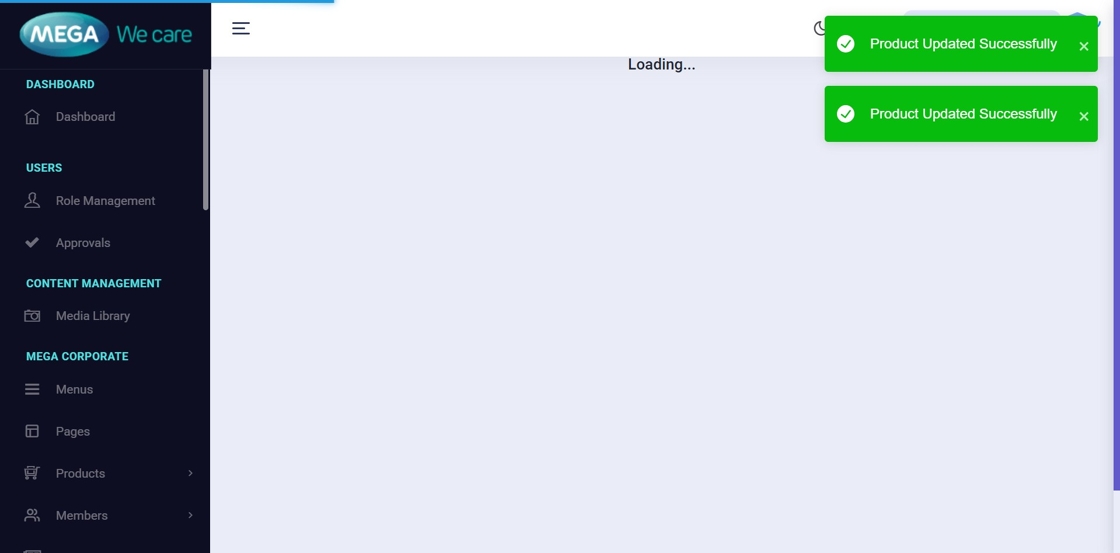
Step 27: Save the Product
Click Save or Save and Continue. A confirmation message will appear after successful save.
Edit Product & Add New Landing Page Design (Advanced Custom Fields)
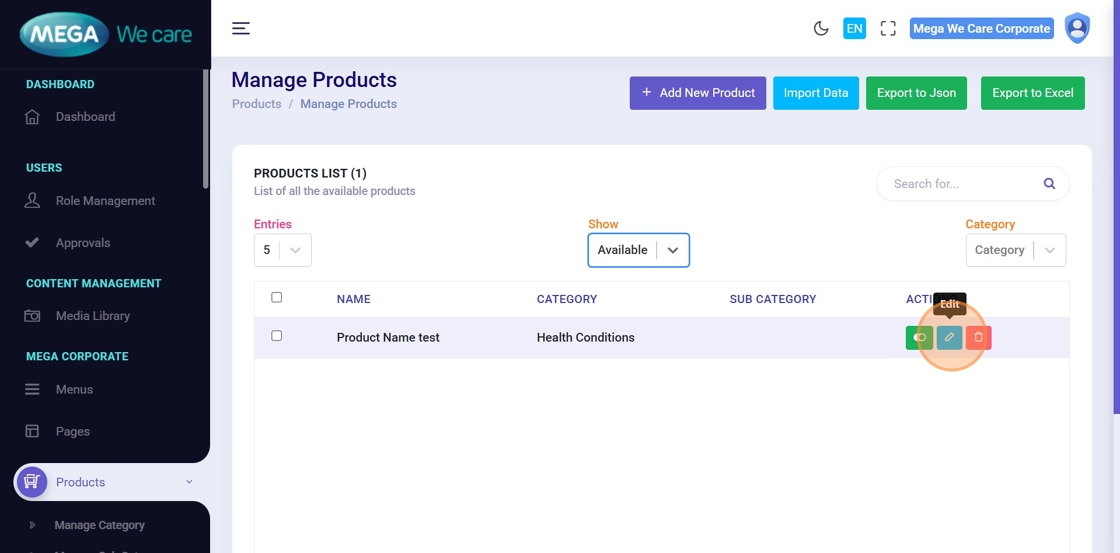
Step 28: Edit Existing Product
Click Edit next to the product you want to update.
Step 29: Update Product Details
You can update any product details and click Save or Save and Continue to apply the changes.
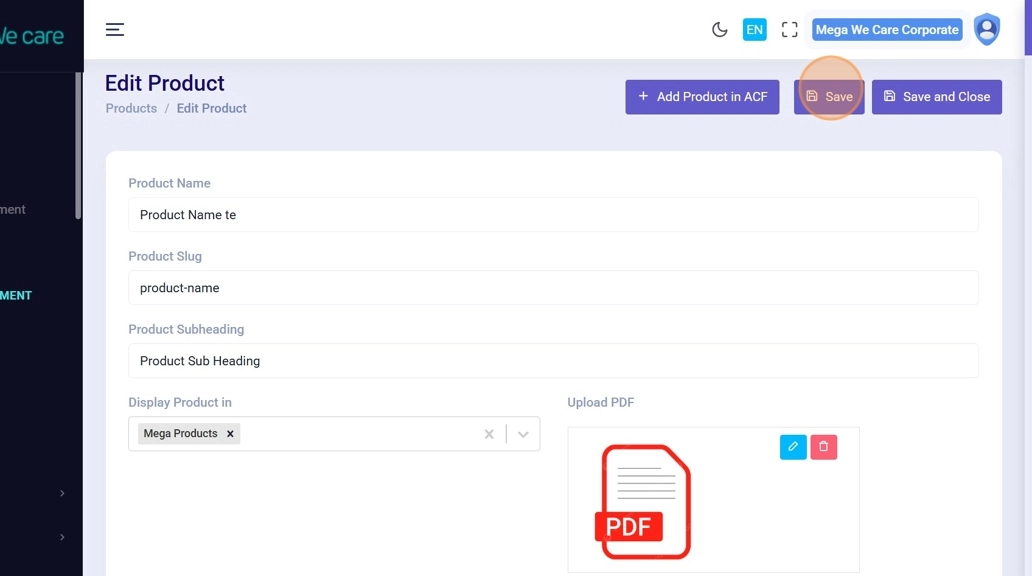
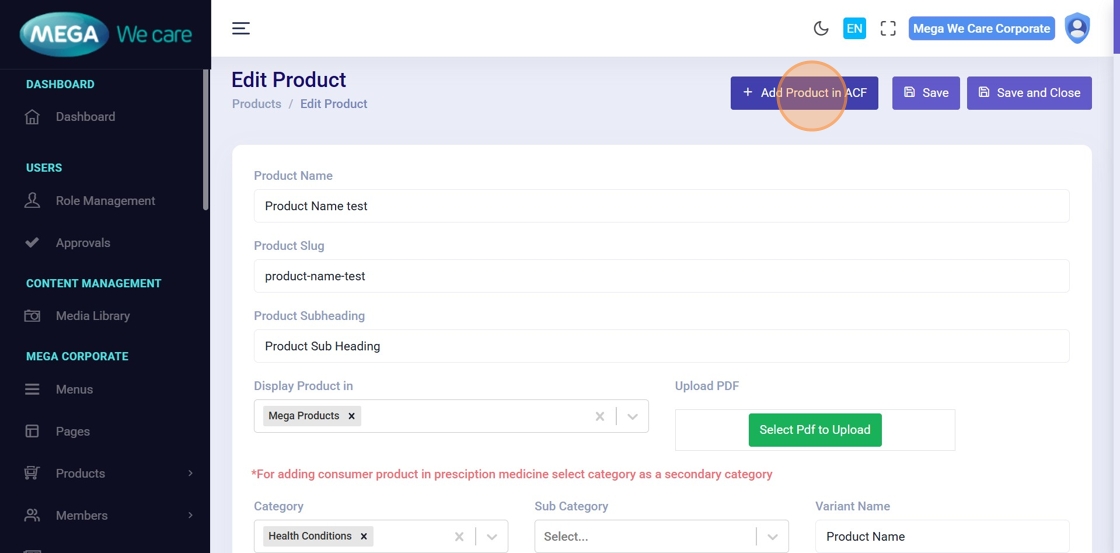
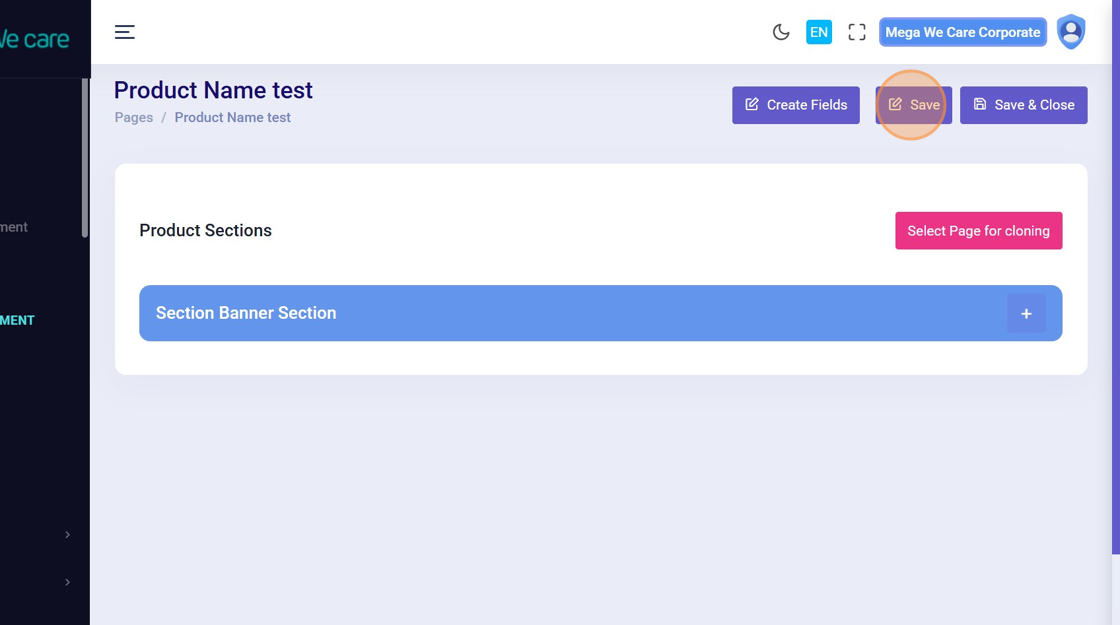
Step 30: Add Product Landing Page (Advanced Custom Fields)
If you want to add product content in the new design format, click Add Product in Advanced Custom Field to create or update structured content for product pages.
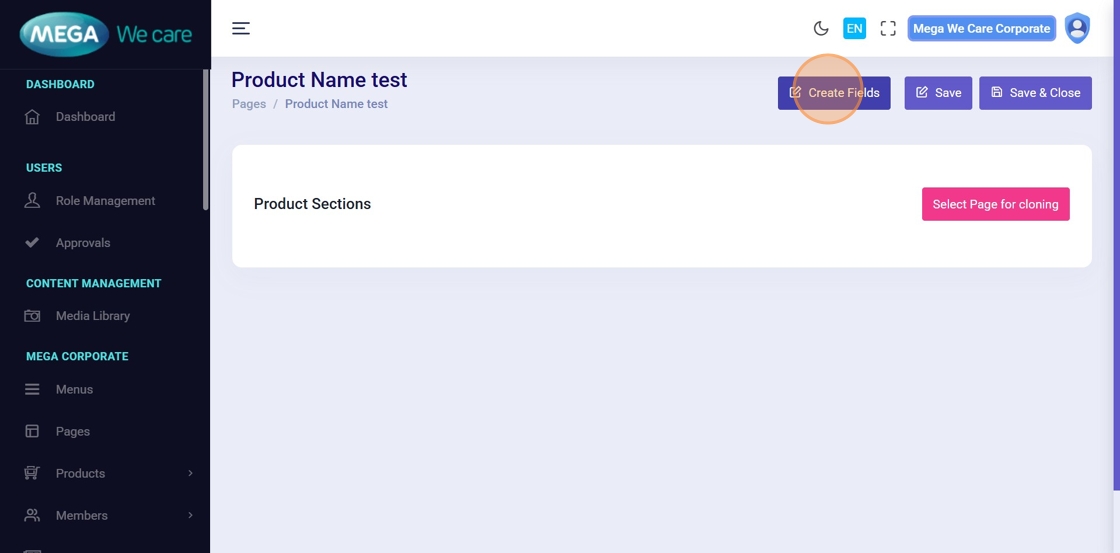
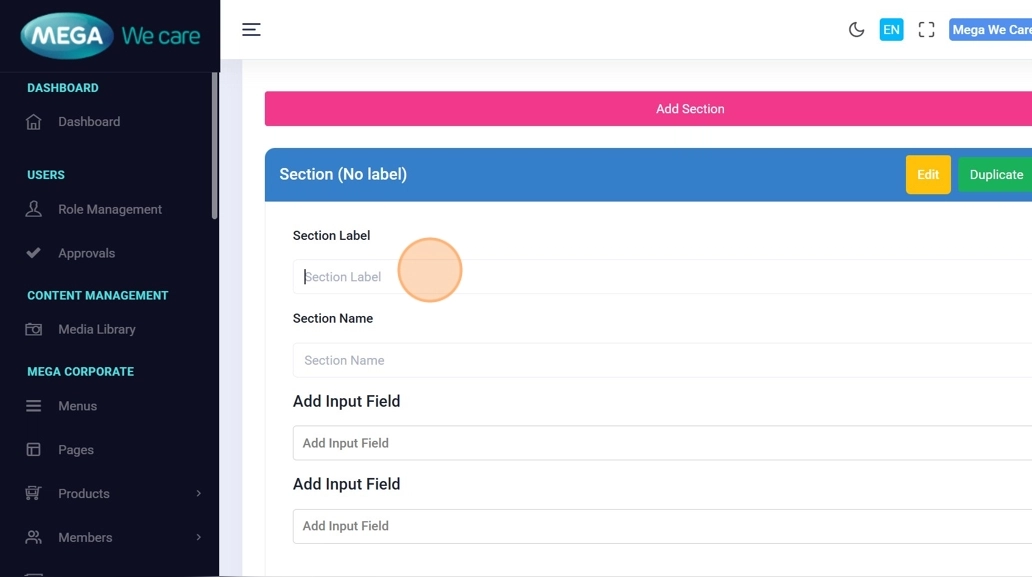
Step 31–35: Create Landing Page Sections
- Enter the section names, fill in the required fields, add the content, and click Save after adding the sections.
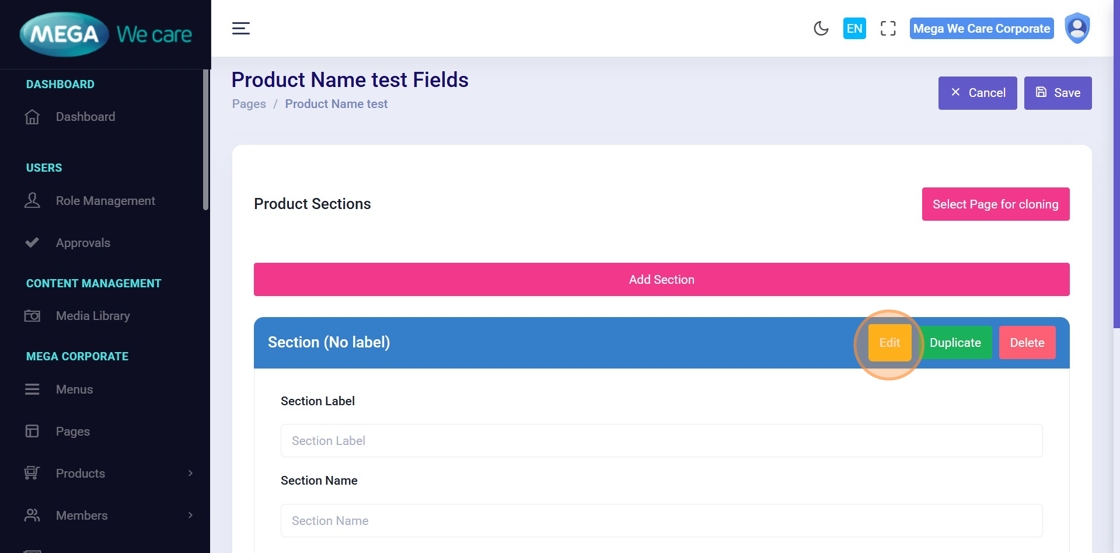
- After clicking Edit, set the Section Label and define the Section Name using underscores (e.g., banner_section). Use Add Input Field to create the required fields (title, color picker, link, image, video, list, number, repeater, text area). Repeat this for all product sections, similar to the page setup.
- Click Save to add the section to the new product design, and use the section name as the key for frontend integration.
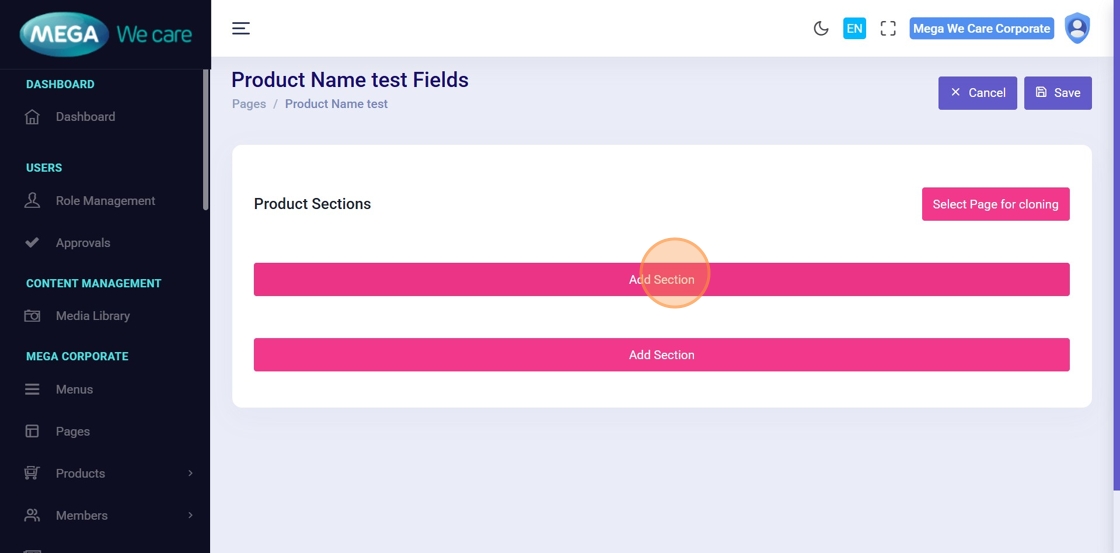
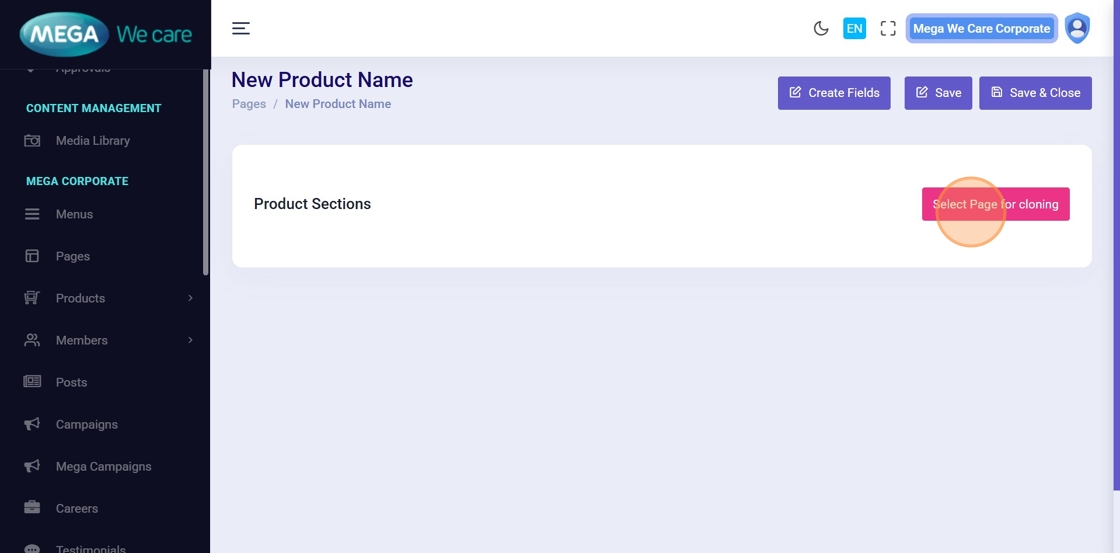
Step 36–40: Clone Sections from Another Product
- Click Select Page for Cloning to start using the same sections for another product.
- Make sure the sections are already created for that product, otherwise the page will not appear in the list.
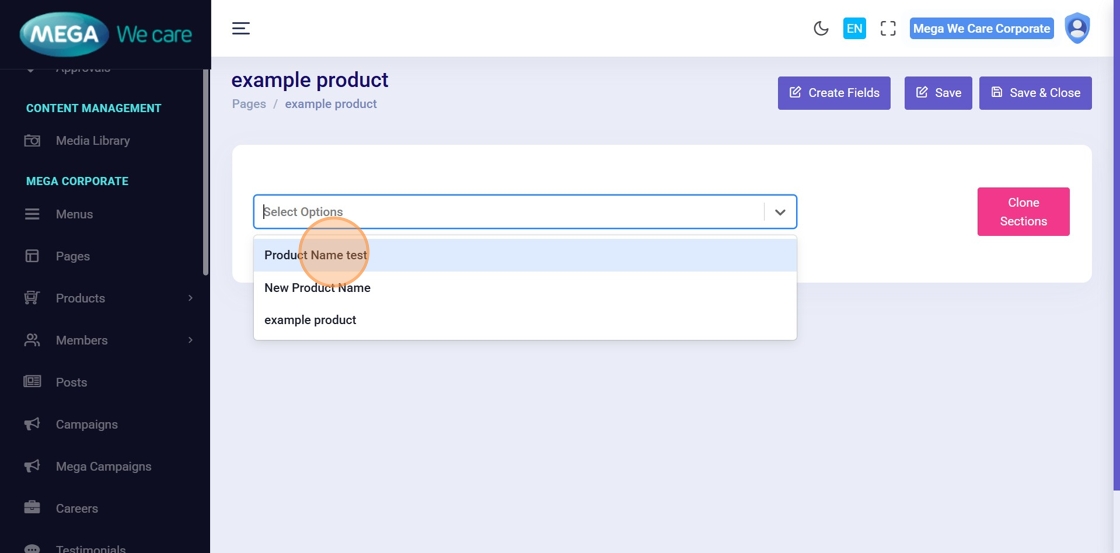
- Click the Select Option dropdown and choose the page from which you want to copy sections.
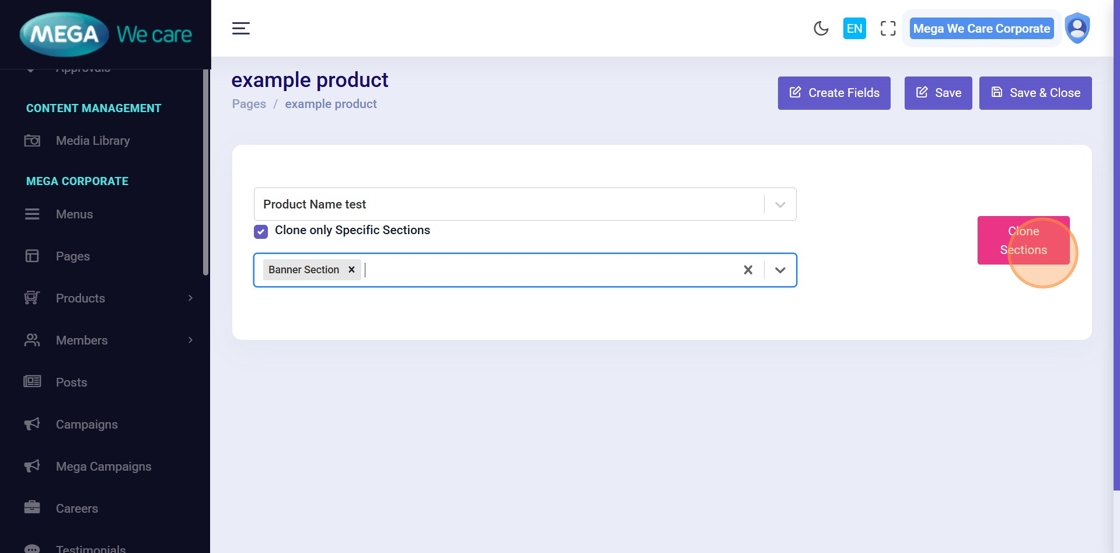
- Select Clone only Specific Sections if you want to copy only selected sections.
- Choose the sections you want to copy from the list.
- Click Clone Sections to copy the selected sections to the new product page.
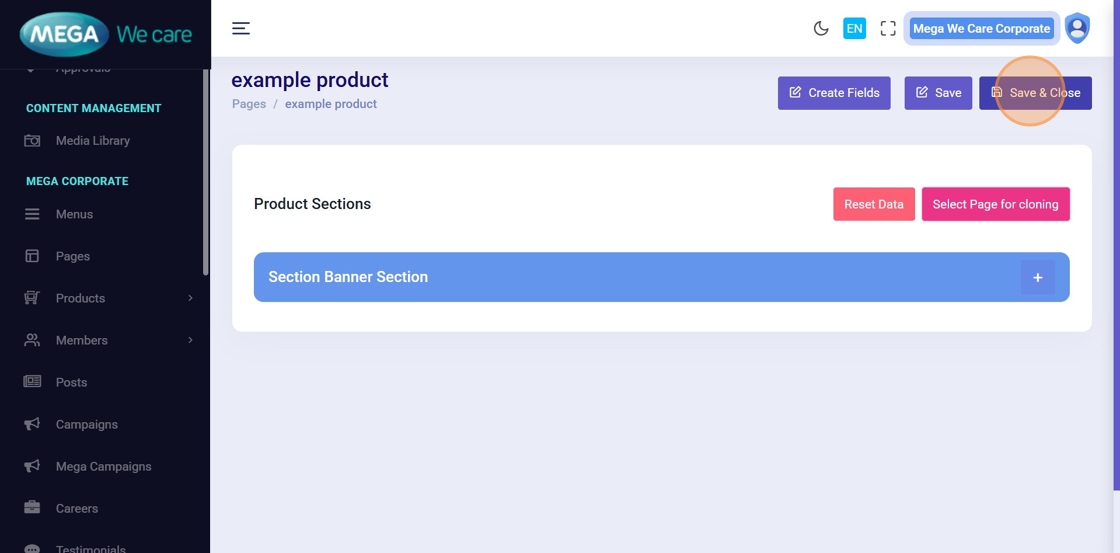
- Click Save or Save & Close to save the updated product content.

Delete, Restore & Permanently Delete Products
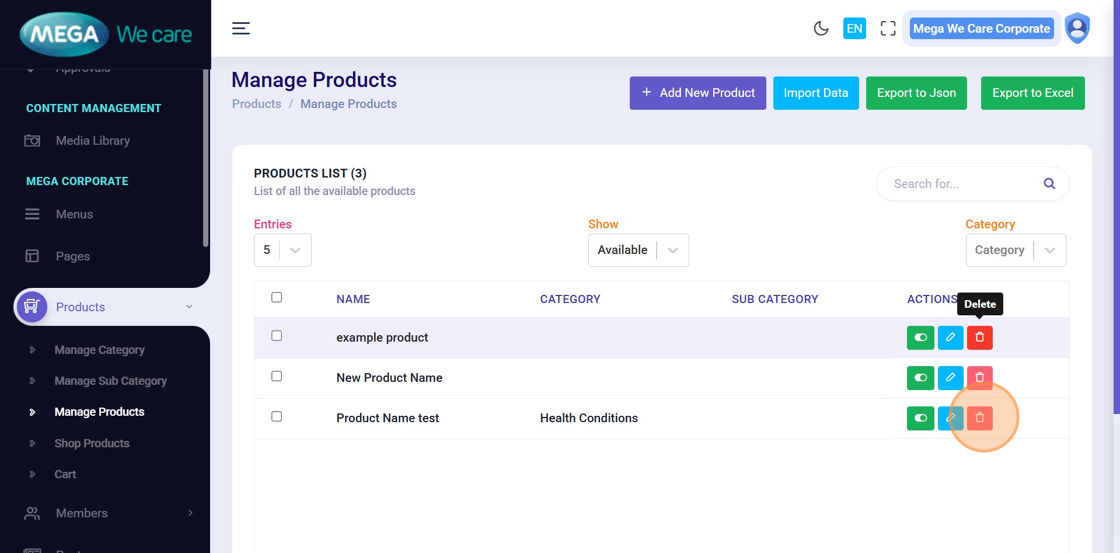
Step 41: Move Product to Trash
To delete a specific product, click the Delete icon. The product will be moved to the Trash and will remain there for 30 days before being permanently removed.
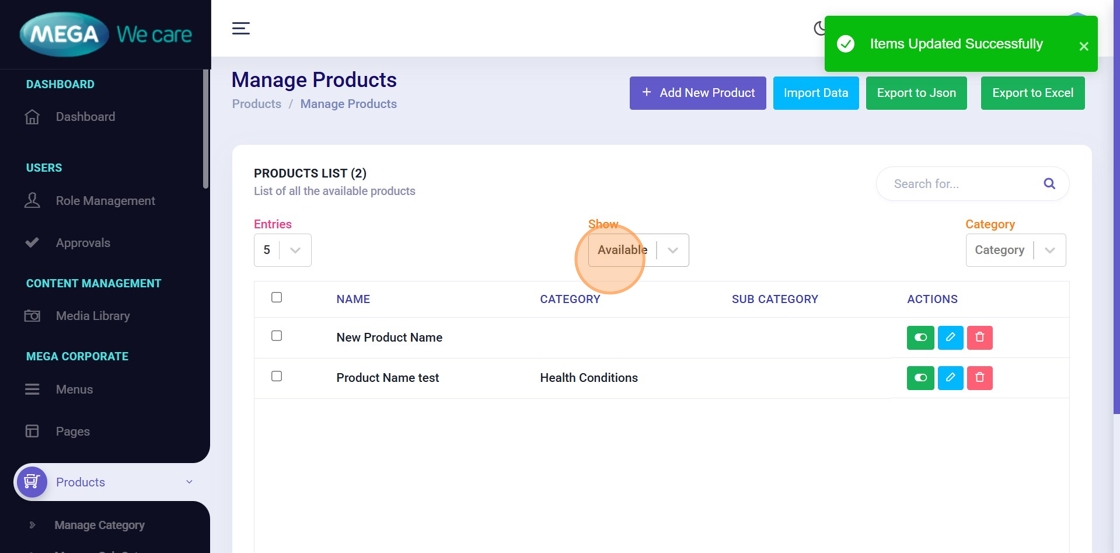
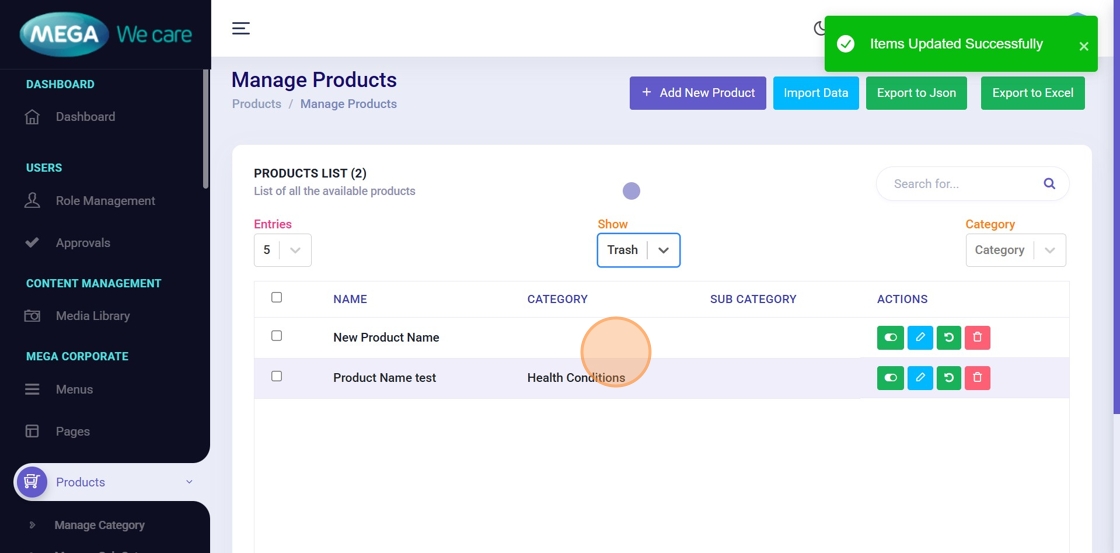
Step 42–43: View Trashed Products
- After moving a product to Trash, open the Select Status dropdown and change the filter from Available to Trash to view all trashed products. From here, you can restore individual or bulk products, or permanently delete selected or all trashed products.
- In the Trash section, you can view temporarily deleted products and choose to restore them or permanently delete specific or multiple products as needed.
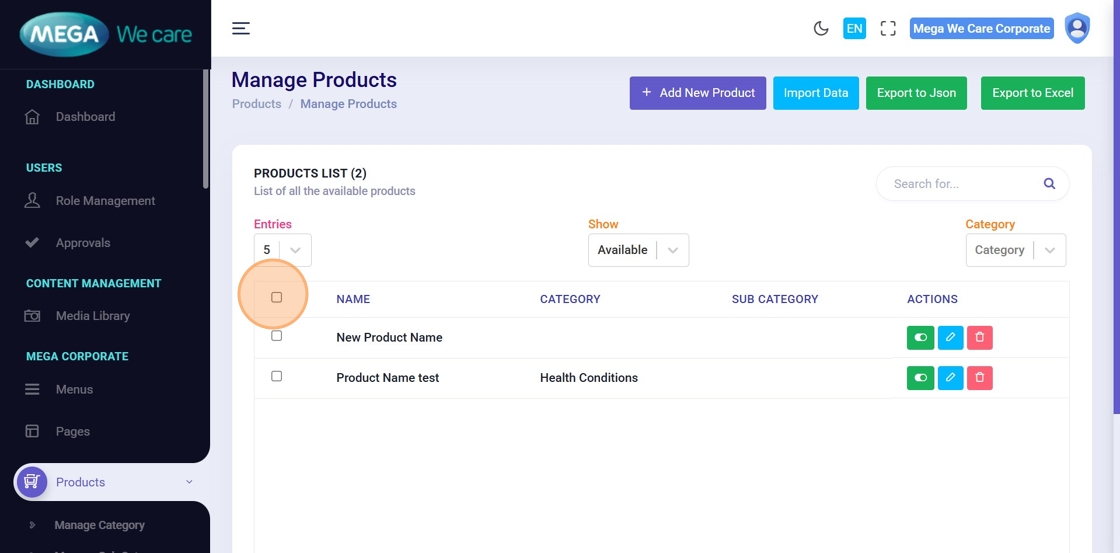
Step 44–46: Bulk Move Products to Trash
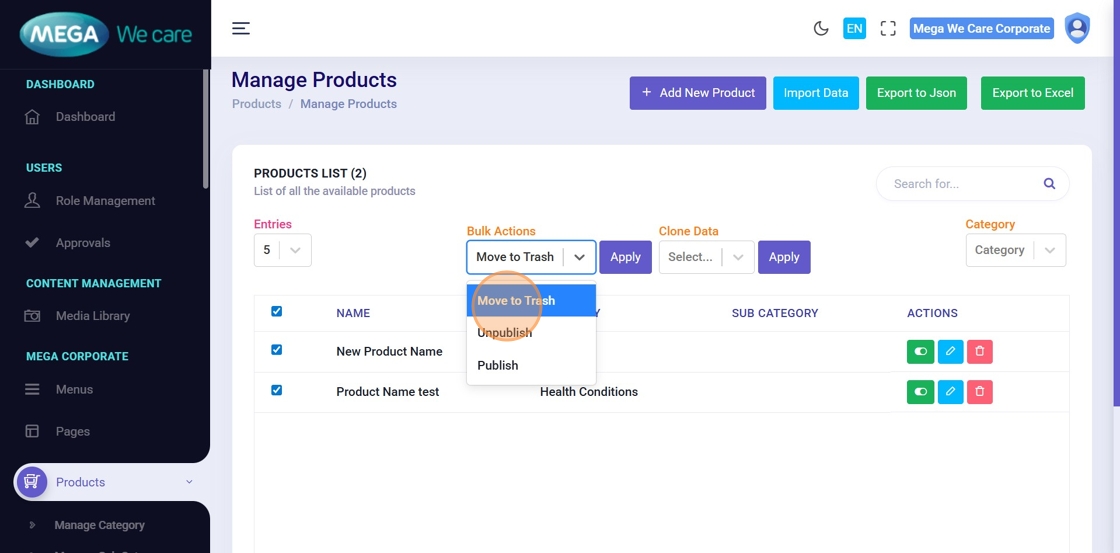
- To delete multiple or all products, select the products you want to remove.
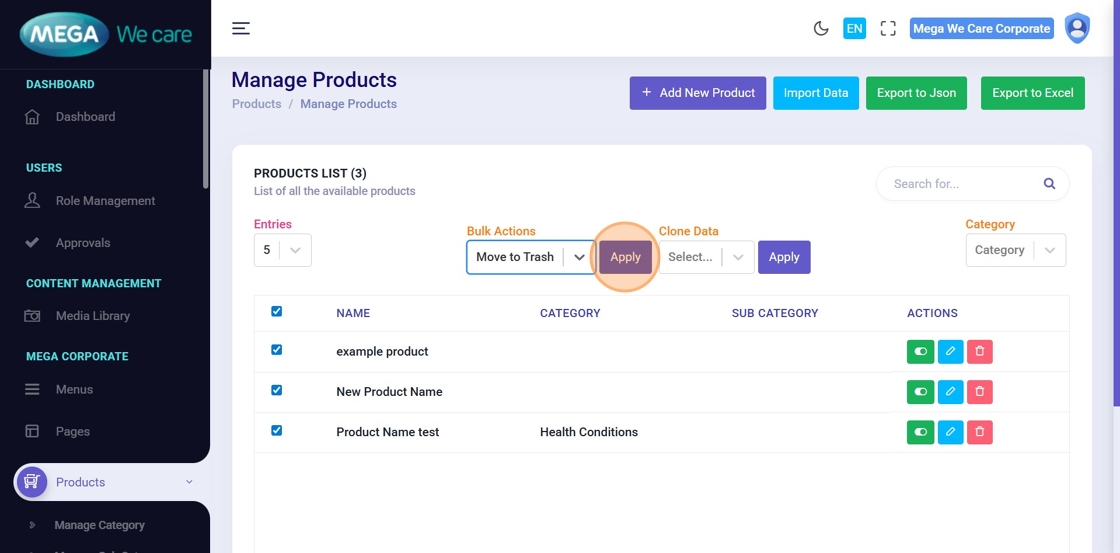
- After selecting the products, choose Move to Trash from the Bulk Actions dropdown.
- Click Apply to move the products to Trash.
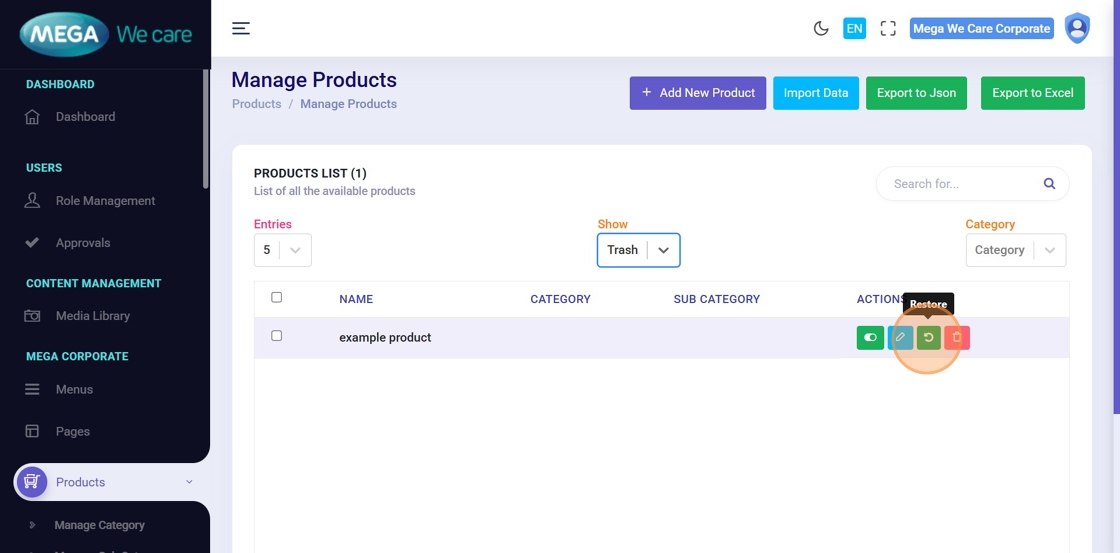
Step 47: Restore Product
Click Restore to recover the product from Trash.
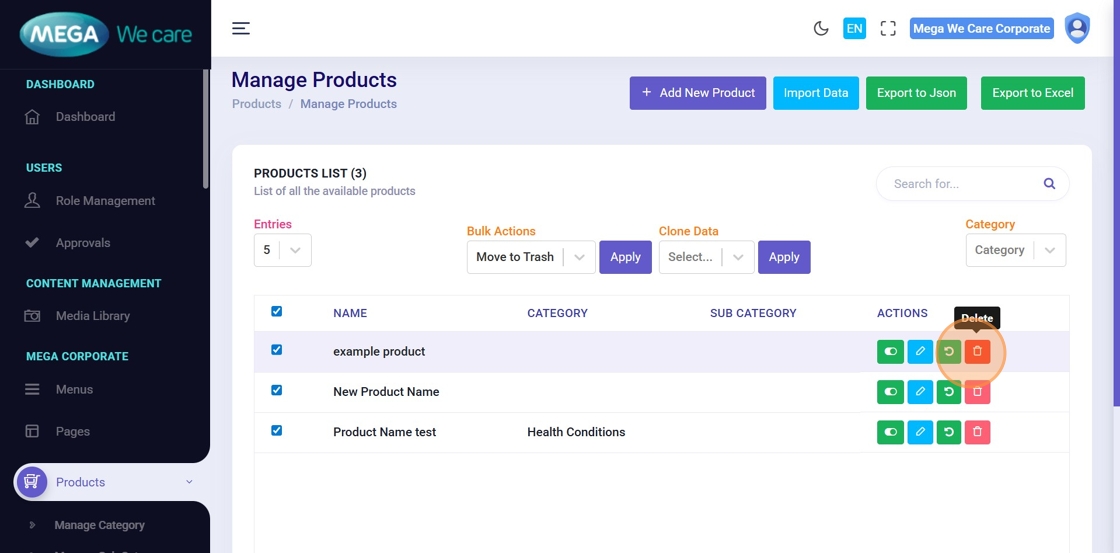
Step 48–49: Permanently Delete Products
- To permanently delete single or multiple products, change the status filter from Available to Trash, then adjust the page size to view all trashed products. Select individual products or use the bulk checkbox to select all, choose the Permanently Delete action, and click Apply.
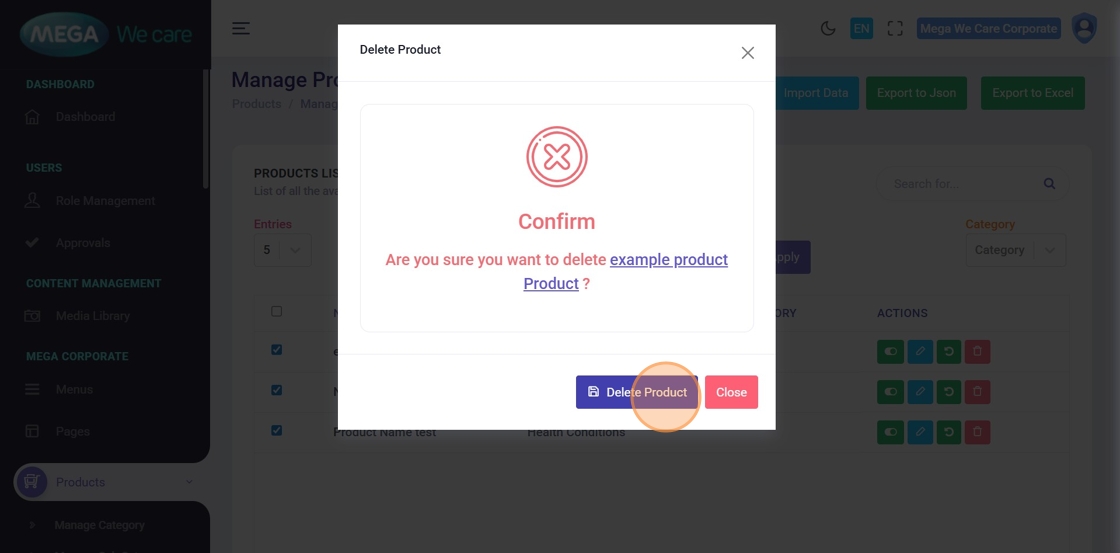
- After attempting to delete a product or multiple products permanently, a confirmation message will appear asking for confirmation. Once approved, the products will be permanently deleted and cannot be restored.
Important Notes
- If you want to map a product to the HCP category, select HCP Products in the Display Product in section. Otherwise, keep it as Mega Products. You can select multiple options here and arrange them using drag and drop.
- If you are adding a prescription product, make sure to upload the required PDF in the Upload PDF section without fail.
- Choose the relevant Product Categories. You can assign the product to multiple categories and use drag and drop to set the display order.
- Choose the relevant Product Sub Categories. You can assign the product to multiple sub categories and use drag and drop to set the display order, also dont forget to set primary category first.
- Also, remember to set the product background color, product subheading title color, and the category and subcategory background and title colors. You can choose either a solid color or a linear gradient based on your requirement.
- If you want to add a canonical tag for a product or include any script in the head tag of the product details page, you can add them in the Header Script field under the SEO section. You can add multiple scripts by placing each one on a new line.
- If you want to enable the new product landing page design, click the Add Product in Advanced Custom Fields button inside edit product content section and continue creating sections and adding content for the new product landing page.
Summary
By following this document, you can add new products, upload images and videos, organize products using categories and availability, customize their design, add features and content, manage FAQs and related products, create product pages using Advanced Custom Fields, and delete or restore products when needed.