Page Navigation
How to Add, Update and Delete Mega Press Release Posts
This document explains how to create, edit, and manage Mega’s press release posts in the backend dashboard. It helps users publish quality content, keep posts updated, control visibility, improve SEO, and safely delete posts when required.
Overview
By following this document, you will learn how to:
- Navigate to the Posts module
- Create new blog posts with full content, images, and SEO information
- Edit and update existing posts
- Manage blog visibility through publish/unpublish options
- Perform bulk actions and delete posts safely
This ensures your blog remains well-organized, engaging, and optimized for a better user experience.
Create New Post
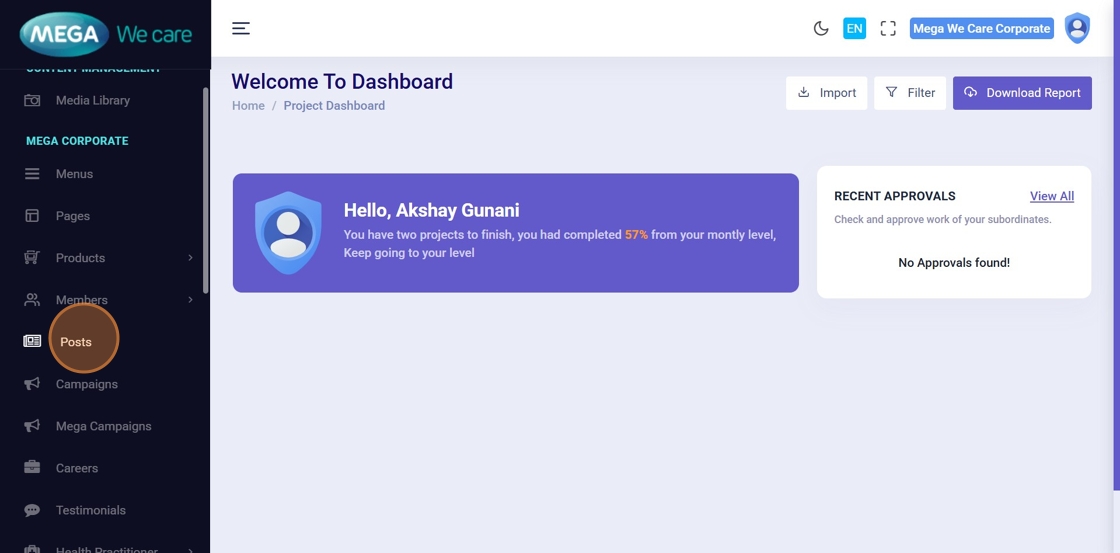
1. Open Admin Dashboard
Begin by navigating to the Admin Dashboard to access all blog management tools.

2. Click “Posts”
Select Posts from the left sidebar to open the Blog Posts module.
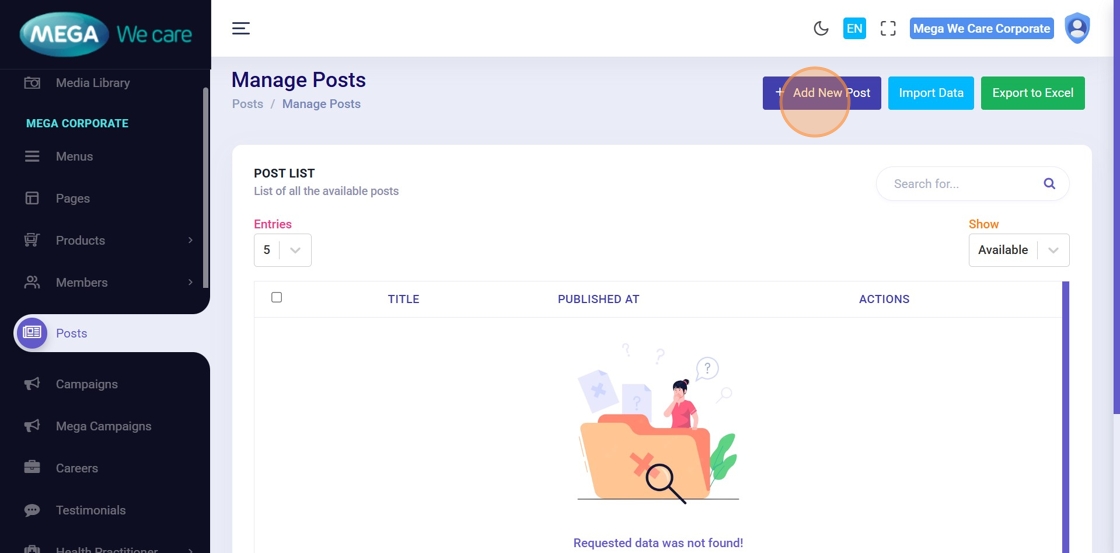
3. Click “Add New Post”
This opens the form for creating a new blog post.
4–5. Enter the Blog Title
Click the Enter Title field and type the blog post title.

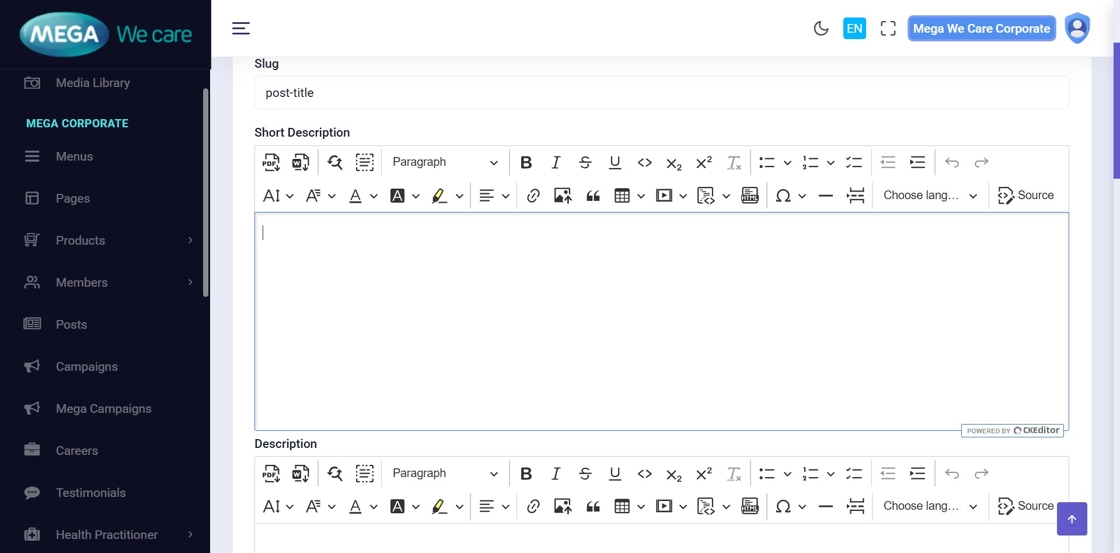
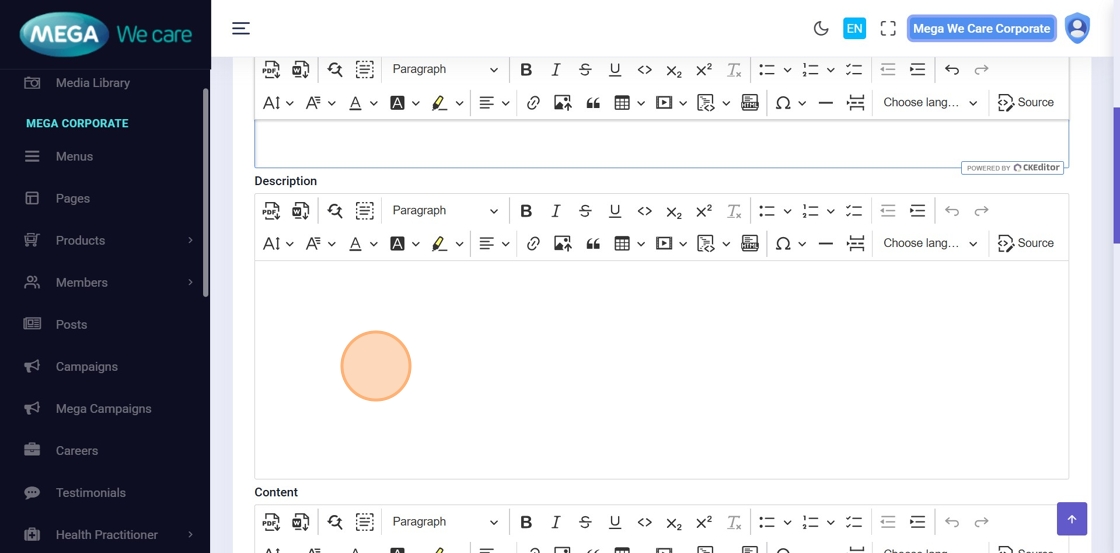
6. Add Short Description
Write a brief summary of the post in the Short Description editor.
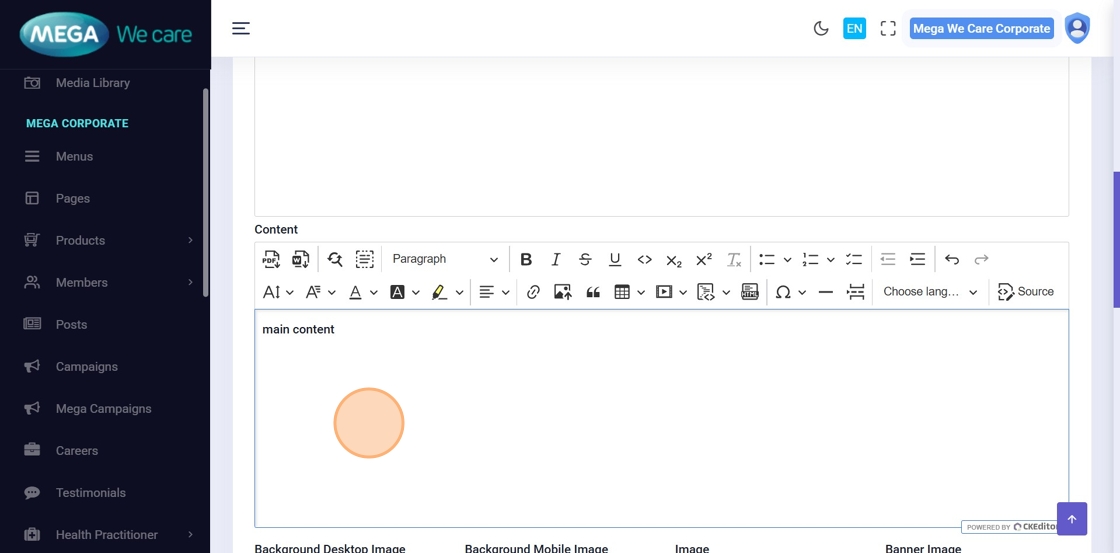
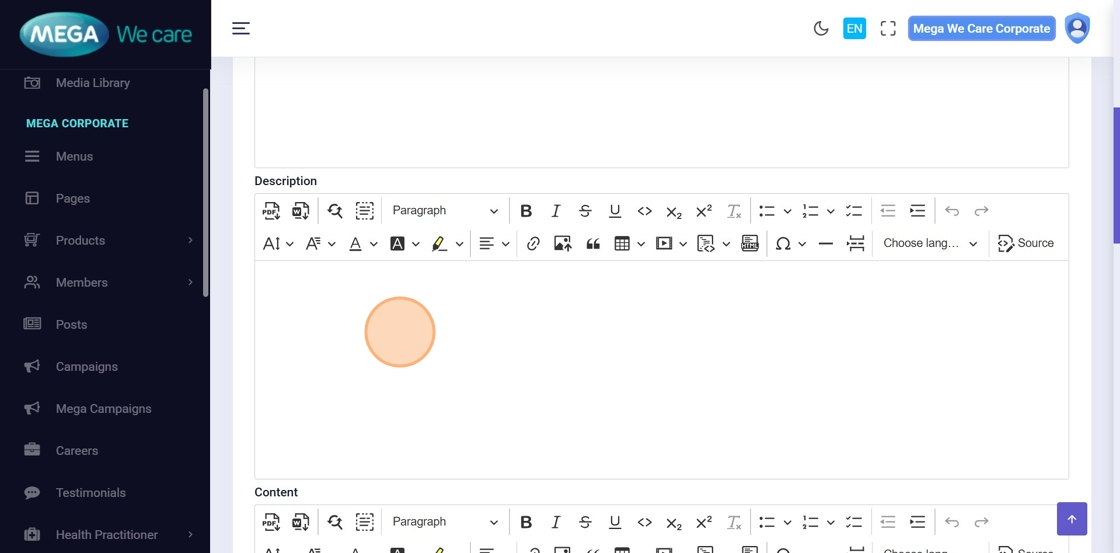
7–8. Add Full Content
Use the main Description editor to write the complete blog content.
You can add formatted elements like bold text, images, bullet points, and headings.
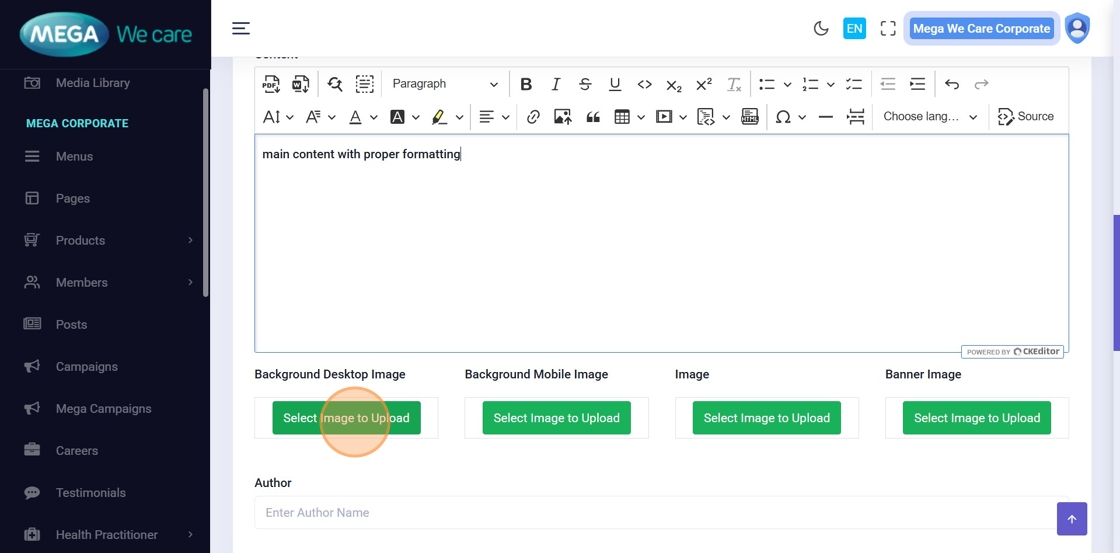
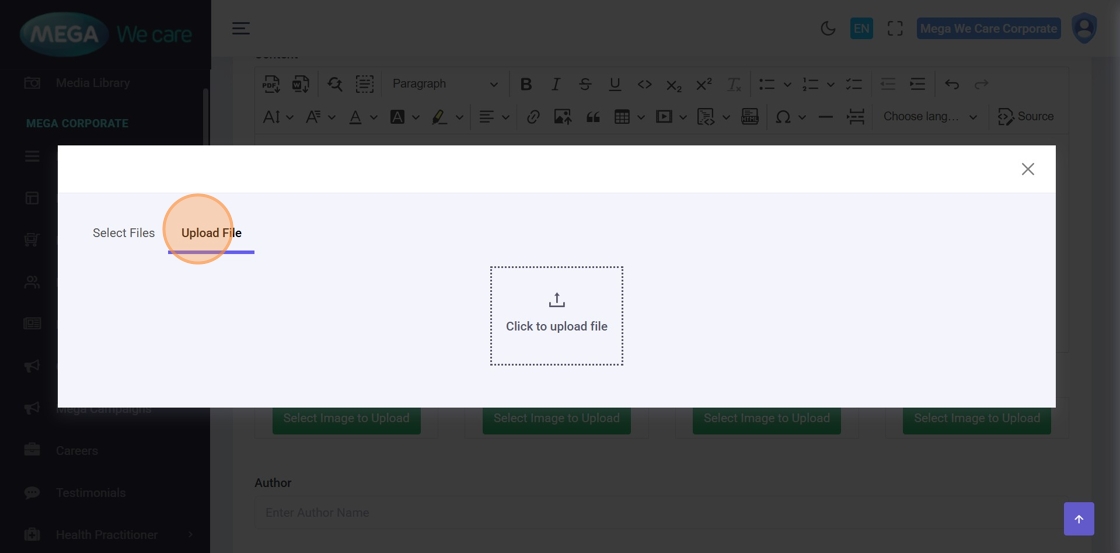
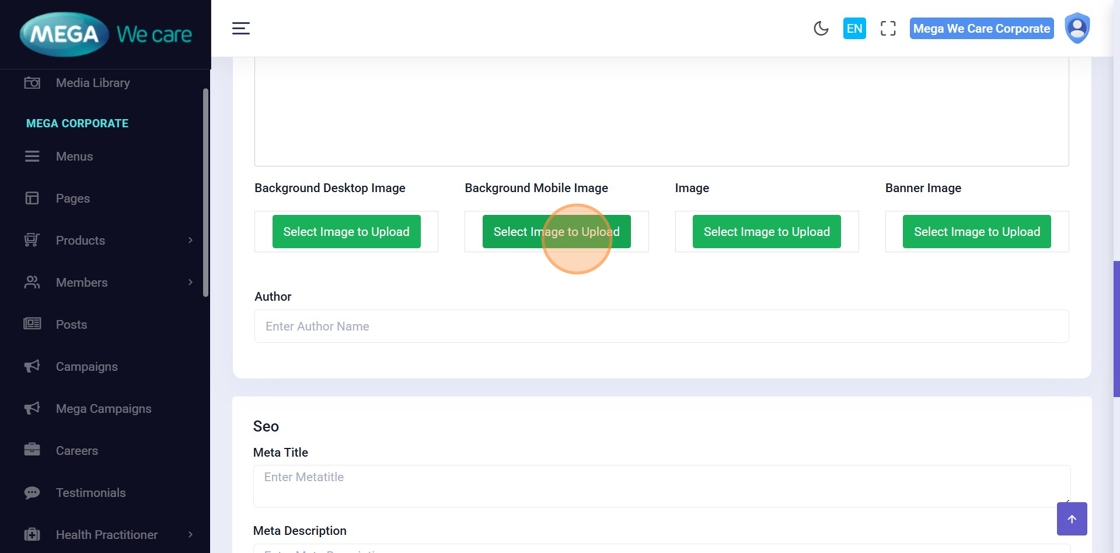
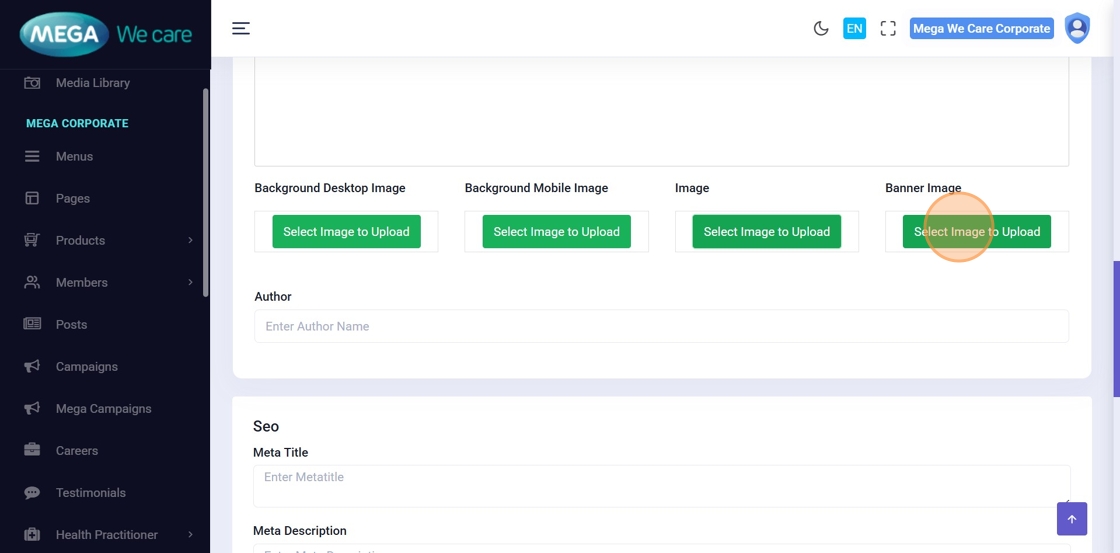
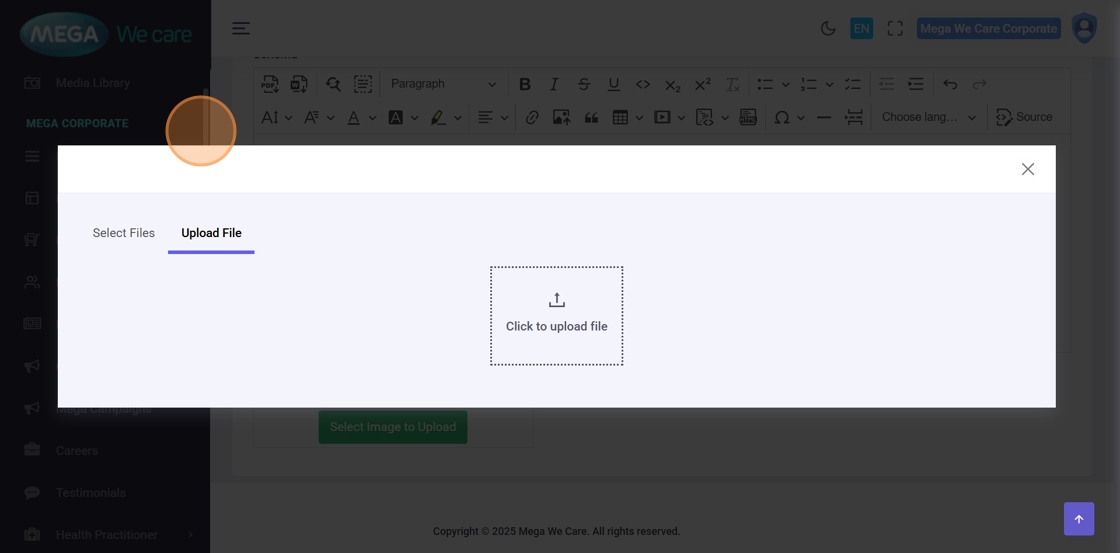
9–12. Upload Blog Images
Upload different types of blog images:
- Background Desktop Image
- Background Mobile Image
- Banner Image
Use Select Image to Upload and choose files from your device or the media library.
13. Enter Author Name
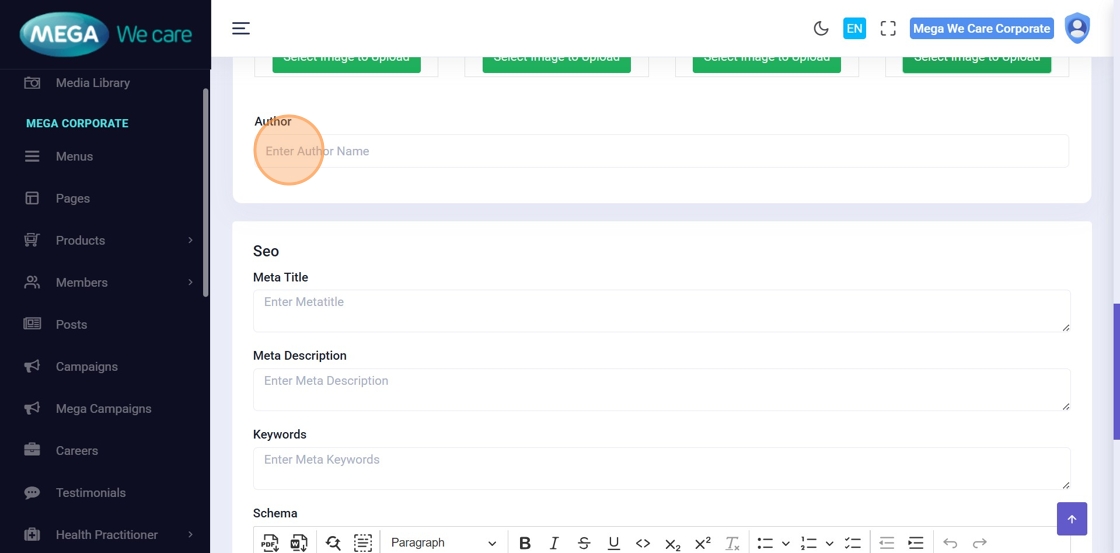
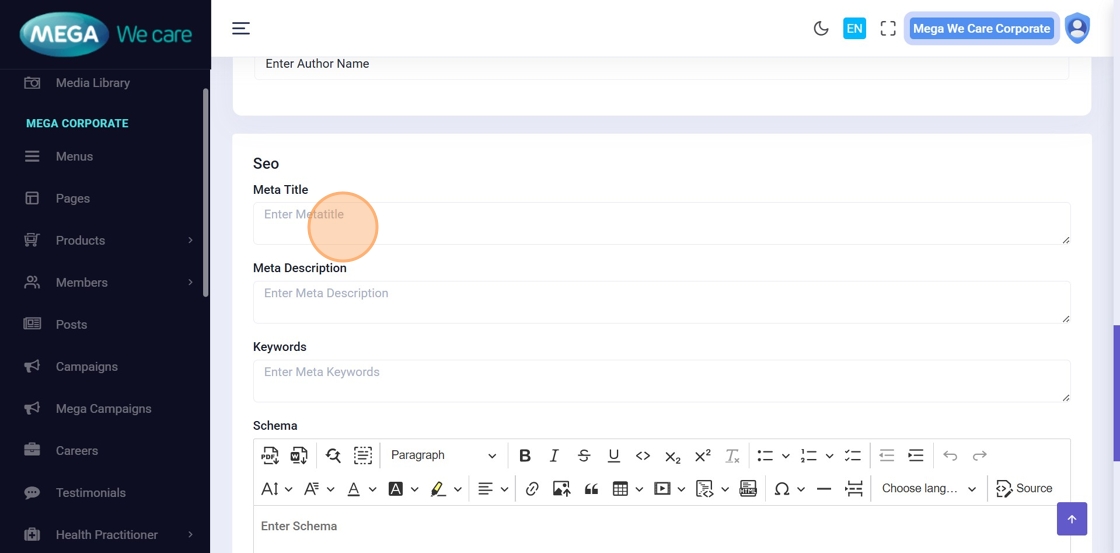
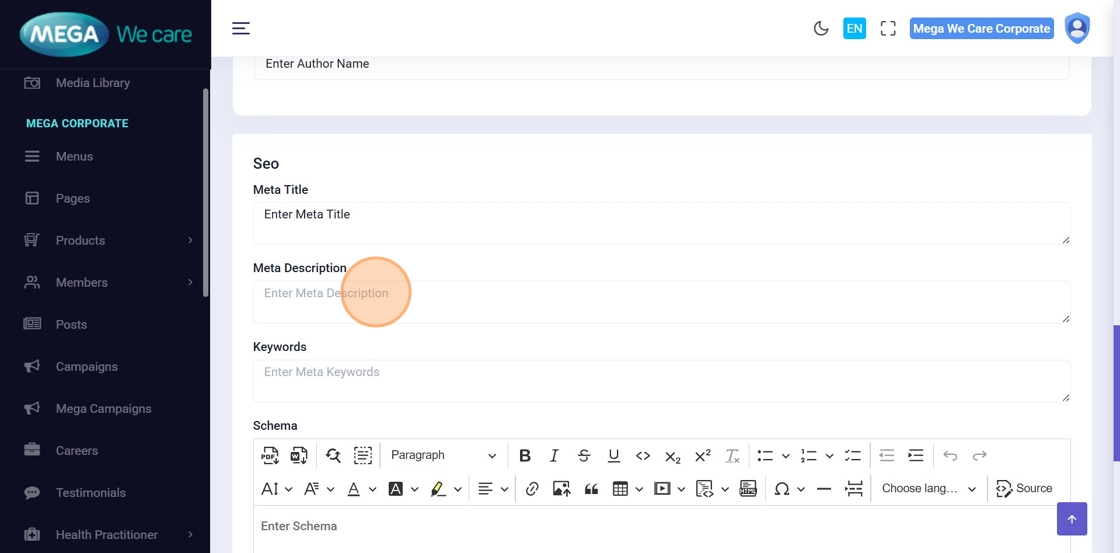
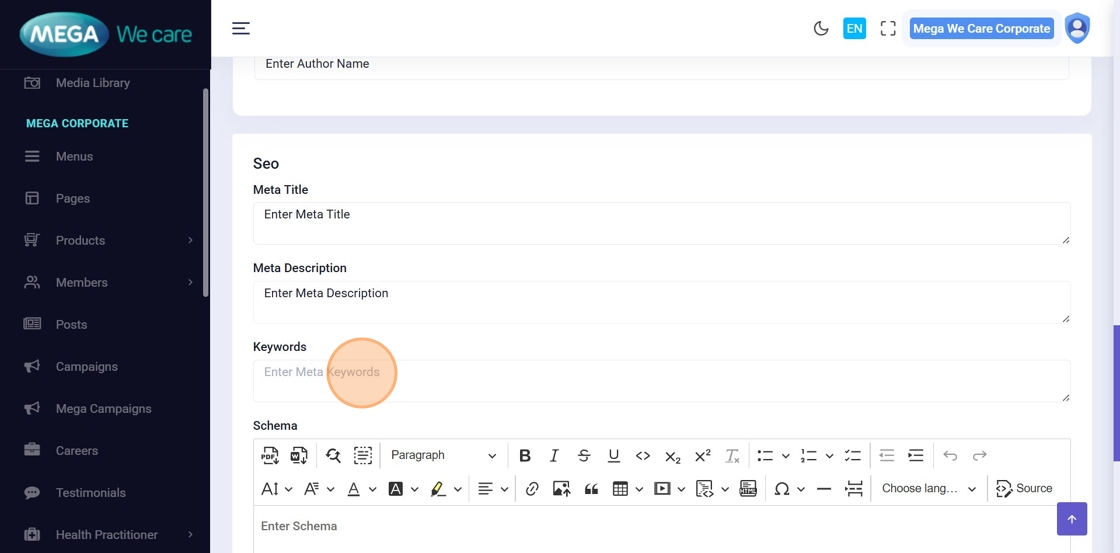
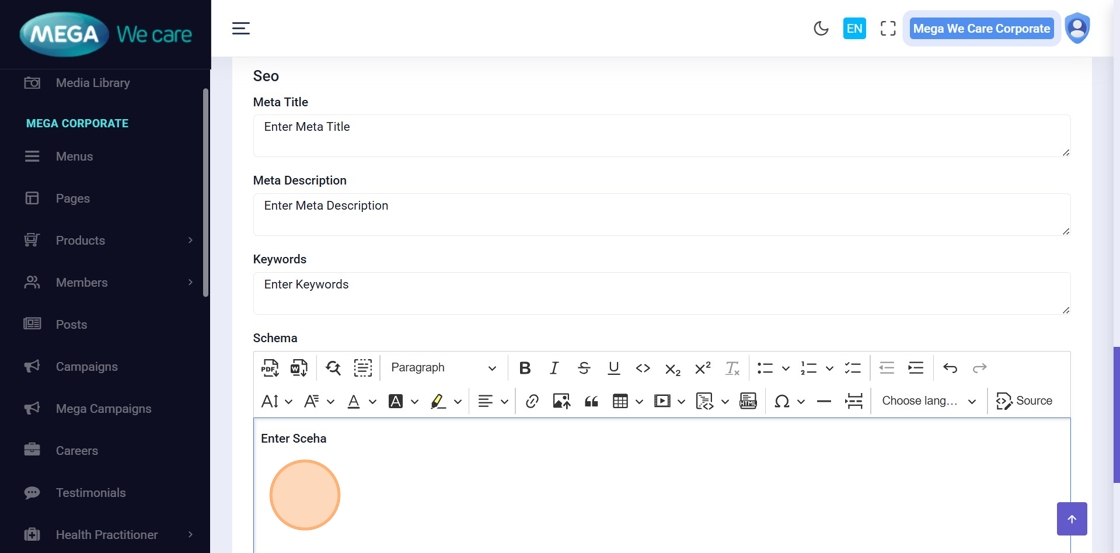
14–17. Add SEO Details
Fill in all required SEO fields:
- Meta Title
- Meta Description
- Meta Keywords
- Schema Script (JSON-LD)
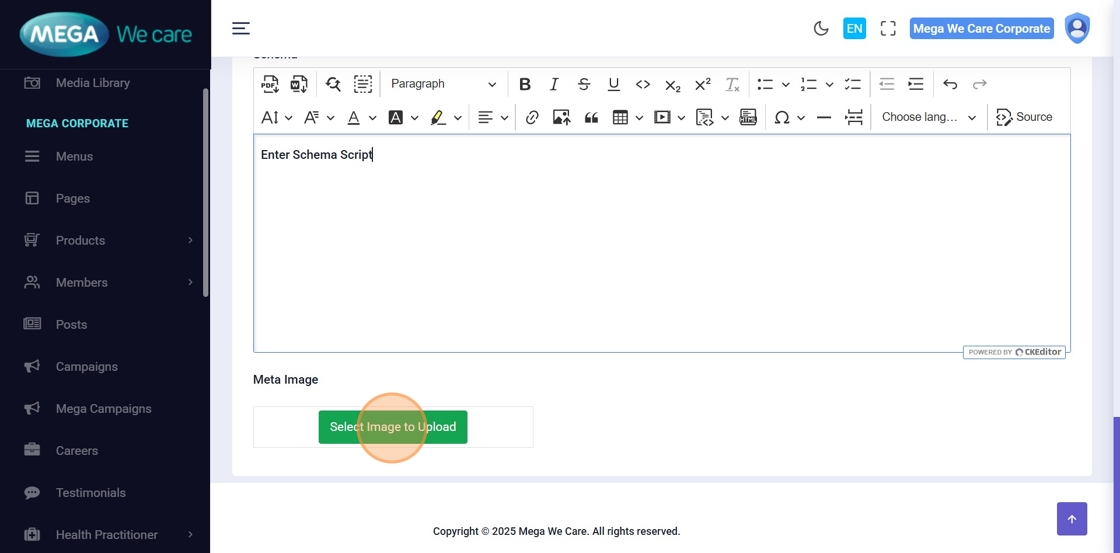
18–19. Upload Meta Image
Upload the meta image used for social sharing and SEO previews.
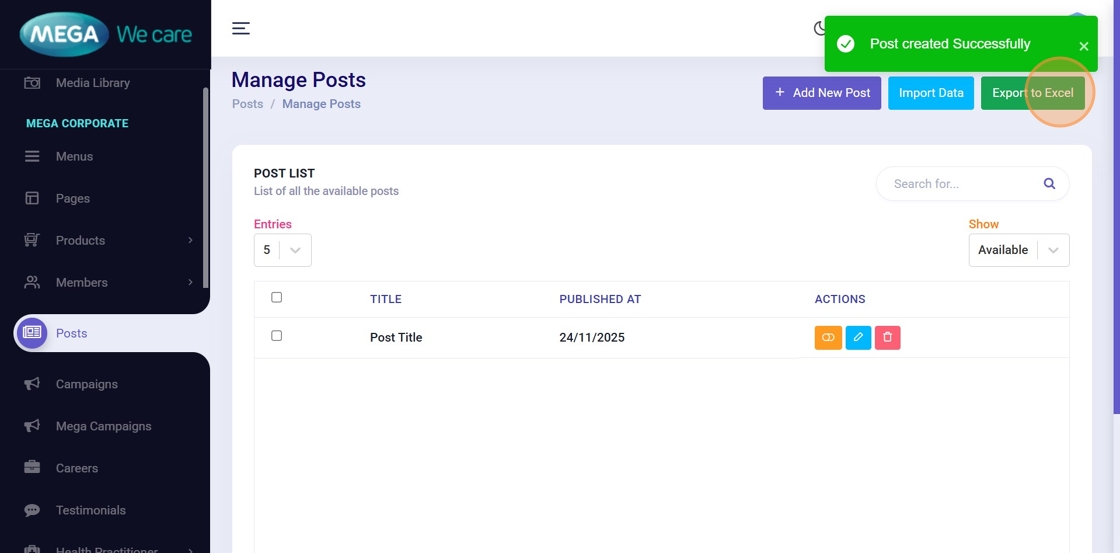
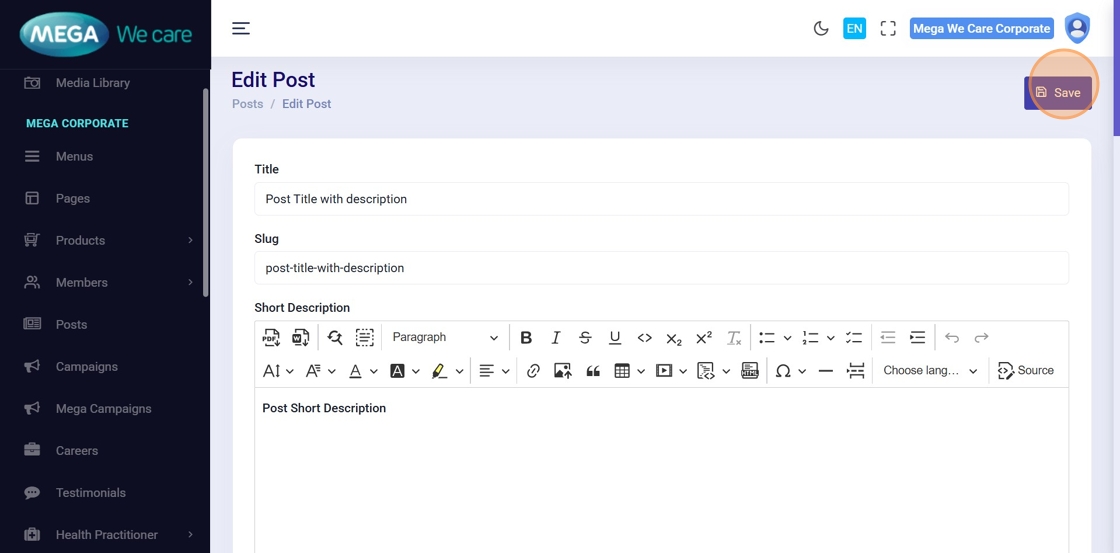
20. Save the Post
Click Save to publish your new blog post.
Edit Post on Backend Dashboard
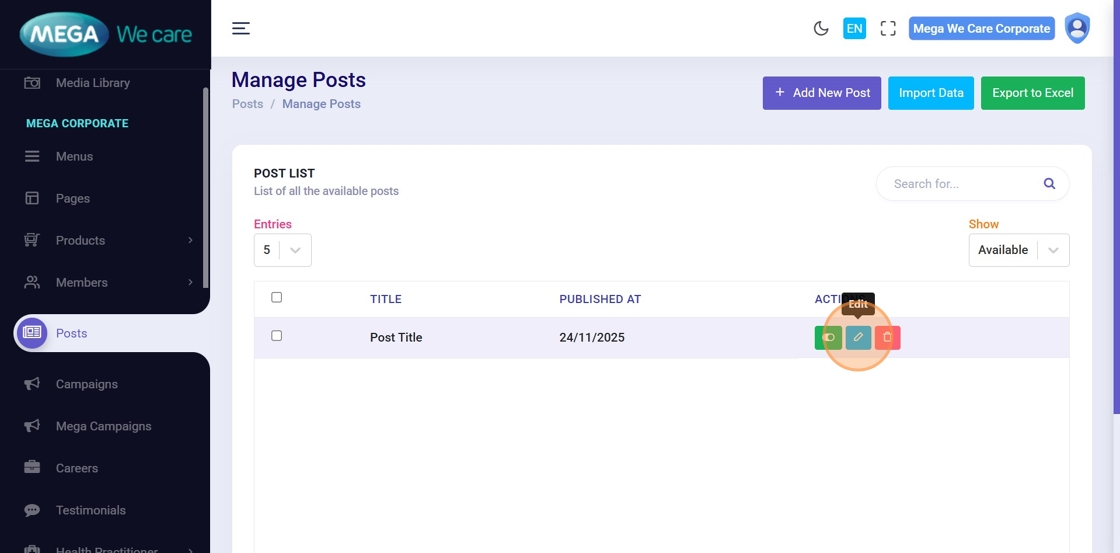
21. Click the Edit Icon
Select the blog post you want to update.
22–23. Update Content
Edit any field such as:
- Title
- Short Description
- Full Description
- Images
- SEO fields
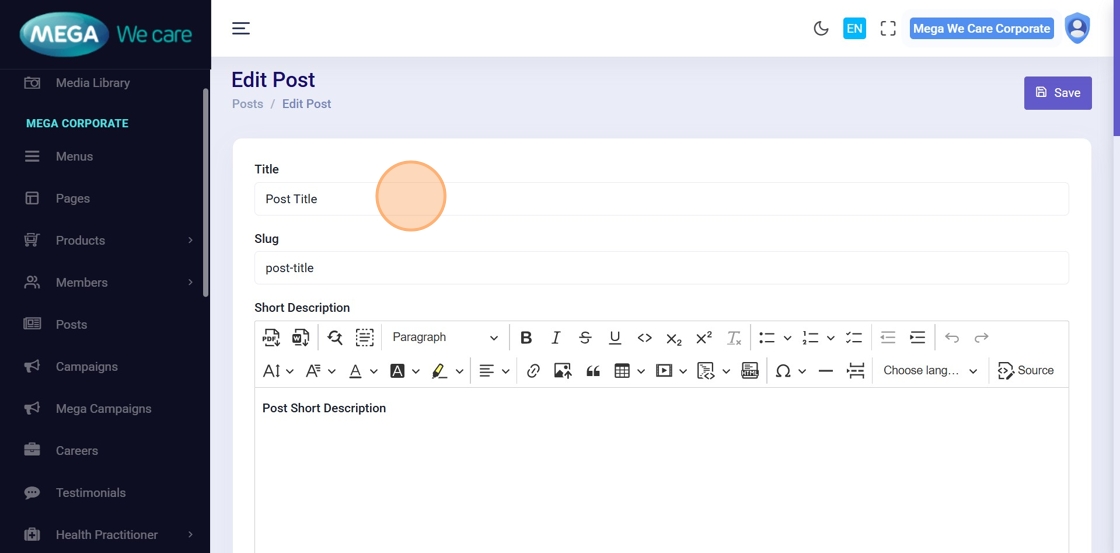
24. Save Changes
Click Save to apply updates.
Manage & Delete Posts on Backend Dashboard
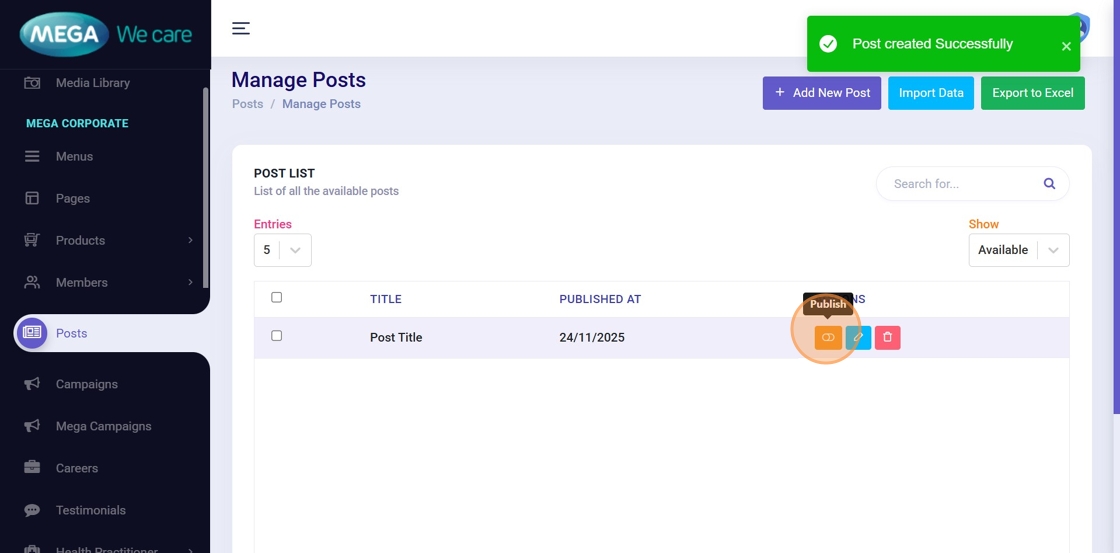
25. Publish or Unpublish Posts
Use the toggle to control visibility of each post.
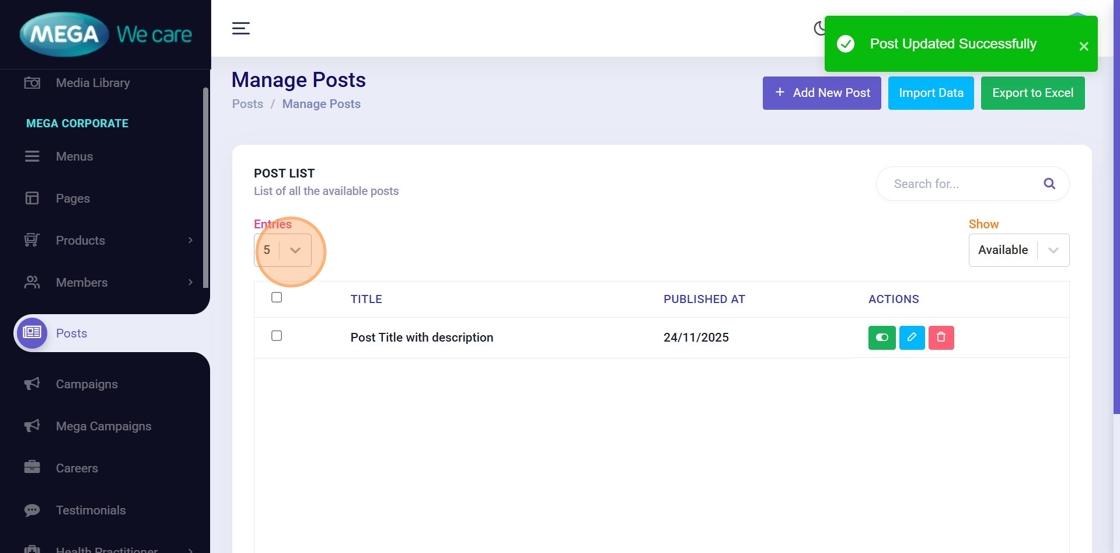
26–27. Adjust Number of Posts per Page
Use the entries dropdown to choose how many posts should display (e.g., 10, 25, 50, 100).
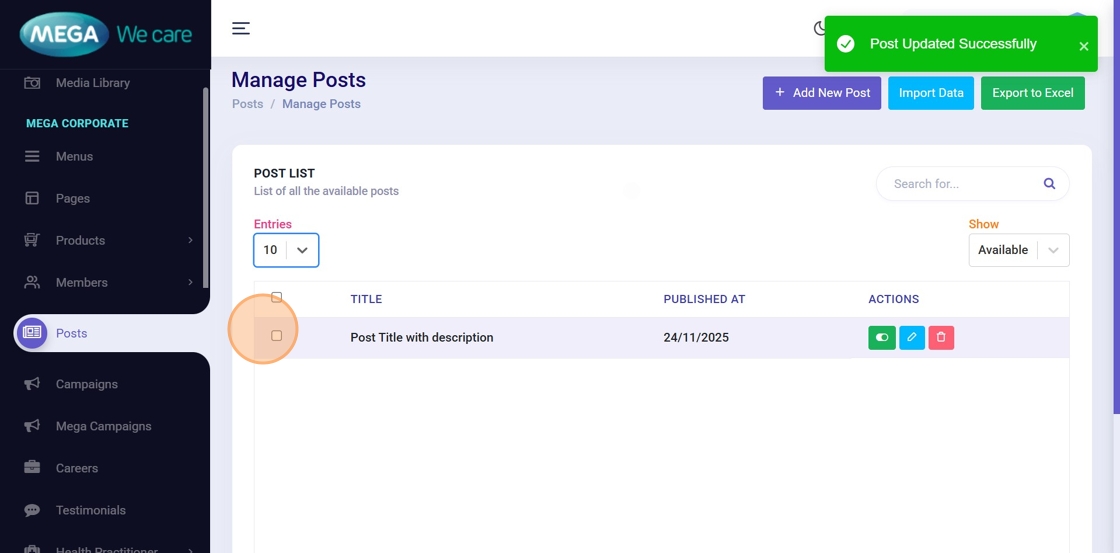
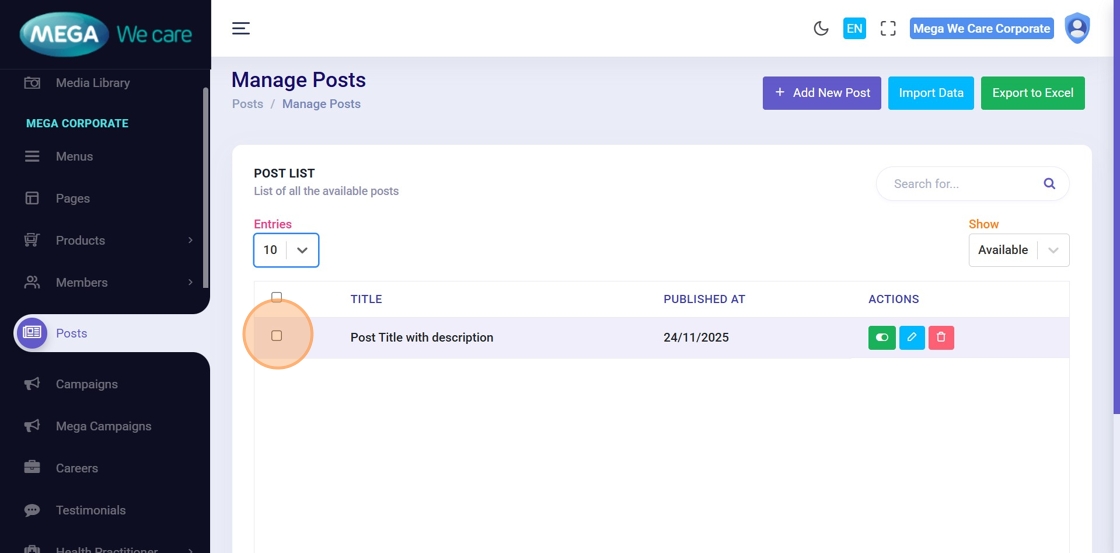
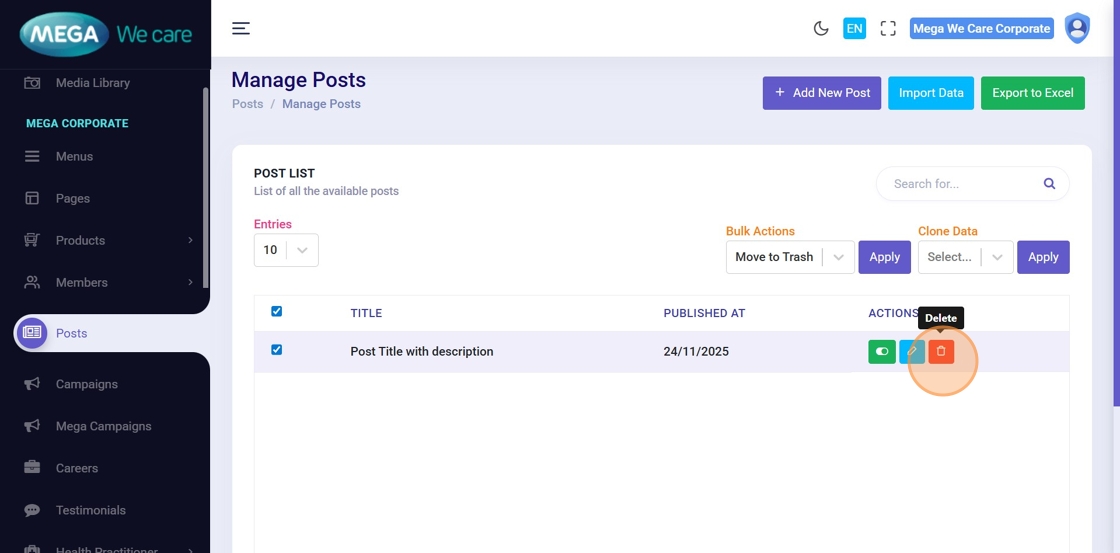
28. Select Posts for Bulk Actions
Click the checkbox next to each post to include it in a bulk action.
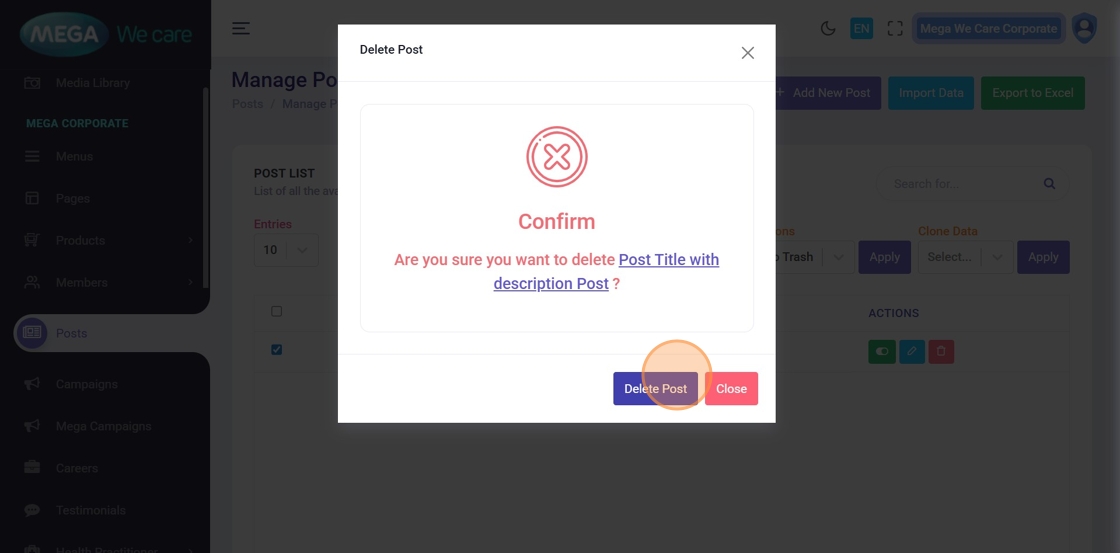
29–30. Delete Posts
Click Delete to remove a post, then confirm the deletion in the popup.
Important Notes
- Upload post images only in WEBP format; do not use PNG, JPG, or JPEG files
Summary
By following all the steps, you have learned how to create complete Mega's Press Release posts with content, images, and SEO, edit and update posts to improve or revise content, manage post visibility using publish and unpublish options, perform bulk actions and safely delete posts, and keep the blog section organized and optimized. This helps ensure the blog remains professional, engaging, and easy to manage.