Page Navigation
How to Add, Update and Delete GHBY Calculators
This document explains how the GHBY Calculators module allows administrators to create and manage interactive health calculators displayed on the website. Using this module, users can configure calculator pages with titles, content, FAQs, references, related blogs, images, and SEO metadata, as well as update or remove calculators when required.
Overview
By following this document, you will be able to:
- Add a new calculator with structured content
- Configure calculator titles, subtitles, and CSS classes
- Add FAQs and references
- Link related blogs and calculators
- Upload and manage calculator images
- Optimize calculators with SEO and schema
- Edit and update existing calculators
- Permanently delete calculators when no longer required
Add a New GHBY Calculator
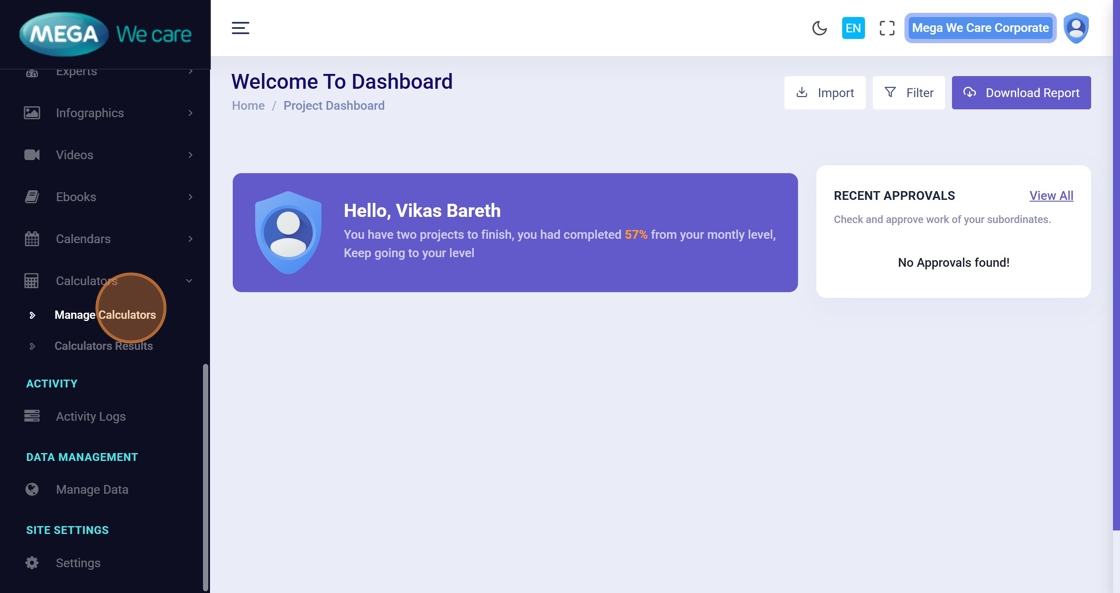
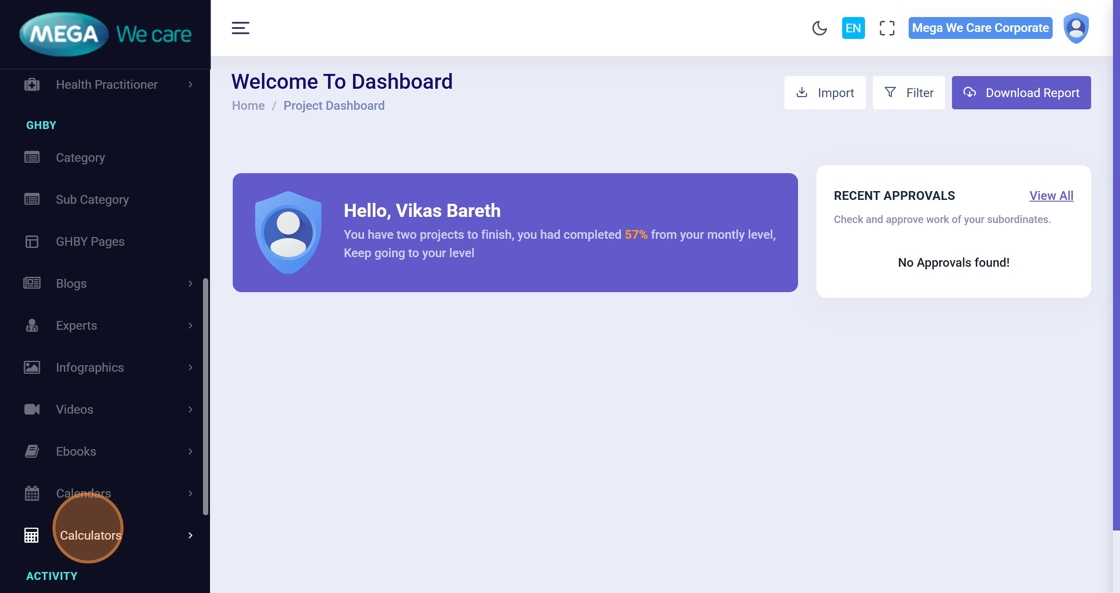
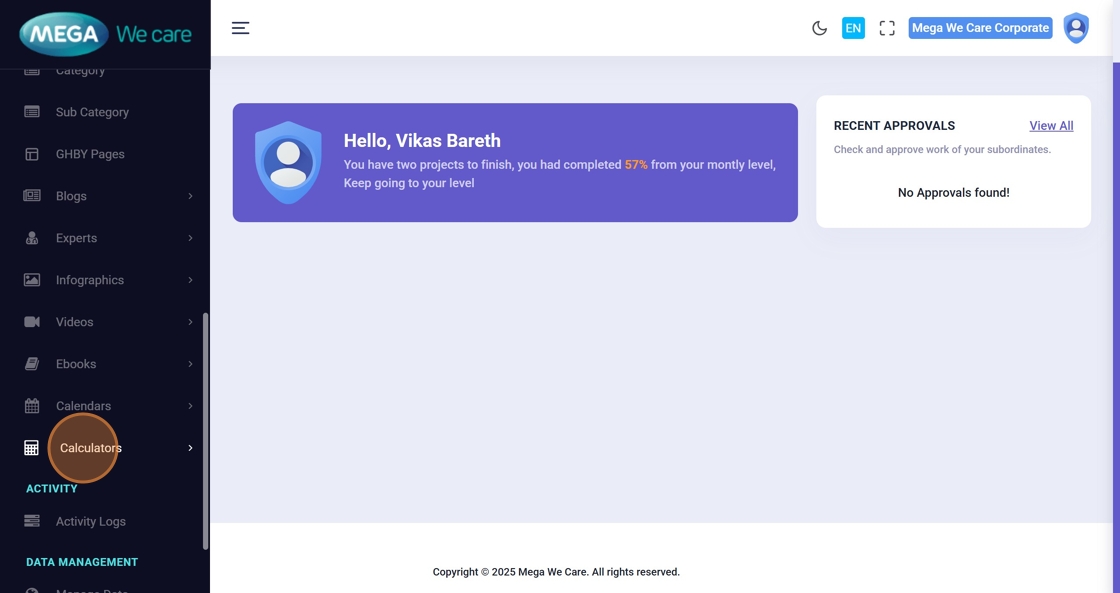
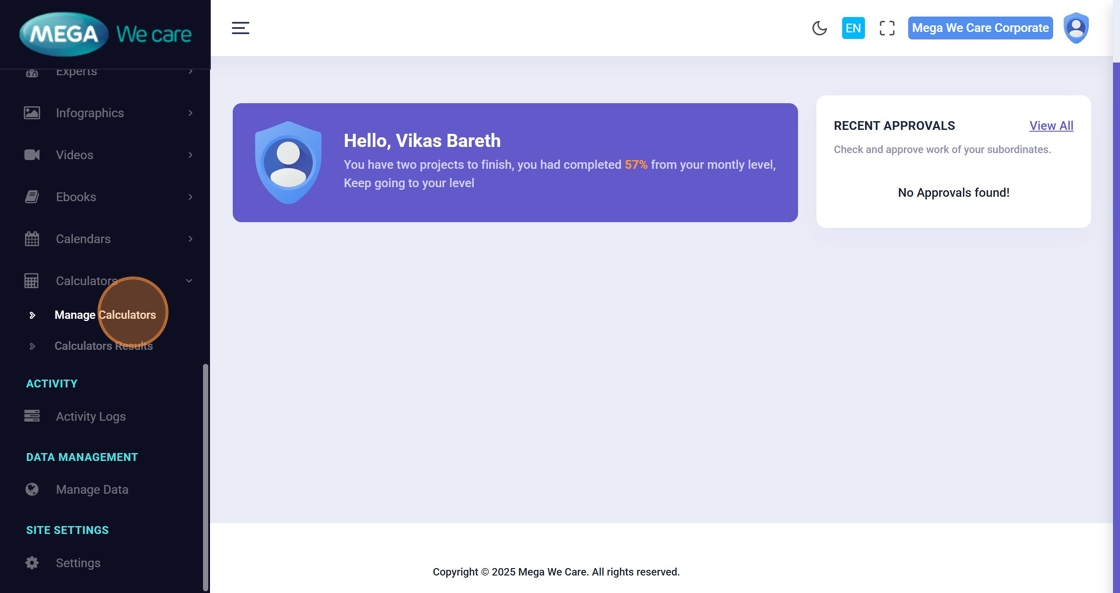
Step 1: Open Calculators
From the Admin Dashboard sidebar:
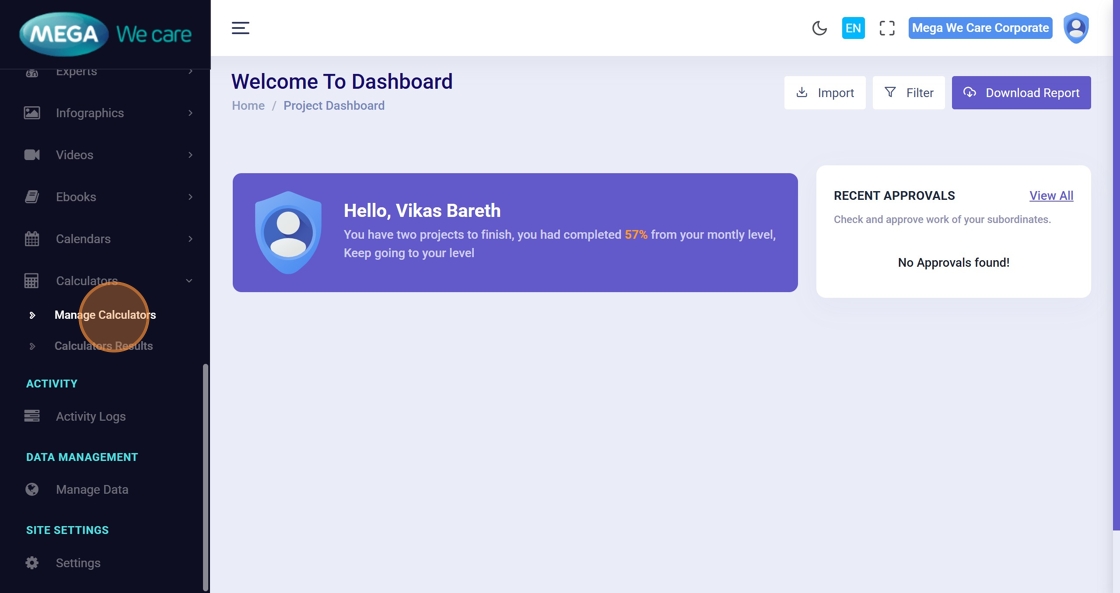
- Click Calculators
- Click Manage Calculators

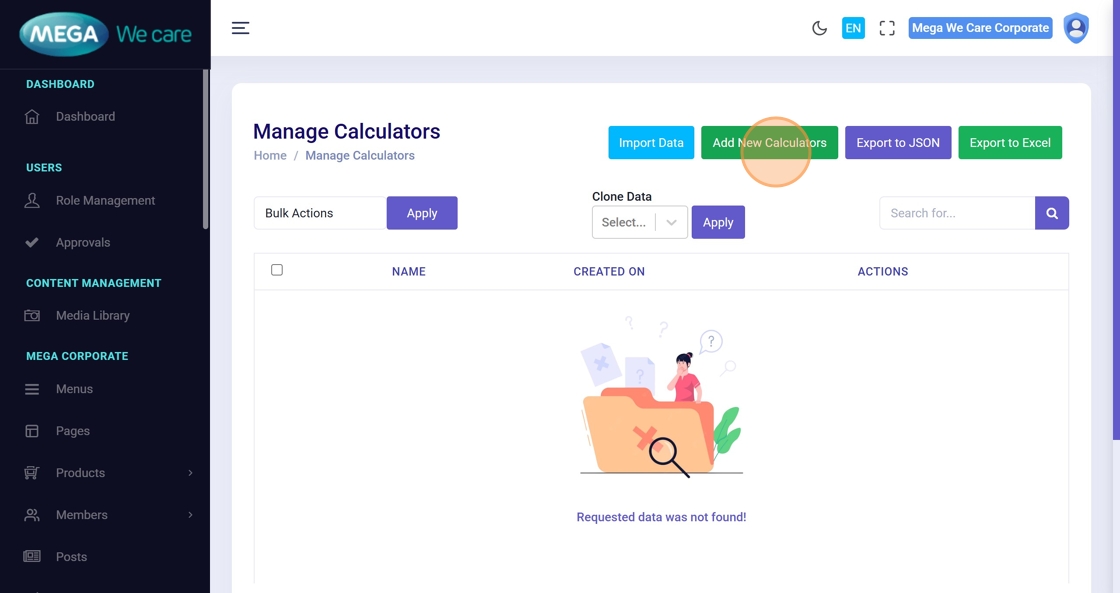
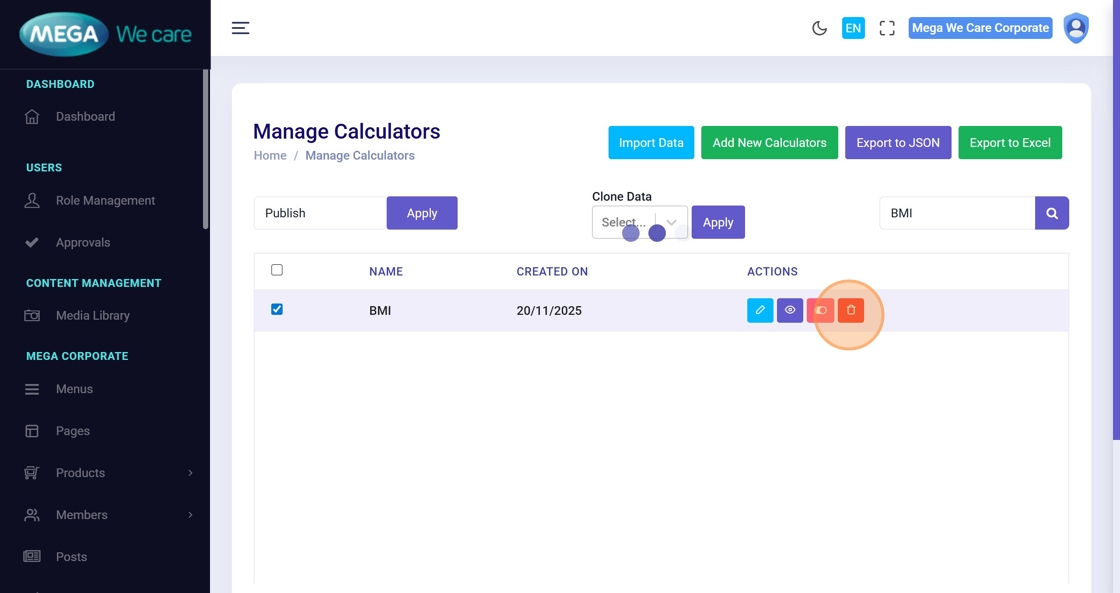
Step 2: Click “Add New Calculators”
Click Add New Calculators to open the calculator creation page.
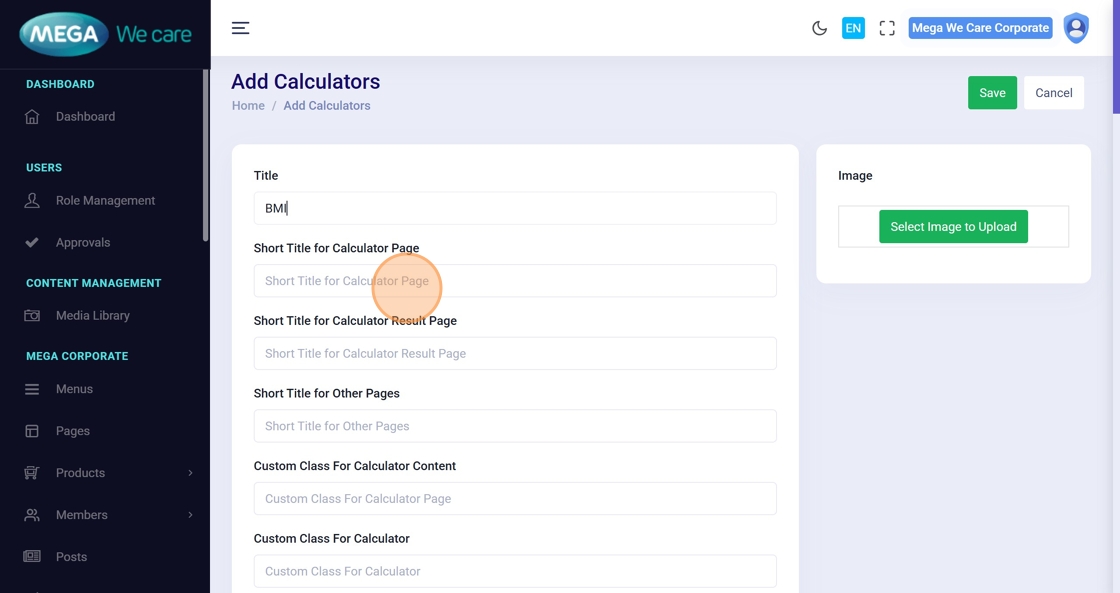
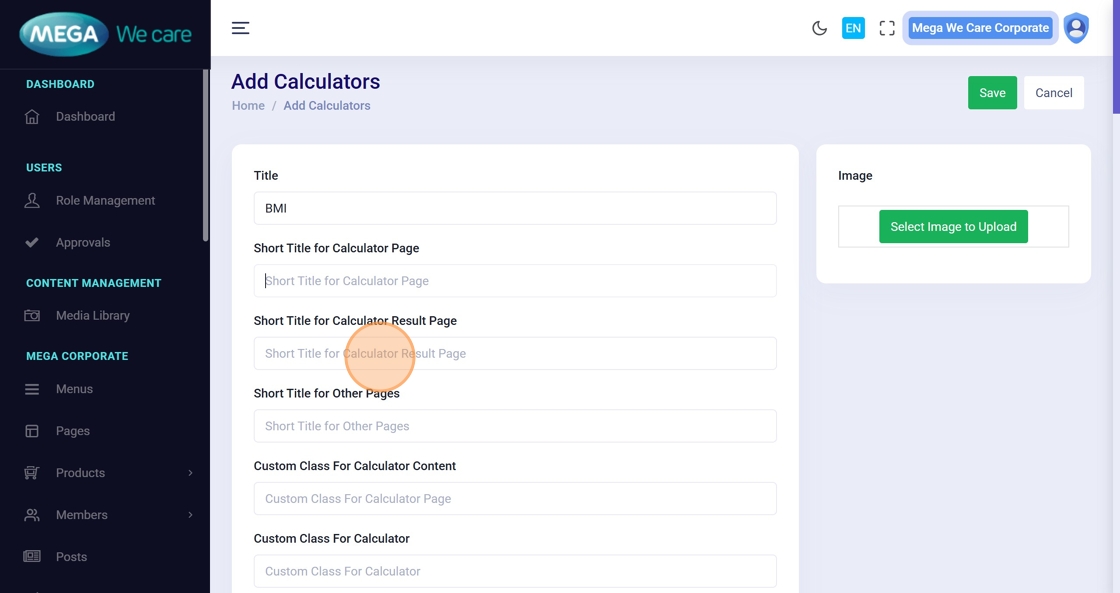
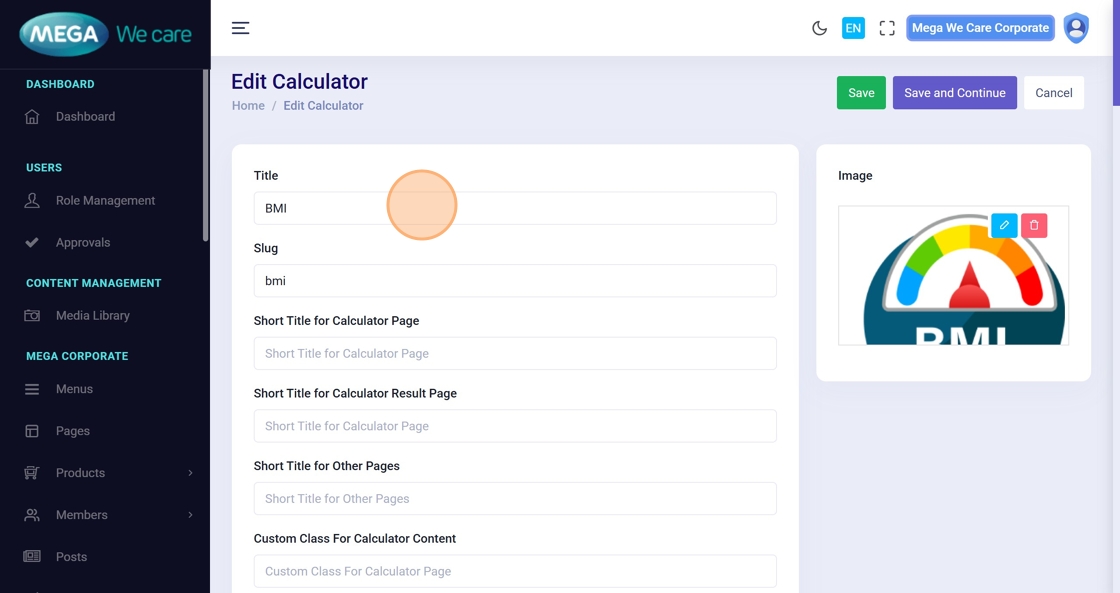
Step 3: Enter Calculator Title
Add the main Calculator Name.

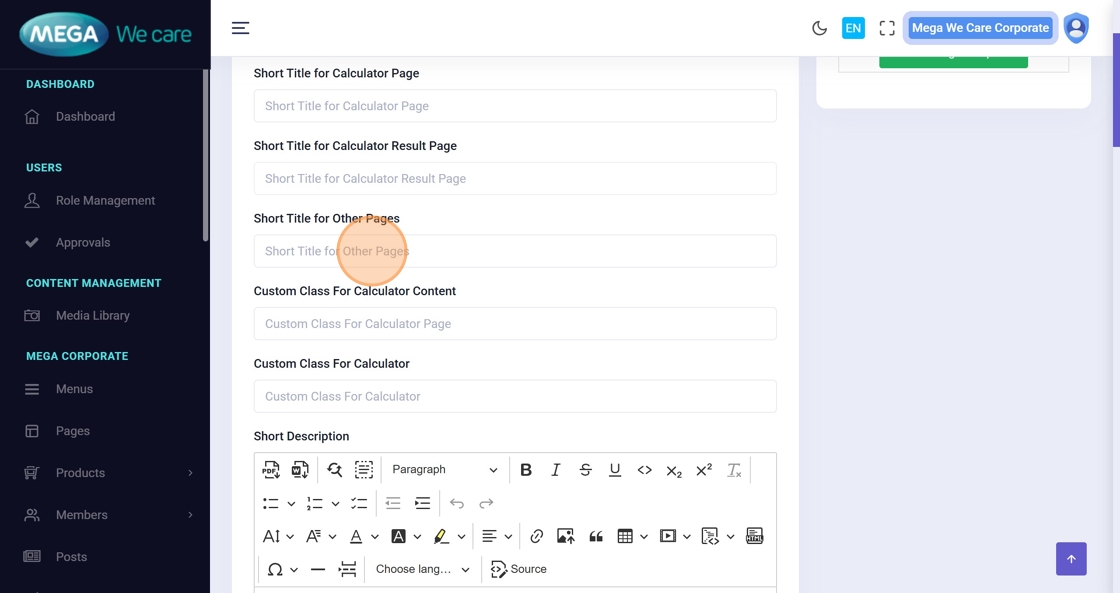
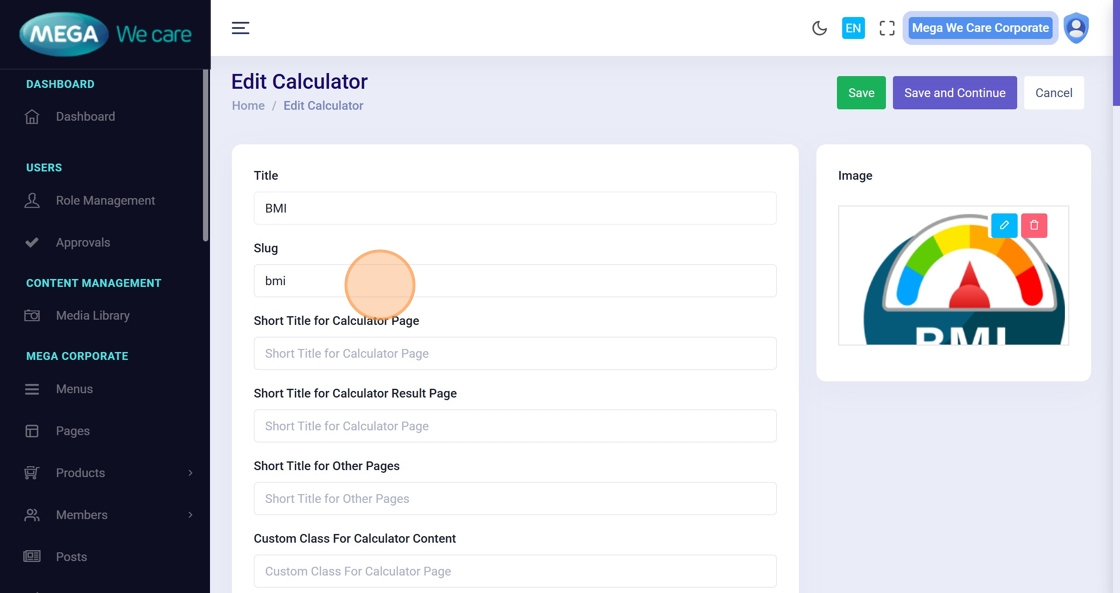
Step 4–6: Enter Page Titles
Add short titles used on:
- Calculator page
- Result page
- SEO or supporting sections (if applicable)
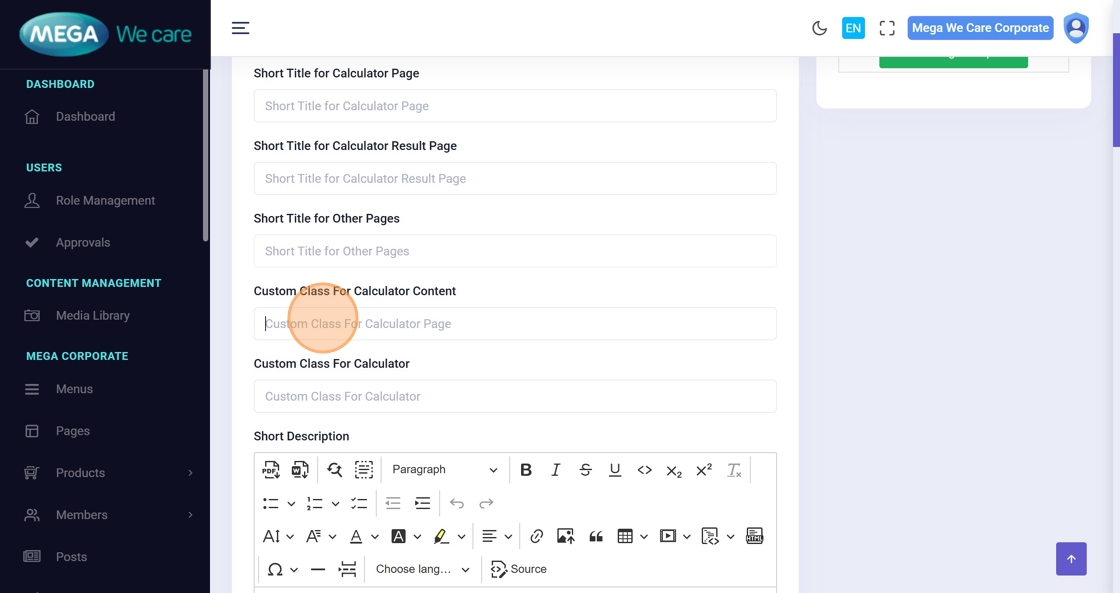
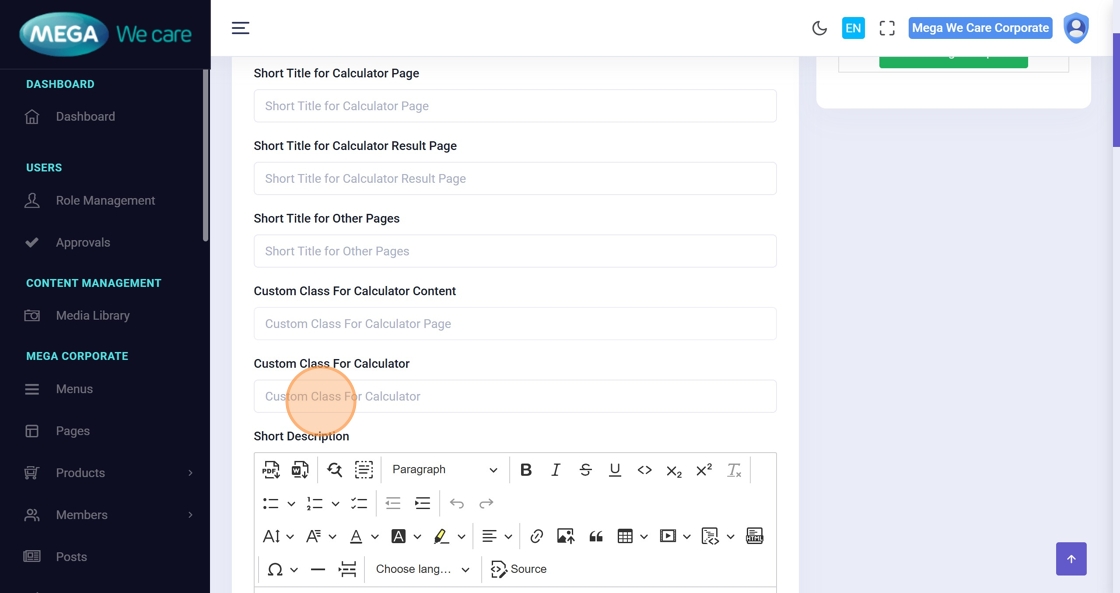
Step 7–10: Add CSS Classes (Optional)
Enter custom CSS class names if styling customization is required.
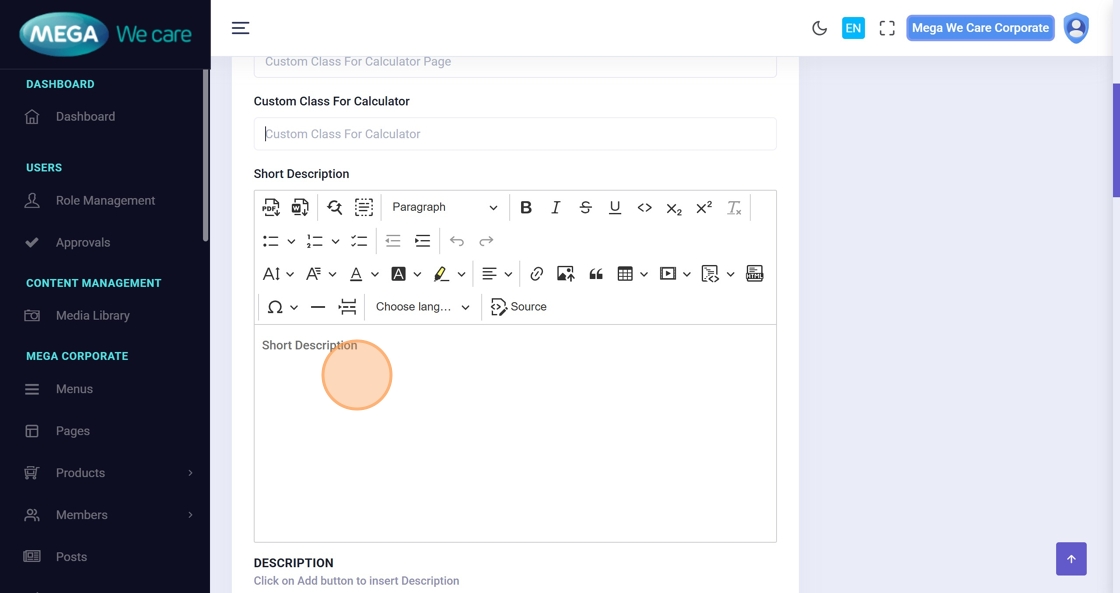
Step 11: Add Introductory Content
Use the editor to add an introduction or explanation of what the calculator does and how users should use it.
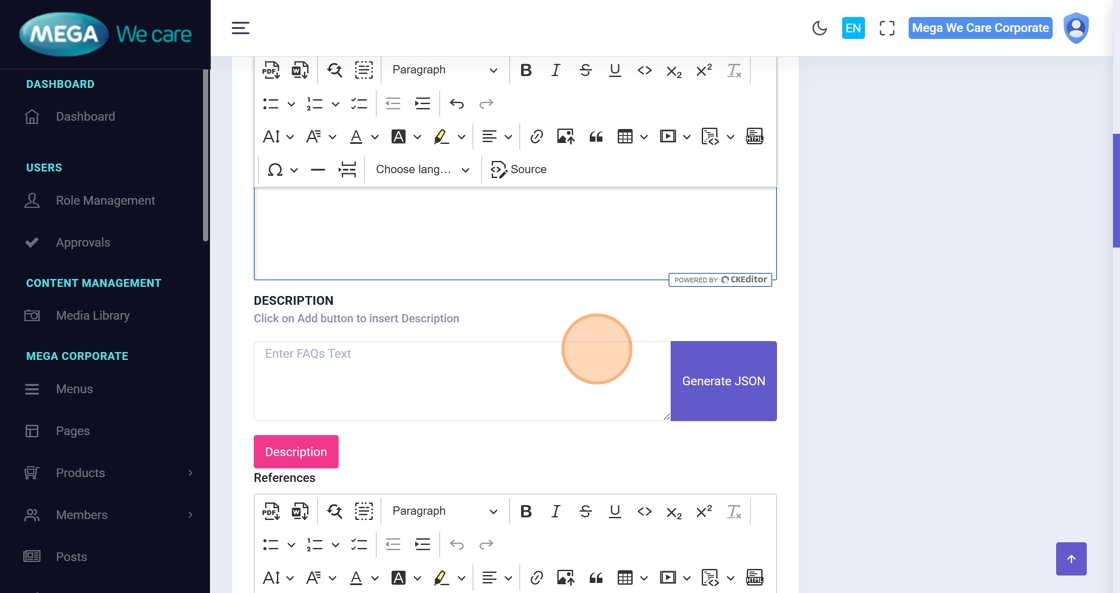
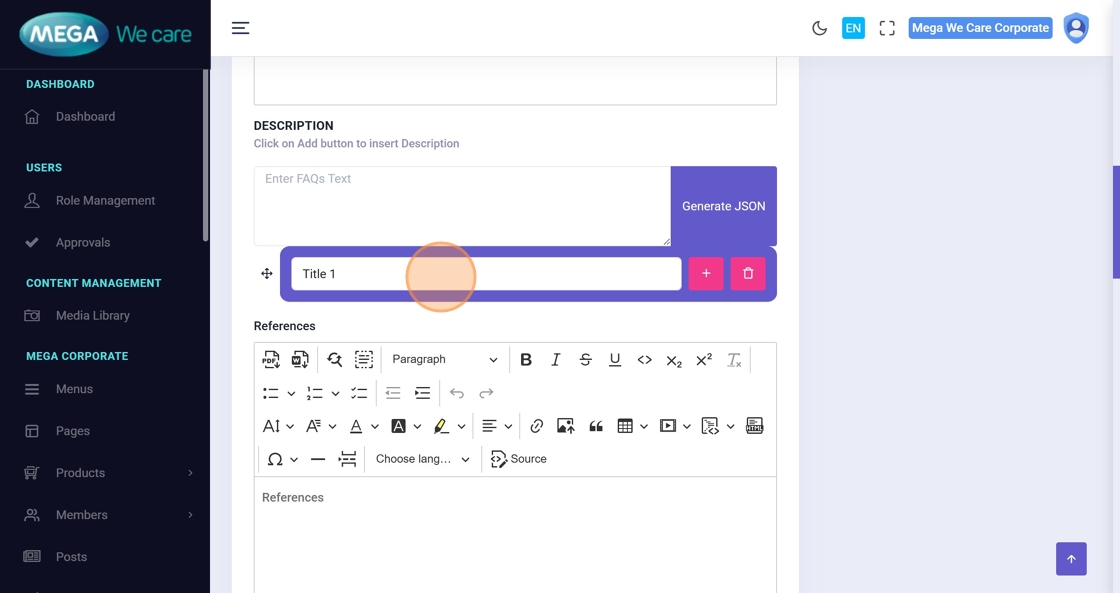
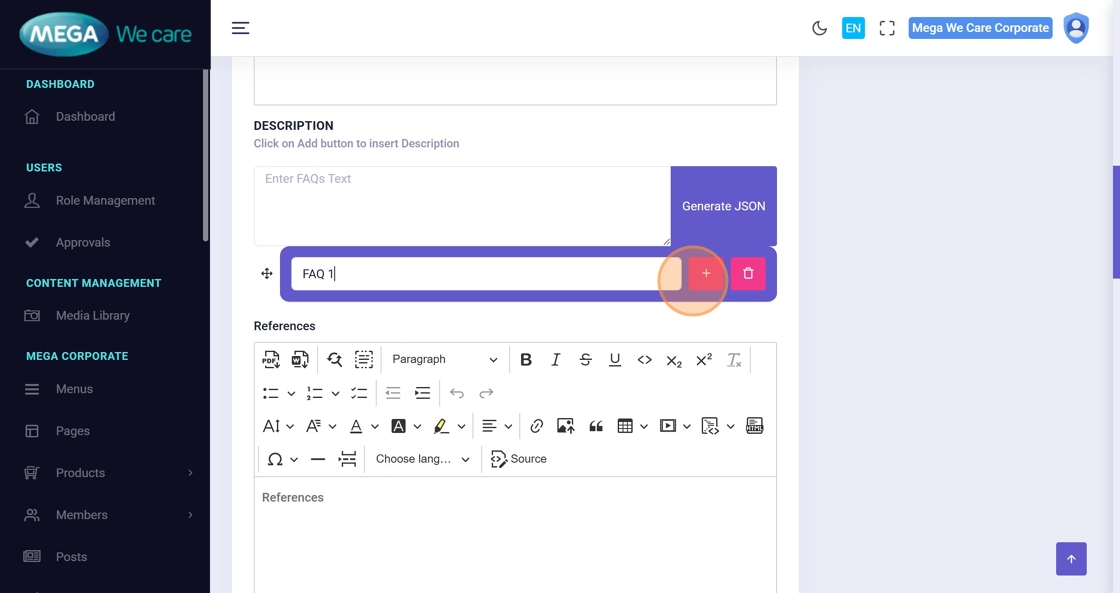
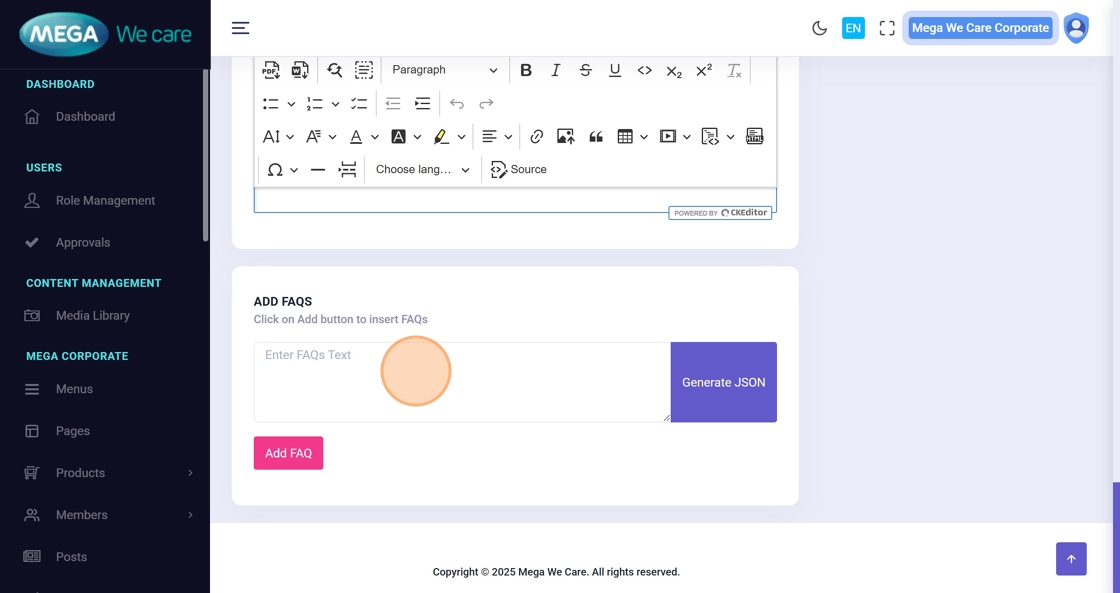
Step 12–15: Add FAQs
Add Frequently Asked Questions to guide users:
- Enter question
- Enter answer
- Add multiple FAQs as needed
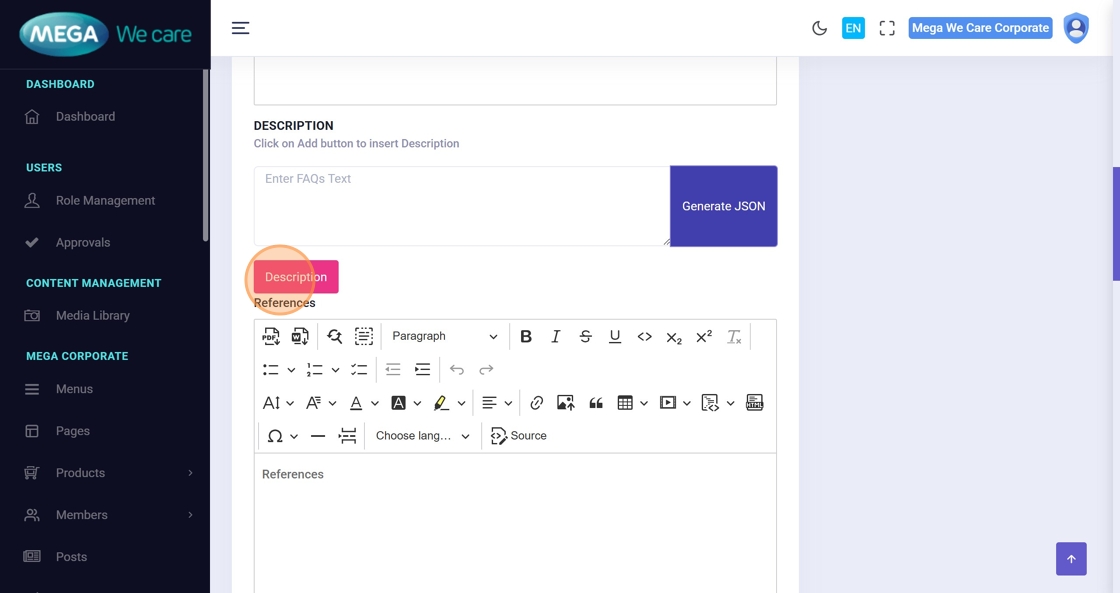
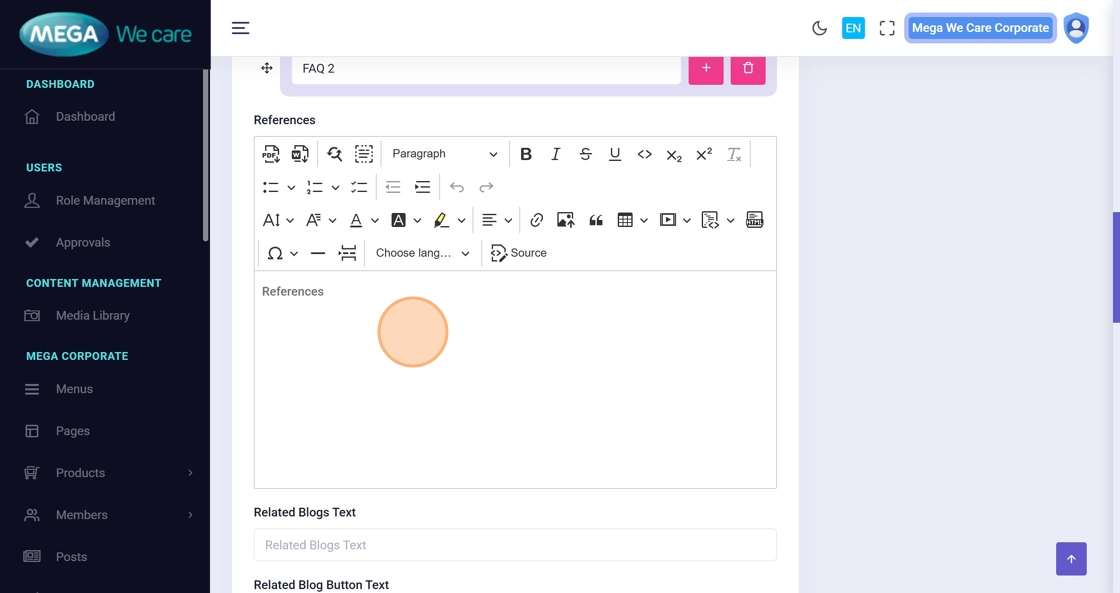
Step 16: Add References
Add medical or informational references supporting the calculator logic or data.
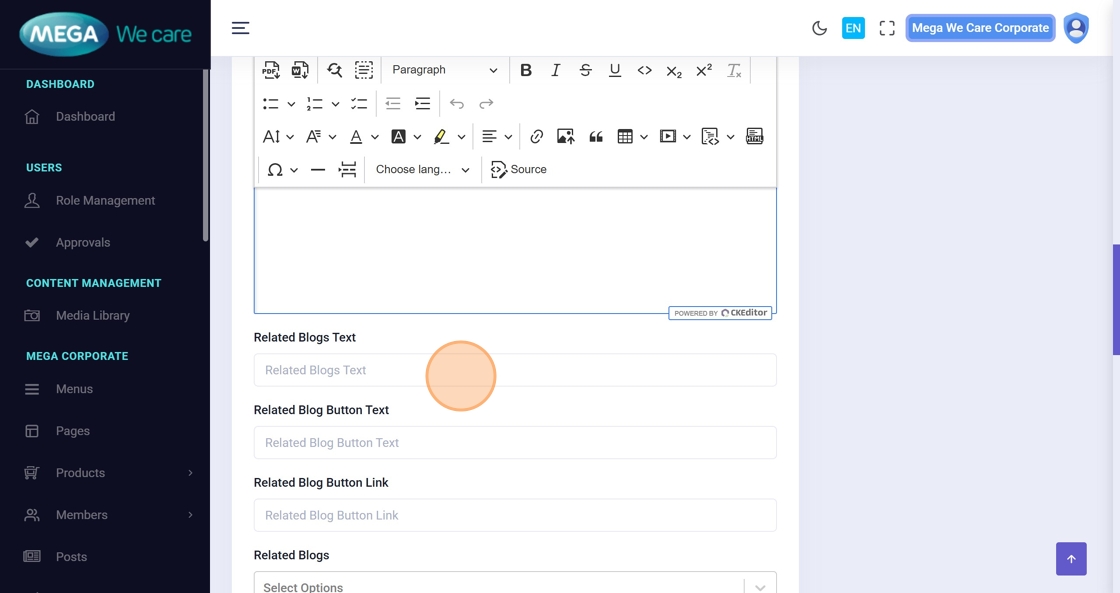
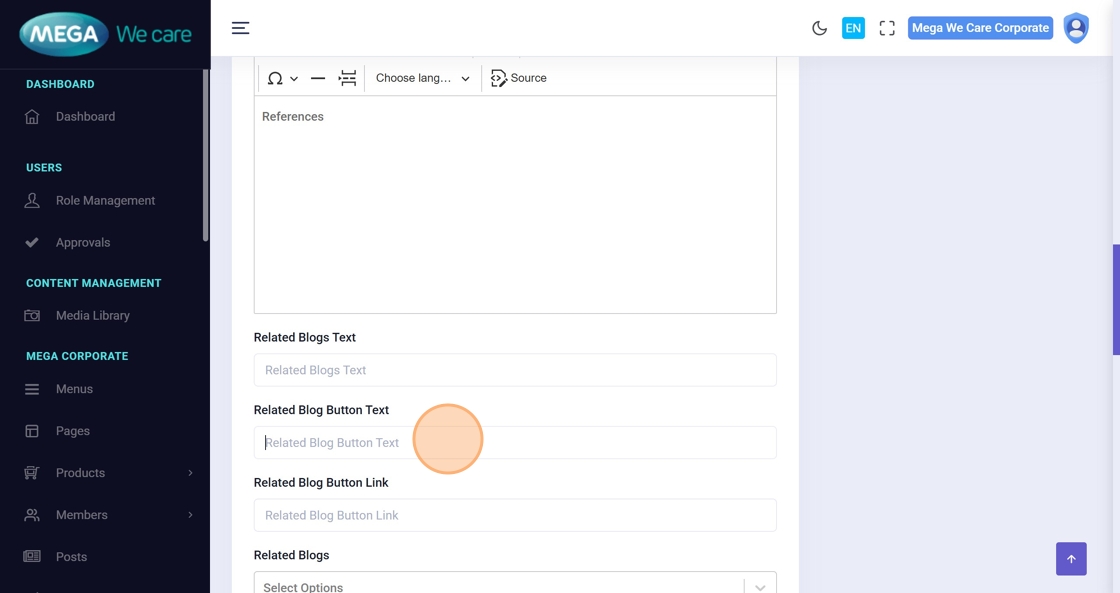
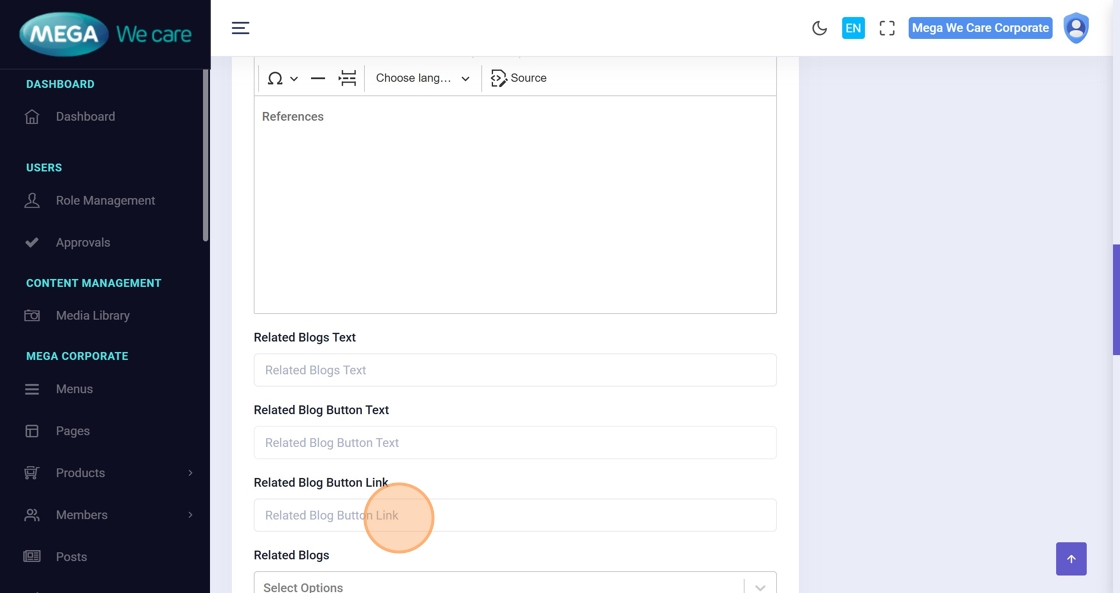
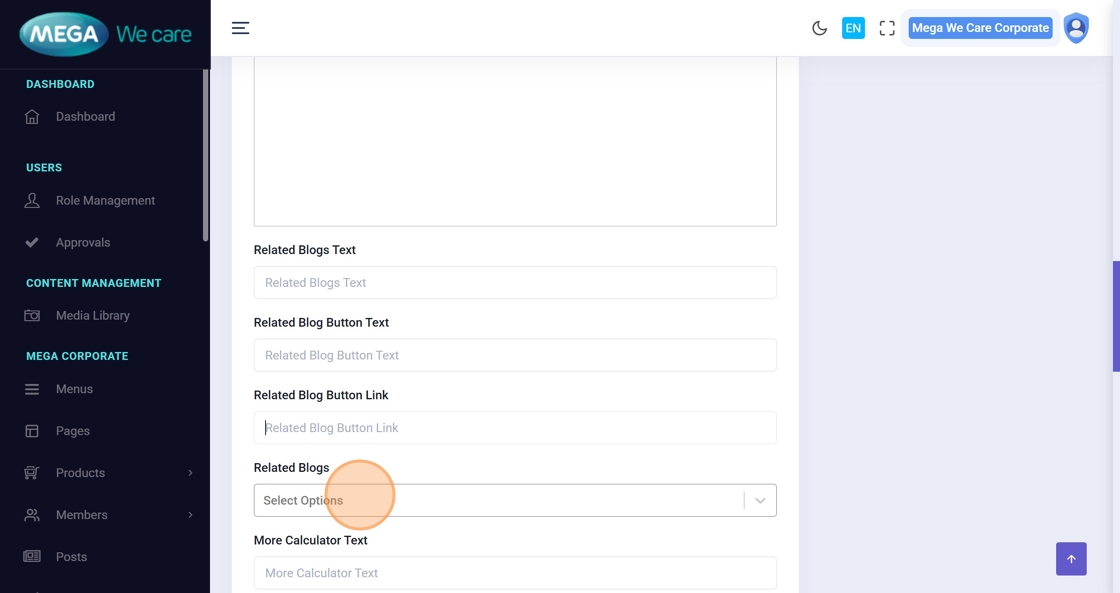
Step 17–22: Configure Related Blogs & Calculators
Improve engagement by linking related content:
- Add section heading
- Add button text
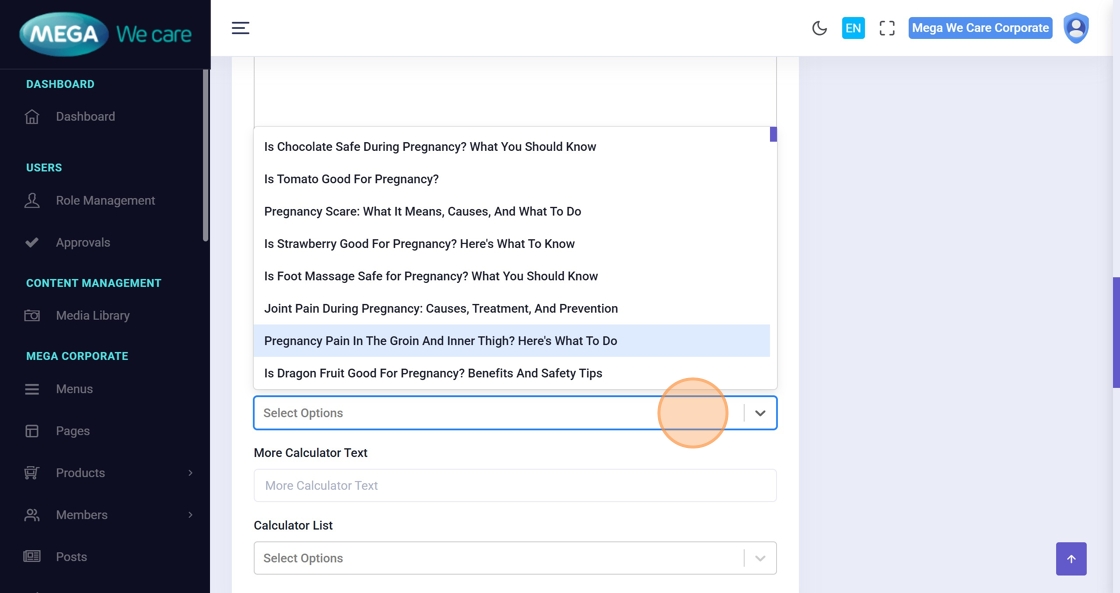
- Select related Blogs
- Select related Calculators

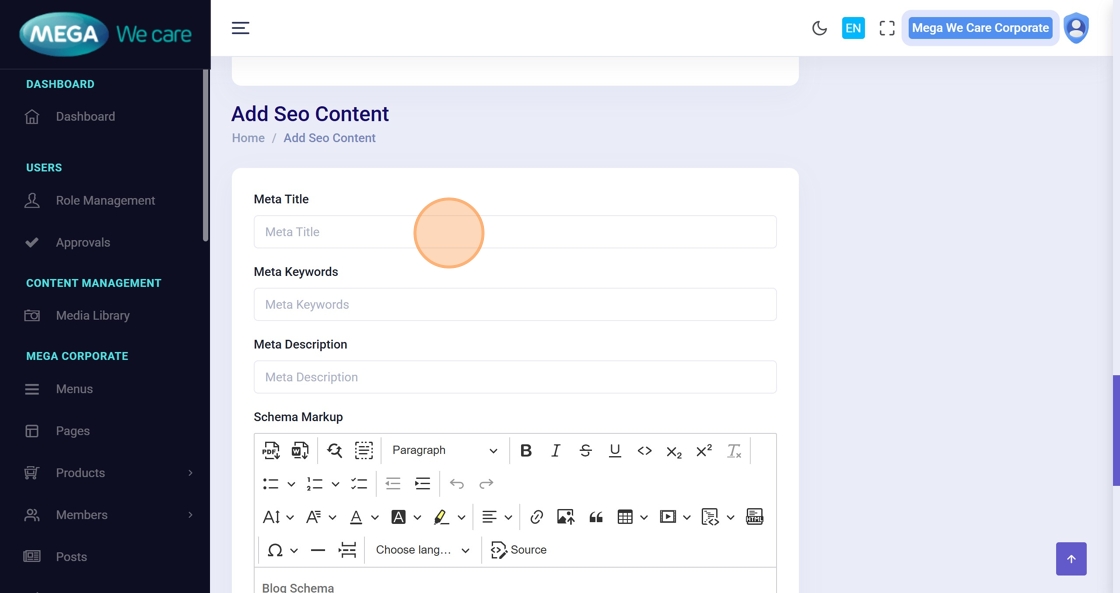
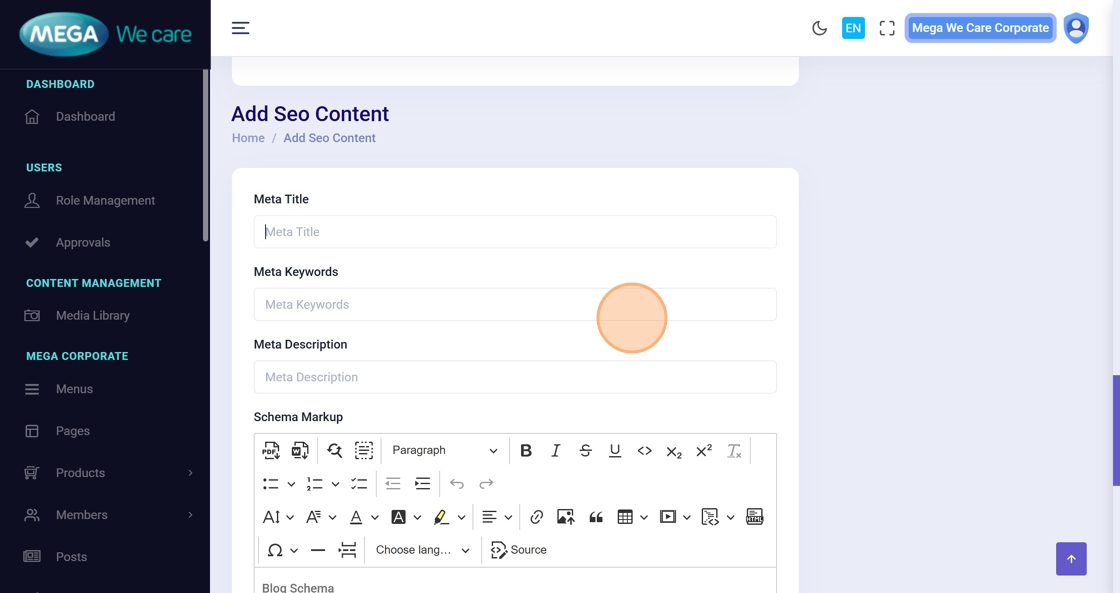
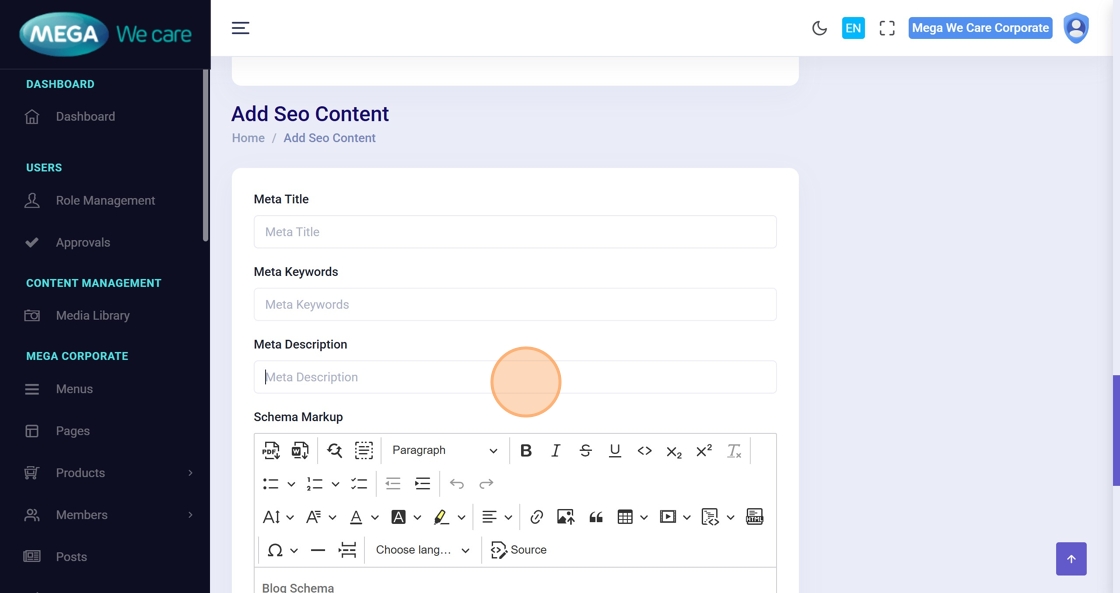
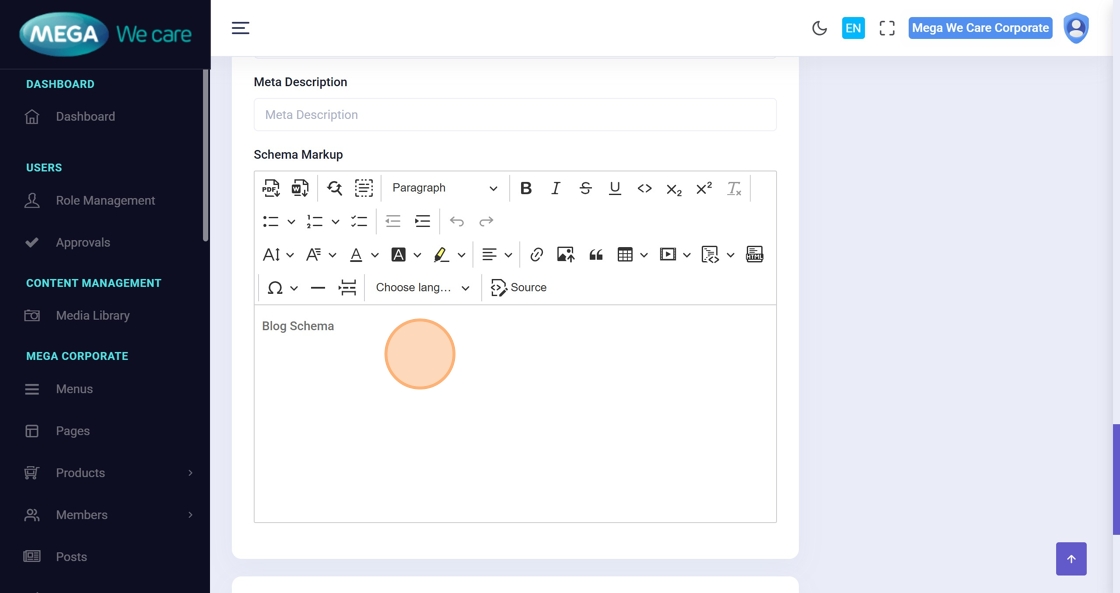
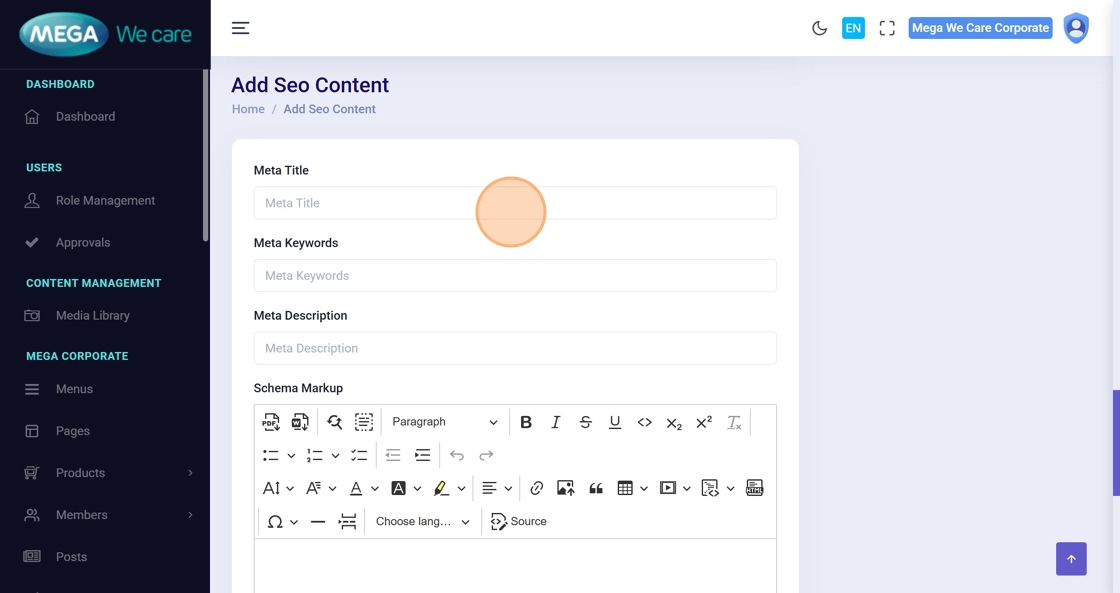
Step 23–26: Add SEO & Schema
Enter SEO details:
- Meta Title
- Meta Keywords
- Meta Description
- Schema Markup (if required)
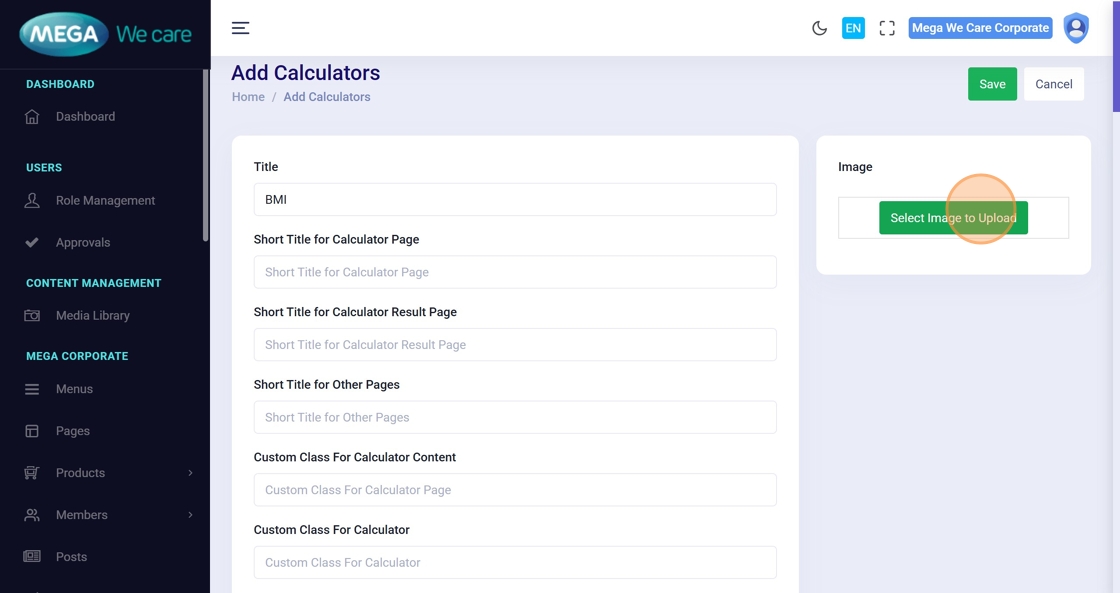
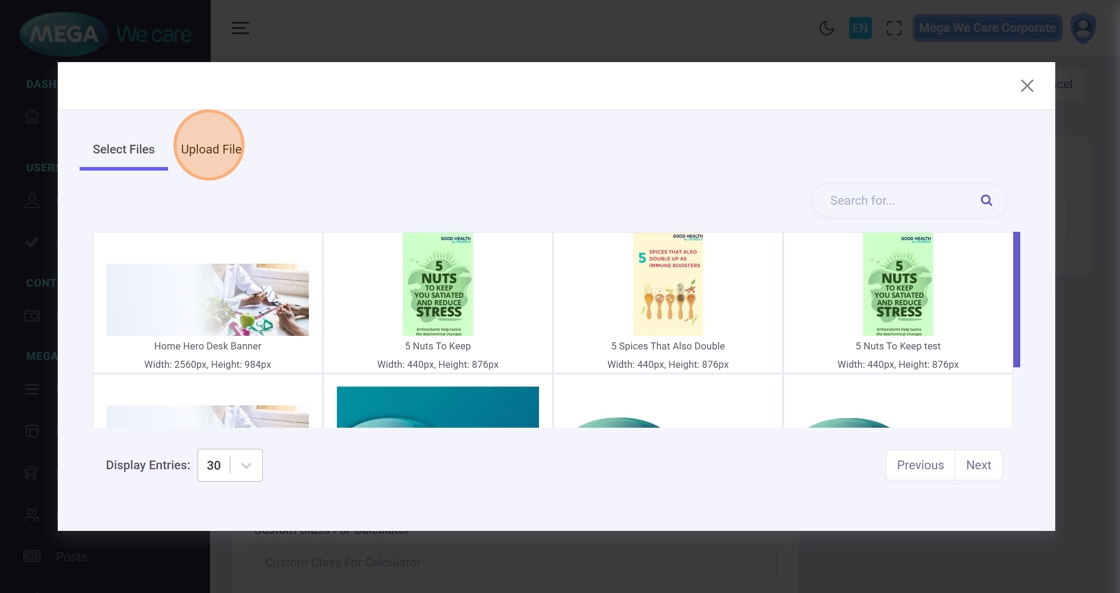
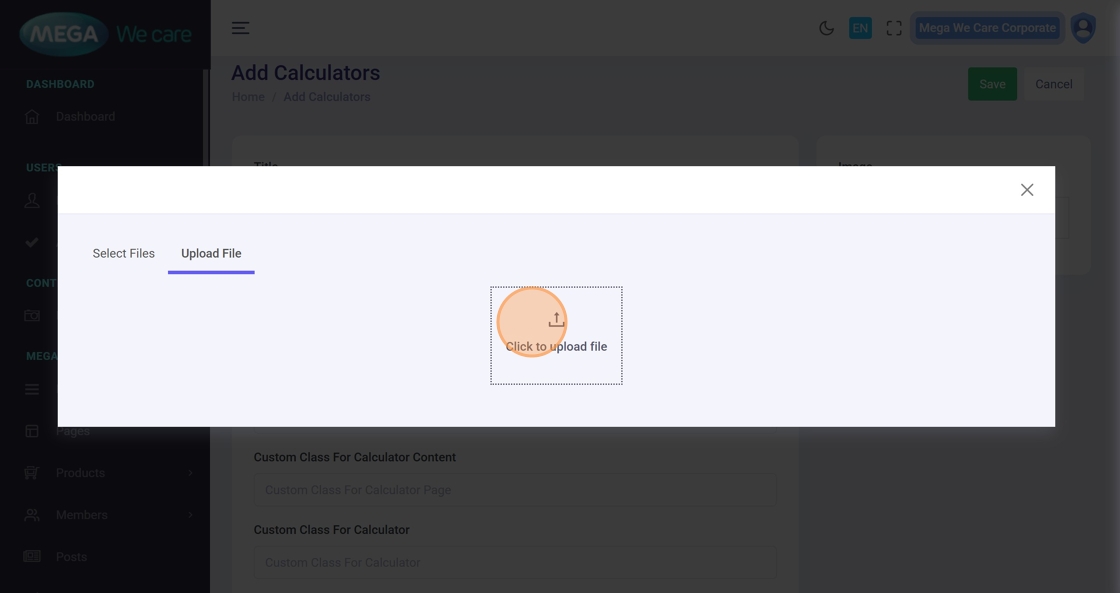
Step 27–30: Upload Calculator Image
Upload the calculator image:
- Select image
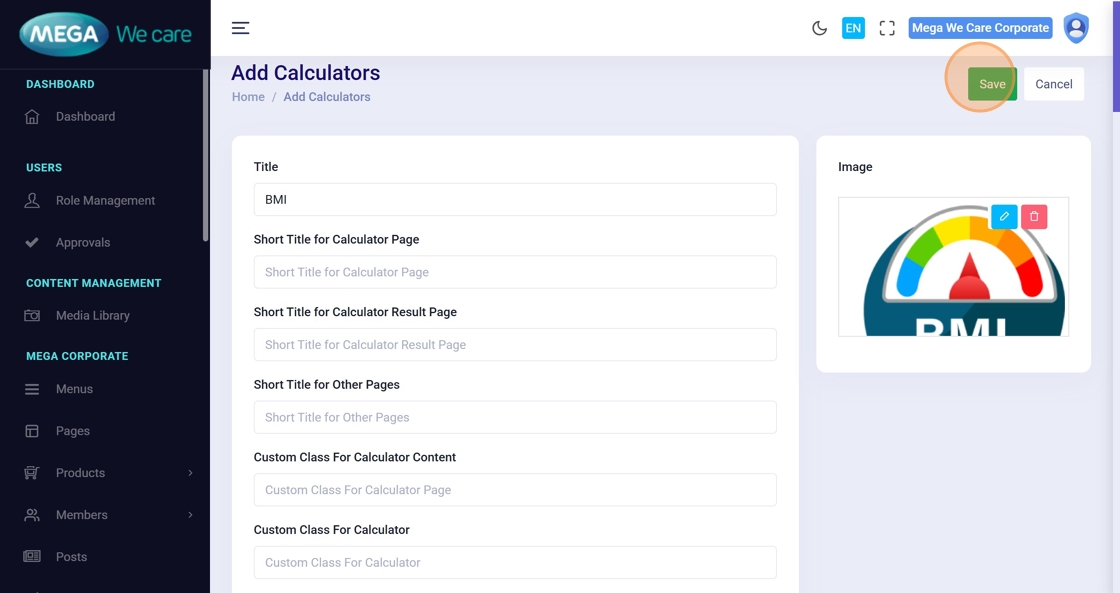
- Preview image
- Confirm selection
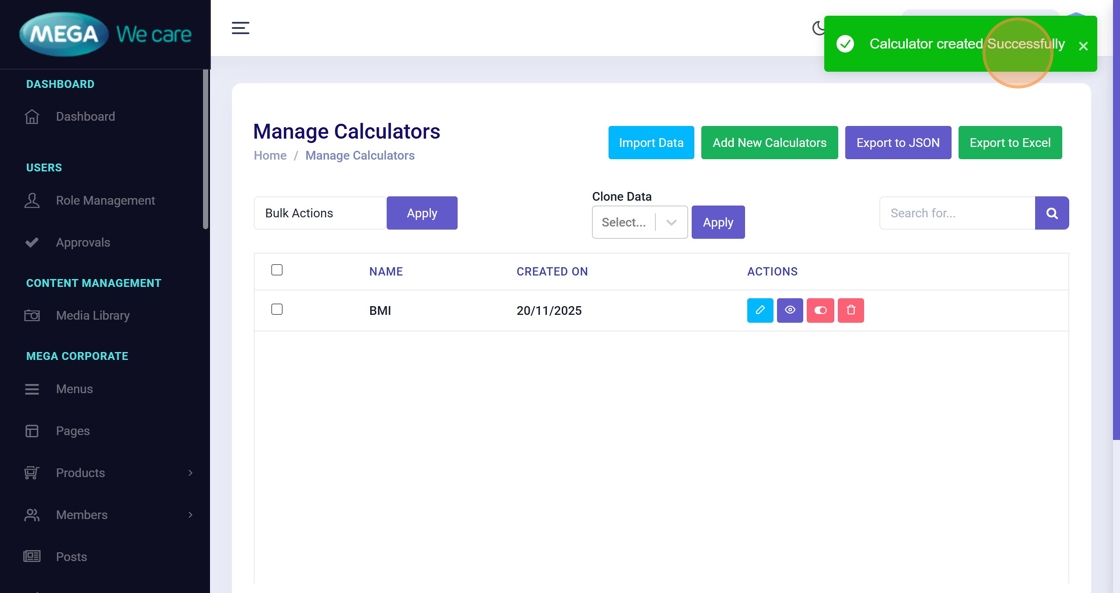
Step 31–32: Save Calculator
Click Save and wait for the success confirmation.
Edit & Update Calculator
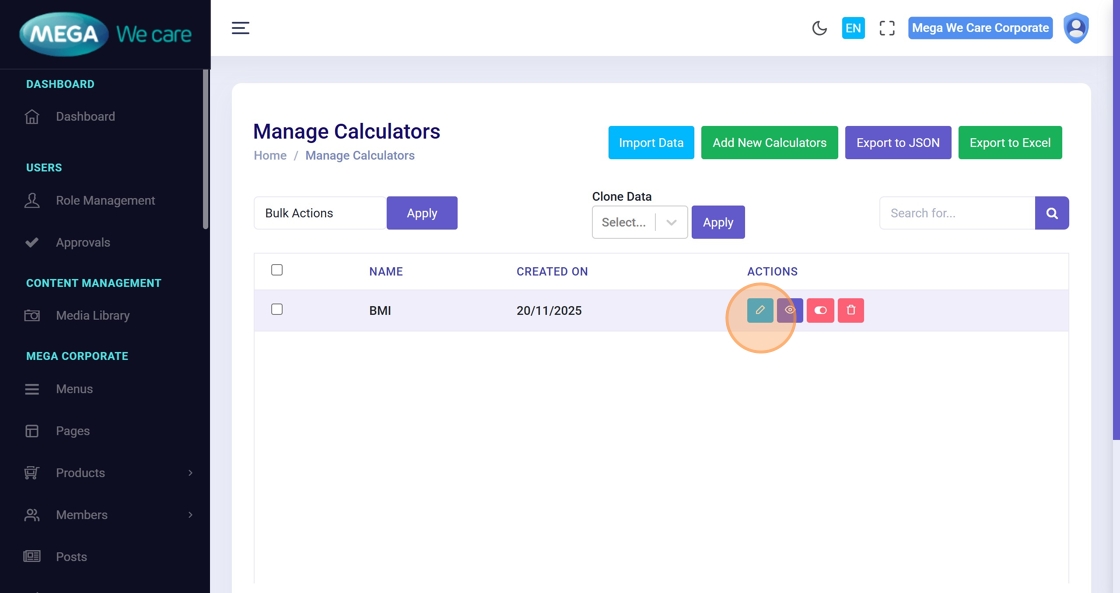
Step 33: Open Calculator for Editing
From Manage Calculators, click the Edit icon.
Step 34–35: Load Calculator Details
The existing calculator data loads into the edit form.
Step 36–38: Update Calculator Content
Update any required fields:
- Title or Slug
- Content
- FAQs
- References
- Related blogs/calculators
- SEO details
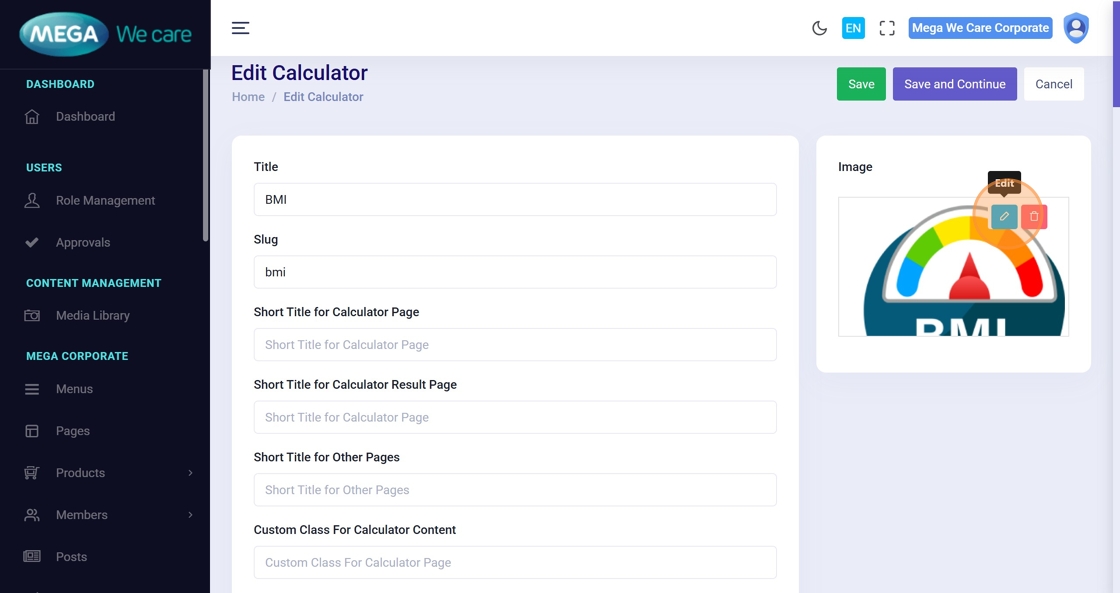
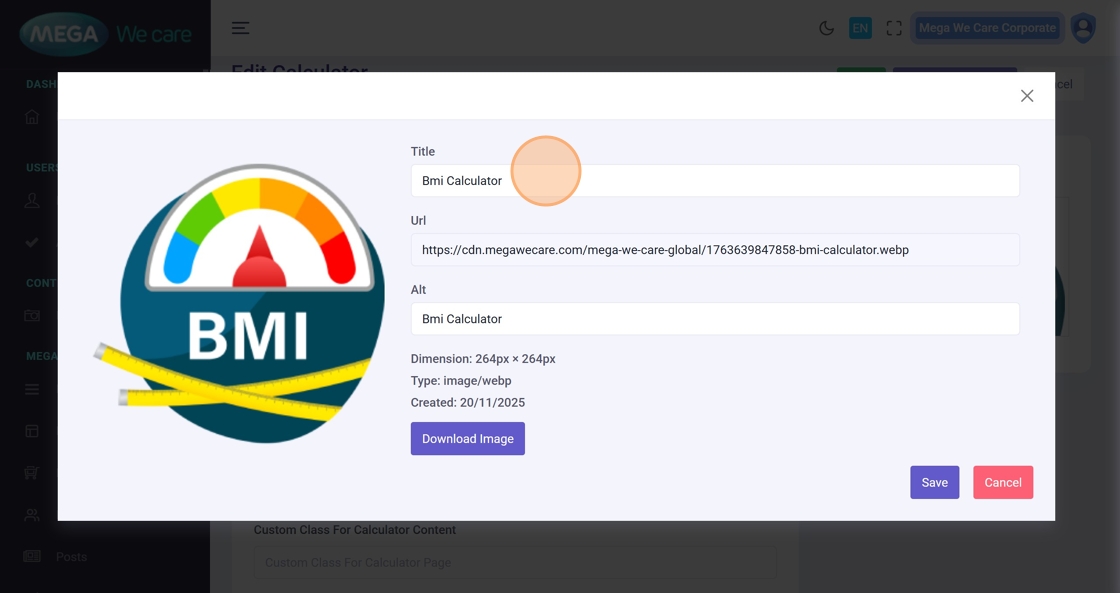
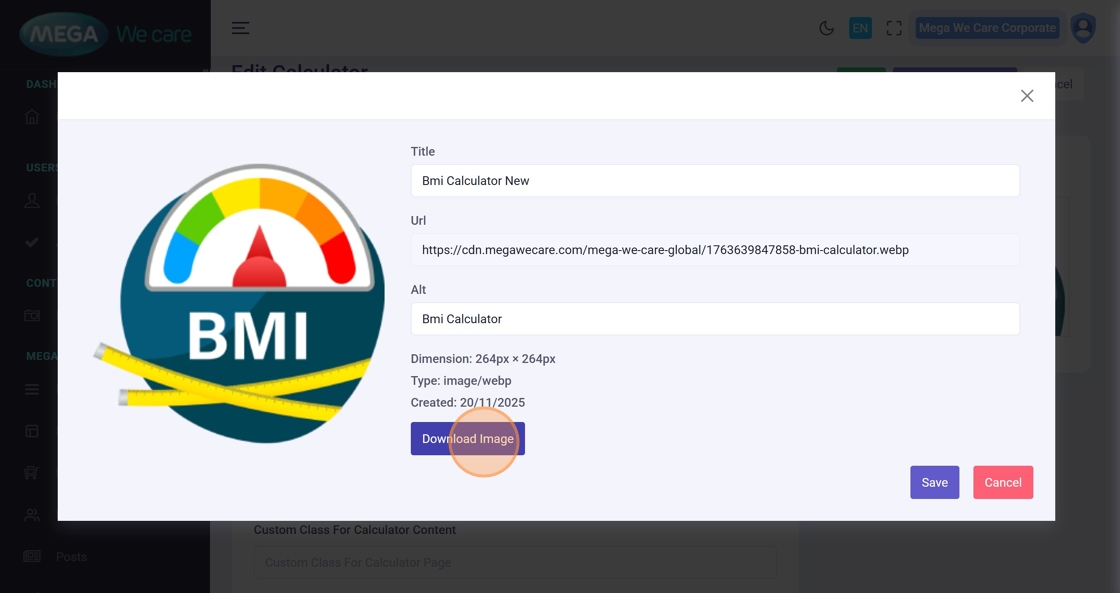
Step 39–43: Update Calculator Image
Edit image details, download if needed, or replace the image.

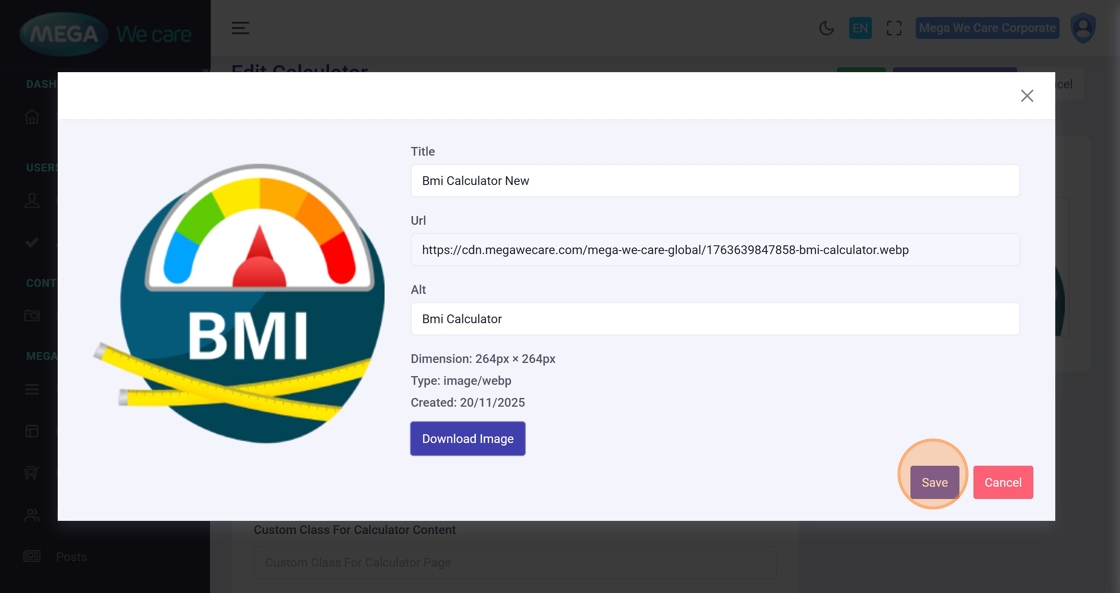
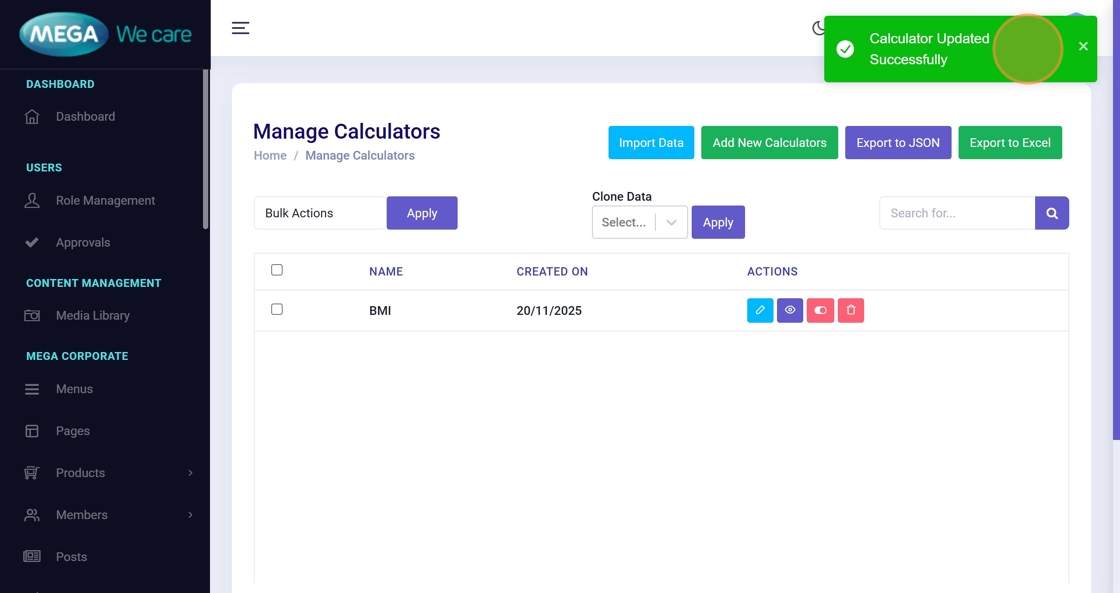
Step 44–45: Save Updates
✅ Click Save and Continue and wait for the confirmation message.

Delete Calculator
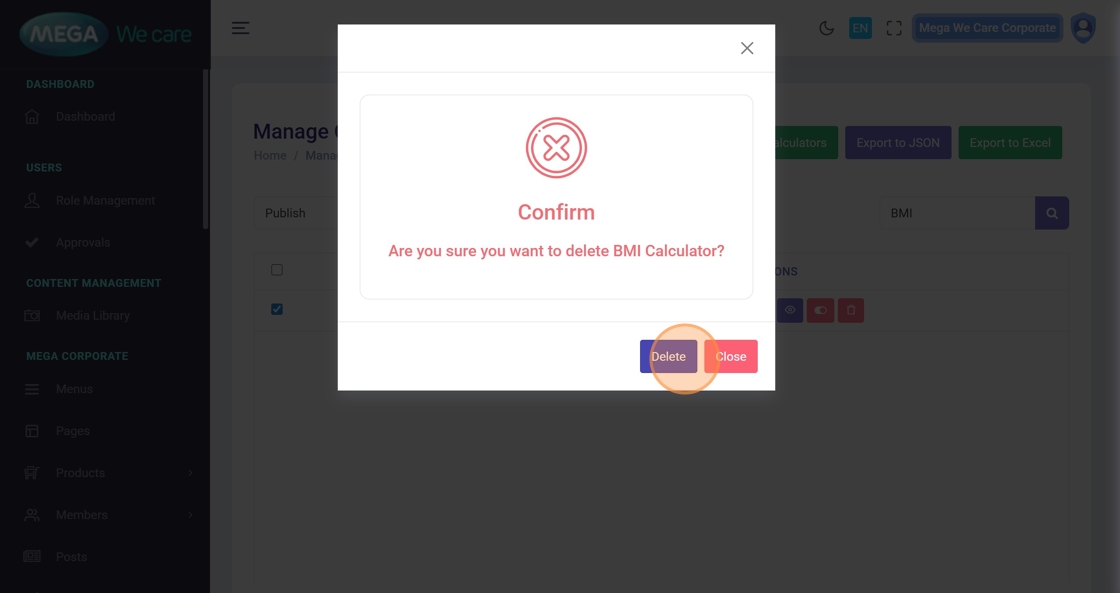
Step 46–50: Permanently Delete Calculator
From Manage Calculators:
- Click the Delete icon
- Review the confirmation popup
- Confirm deletion
⚠️ This action is permanent and cannot be undone.

Important Notes
- Upload images only in WEBP format; do not use PNG, JPG, or JPEG files
- If you want to manage styling for the calculator form page and result page, you can add the required classes directly in the form fields.
Summary
By following this workflow, users can create and manage calculators with structured content and FAQs, link related blogs and calculators, optimize calculators using SEO and schema, update them at any time, and permanently remove outdated calculators. This helps keep GHBY calculators accurate, engaging, and easy to manage across the platform.