Page Navigation
How to Add, Update and Delete HCP Category
The HCP Blog Categories module allows users to organize Health Care Practitioner (HCP) blog content into well-structured categories. Using this module, you can create, edit, and delete categories, add descriptions and FAQs, configure SEO details, and upload category images to improve content organization and search visibility.
Overview
This guide explains how to:
- Create new HCP blog categories
- Add short and detailed descriptions
- Configure SEO details and image alt text
- Add and manage FAQs within categories
- Upload and update category images
- Edit or delete single or multiple categories
Following these steps ensures that HCP blog content is well-organized, easy to manage, and optimized for search engines.
Access HCP Blog Categories
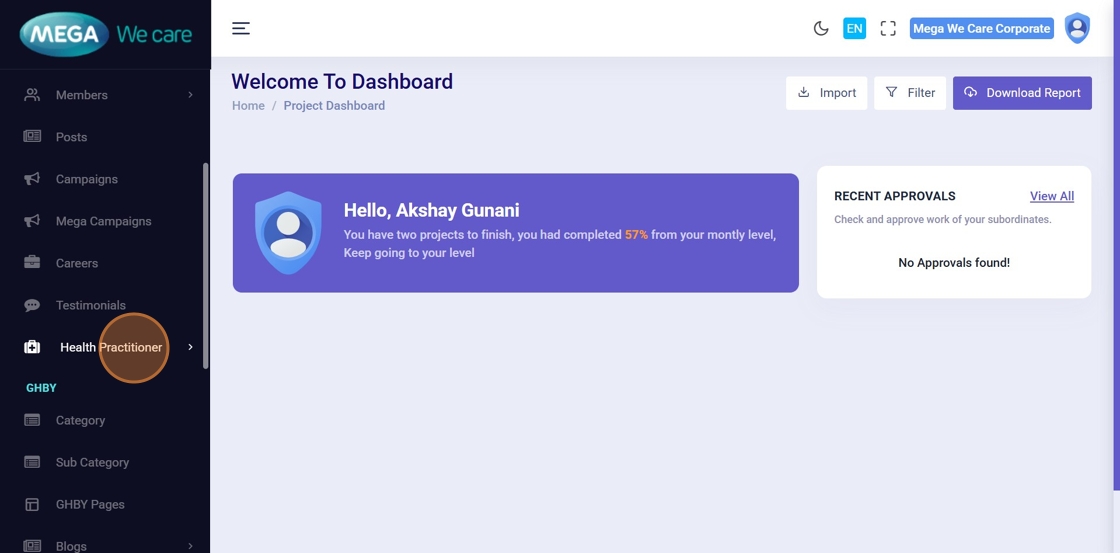
Step 1: Open Health Practitioner Module
Click Health Practitioner from the left sidebar to begin managing HCP blogs.
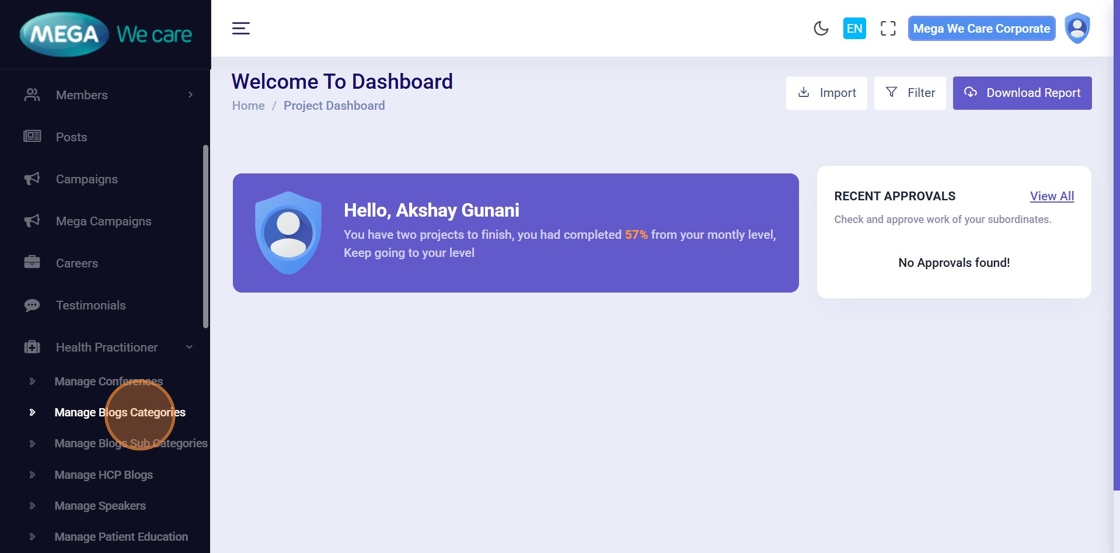
Step 2: Open Manage Blog Categories
Inside Health Practitioner, click Manage Blog Categories.
Add New HCP Blog Category
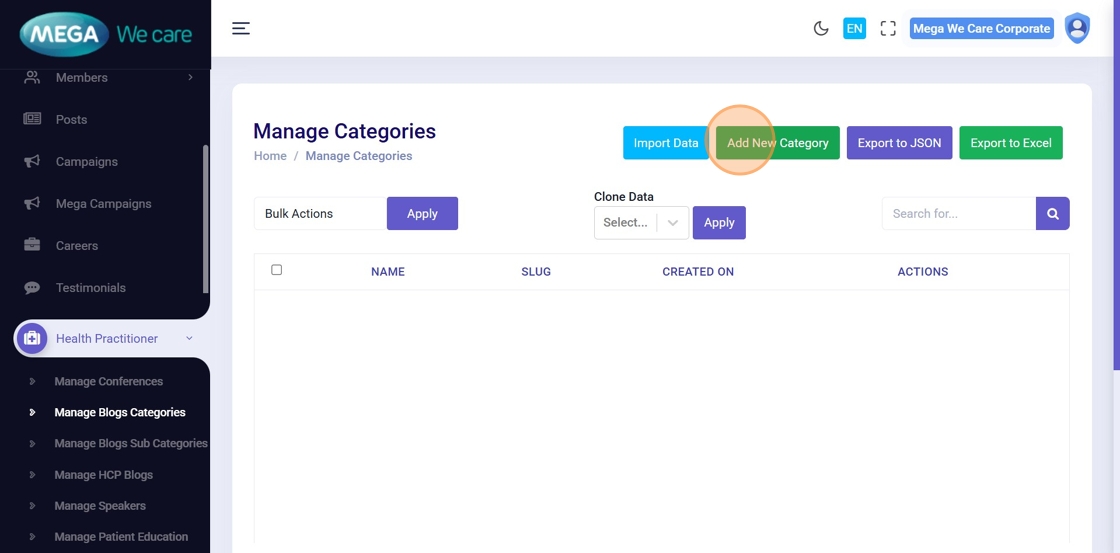
Step 3: Start Creating a Category
On the Manage Categories page, click Add New Category.
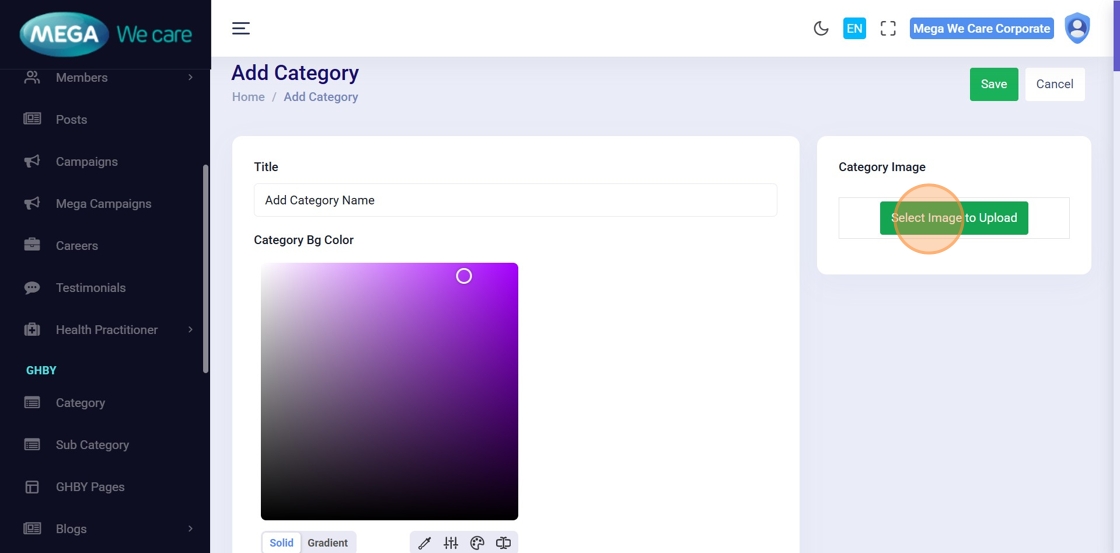
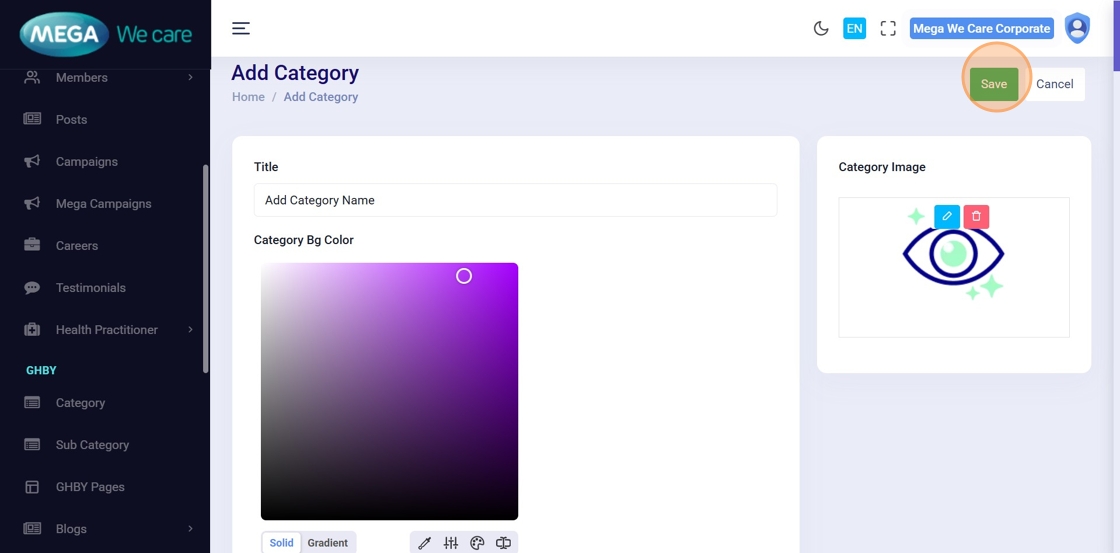
Step 4: Enter Category Title
Enter the category name in the Title field.
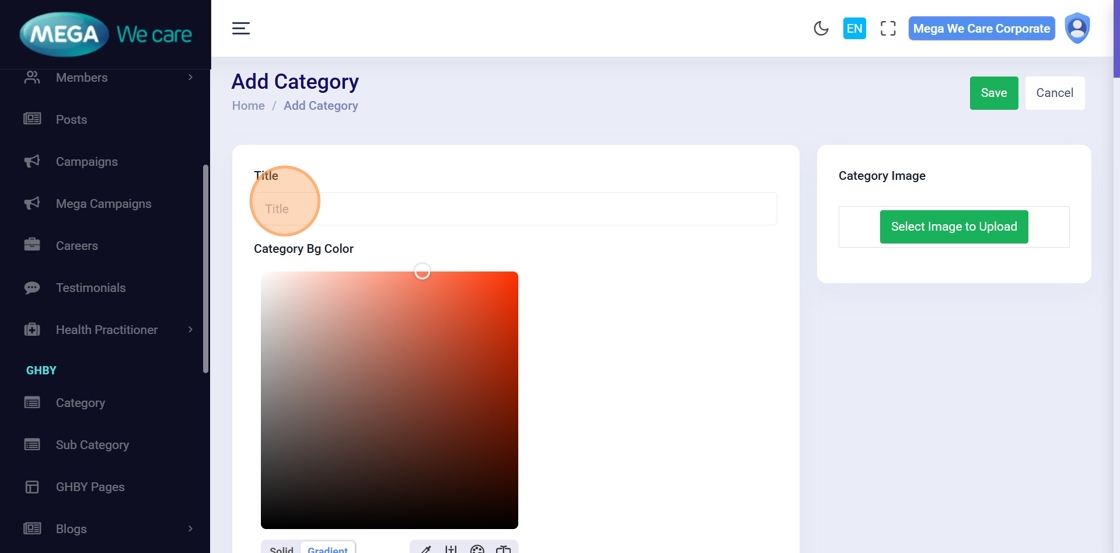
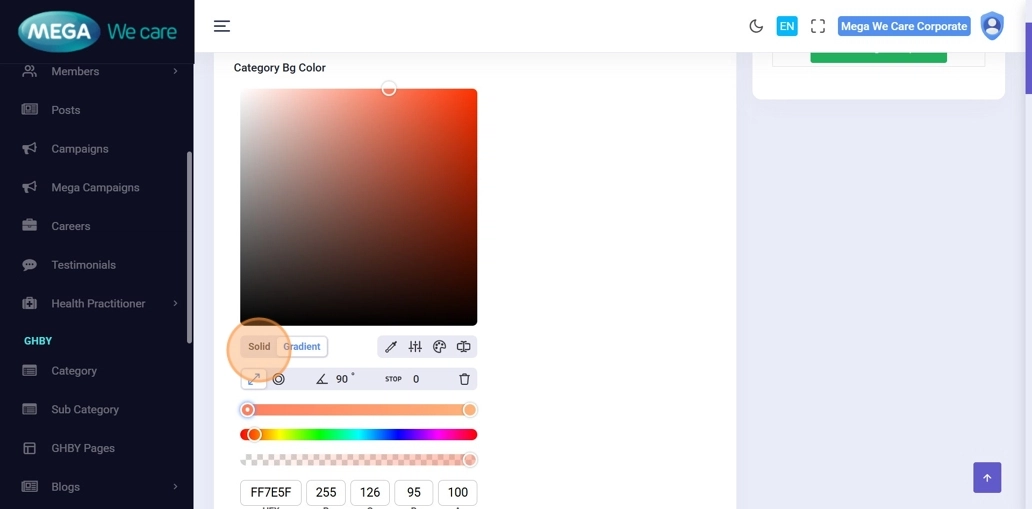
Step 5: Choose Category Background Color
Under Category Background Color, select Solid or Gradient based on your design preference.
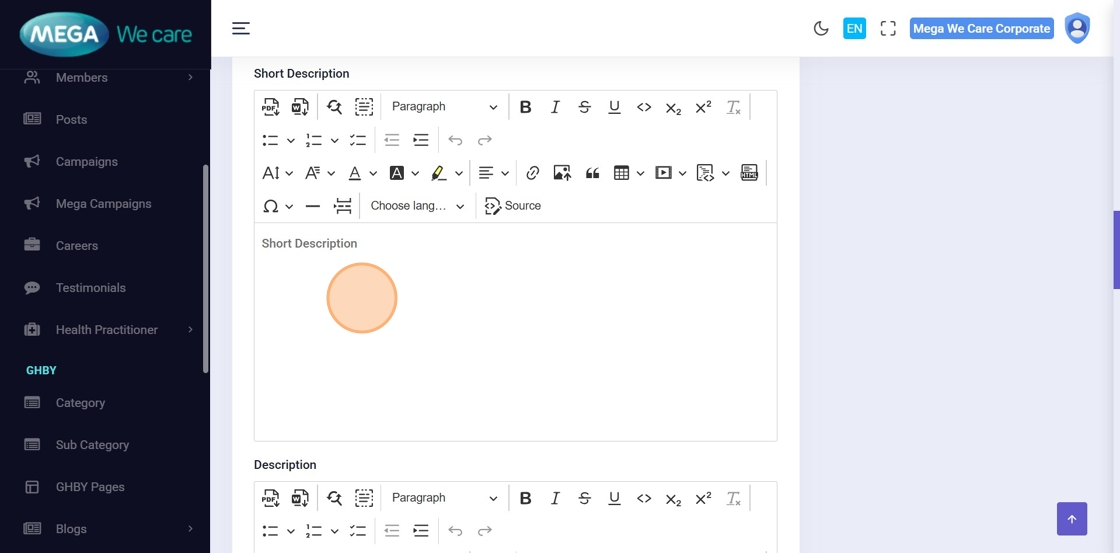
Step 6–7: Add Category Descriptions
- Enter a brief overview in the Short Description field
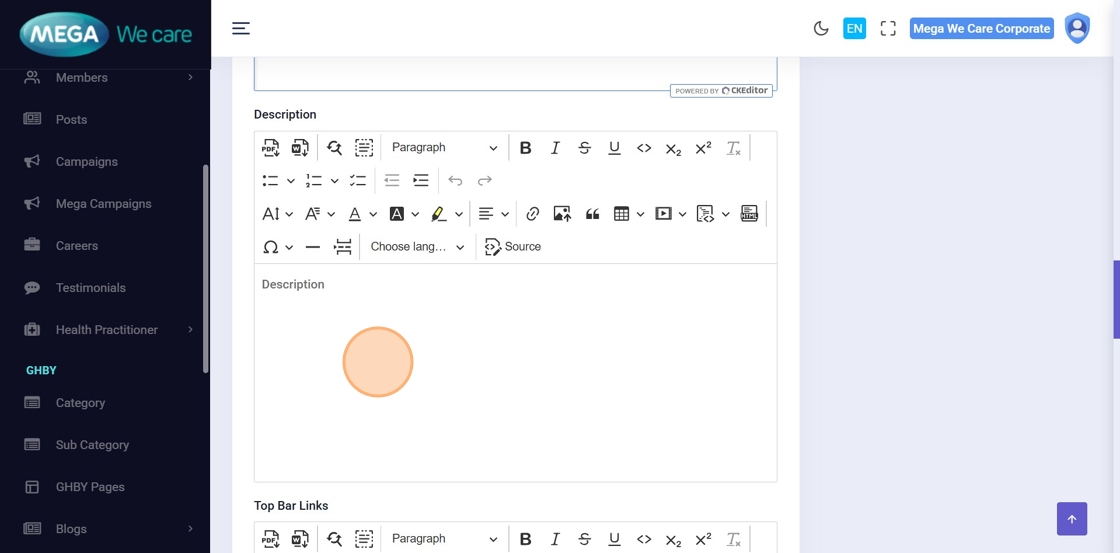
- Enter detailed content in the Description field
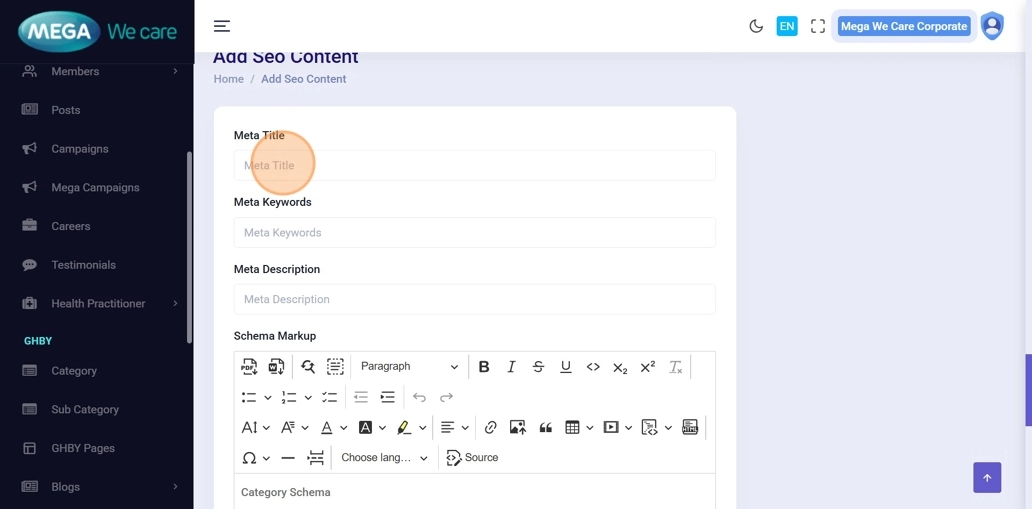
Step 8: Add SEO Details
Fill in all required SEO details, including meta title, meta description, meta keywords, and Image Alt Text.
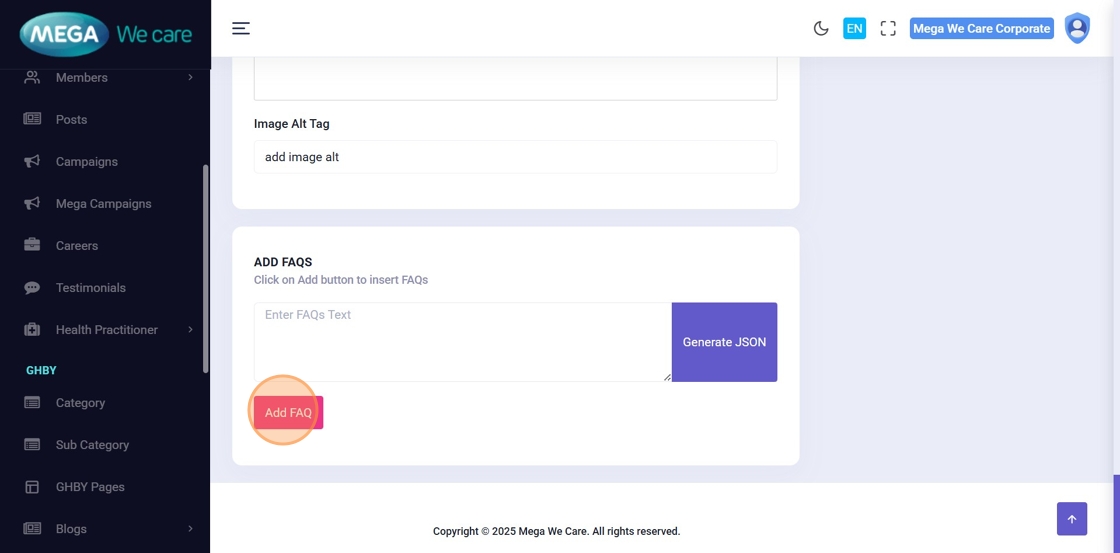
Step 9–12: Add and Manage FAQs
Click Add FAQ to include frequently asked questions.
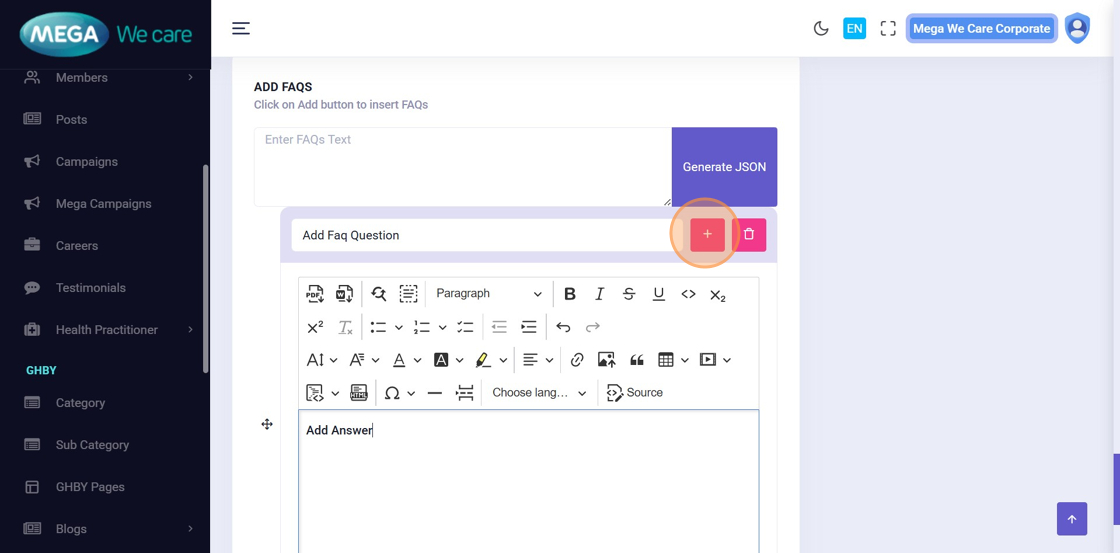
You can:
- Add multiple FAQs
- Rearrange FAQs using drag-and-drop
- Delete any FAQ using the trash icon


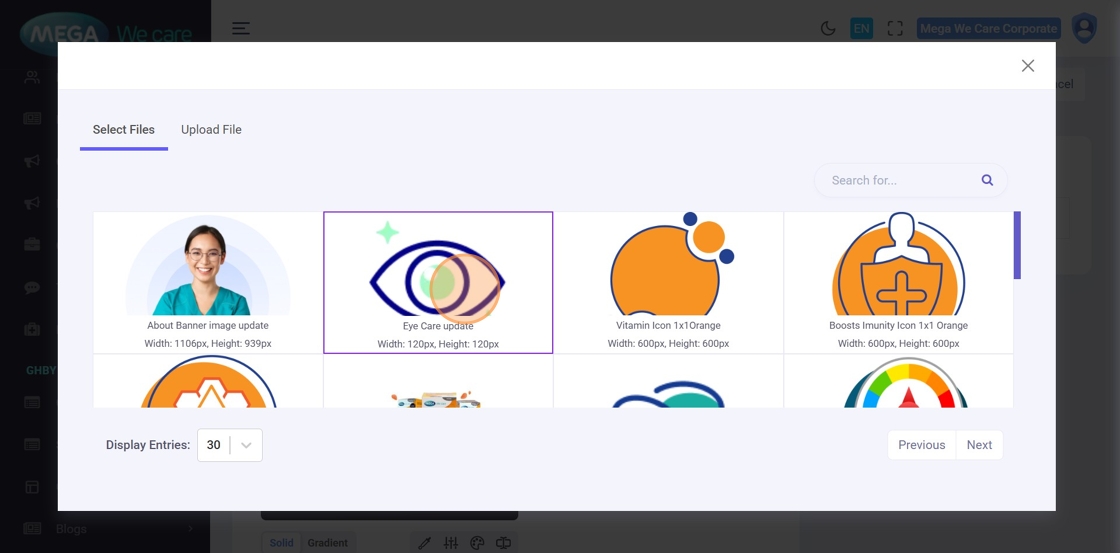
Step 13–14: Upload Category Image
Click Select Image to Upload and choose an existing image from the media library or upload a new one.
Step 15: Save Category
After completing all required fields, click Save to create the HCP blog category.
Edit HCP Blog Category
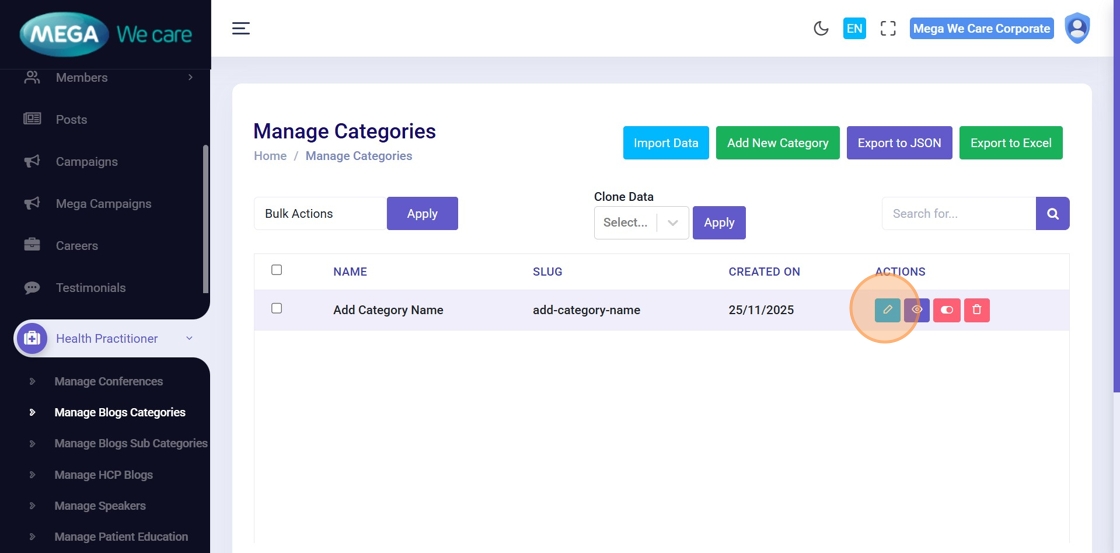
Step 16: Edit Existing Category
Click the Edit icon next to the category you want to update.
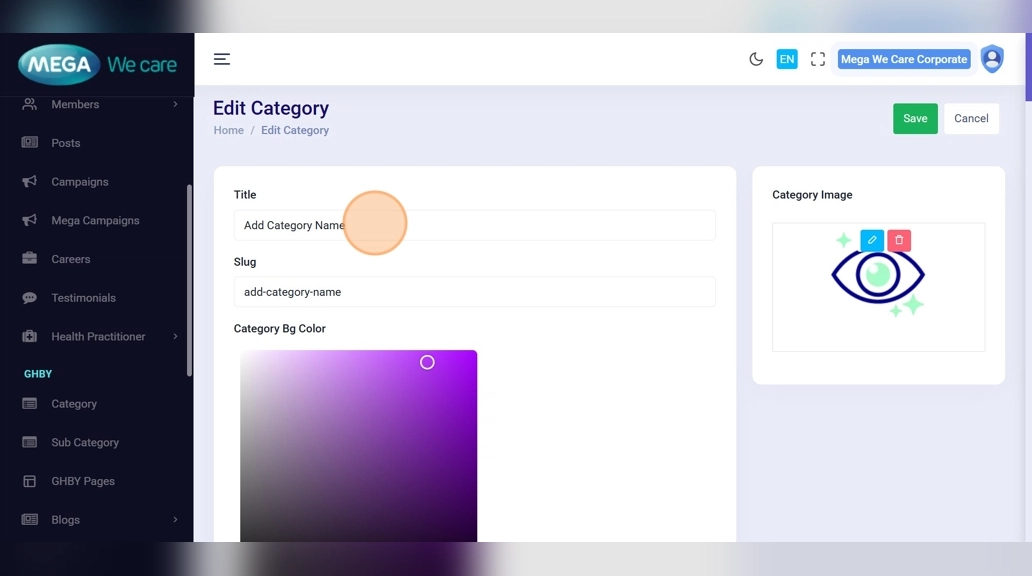
Step 17: Update Category Details
Modify the required fields such as title, slug, descriptions, SEO details, FAQs, or image, then click Save.
Delete HCP Blog Category
Step 18: Delete Category
Click the Delete icon to remove a single category, or use the checkbox to select multiple categories for bulk deletion.
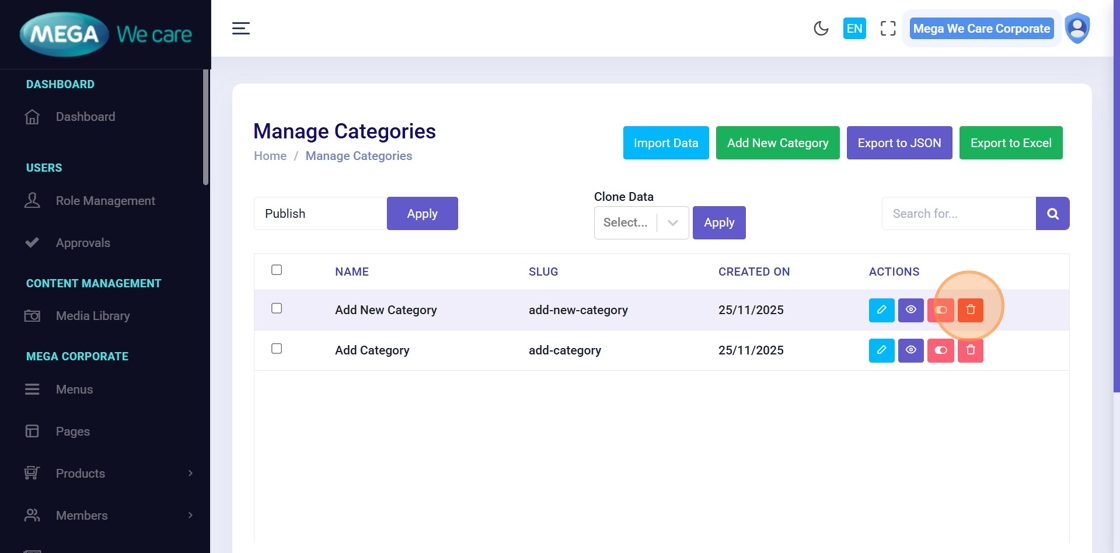
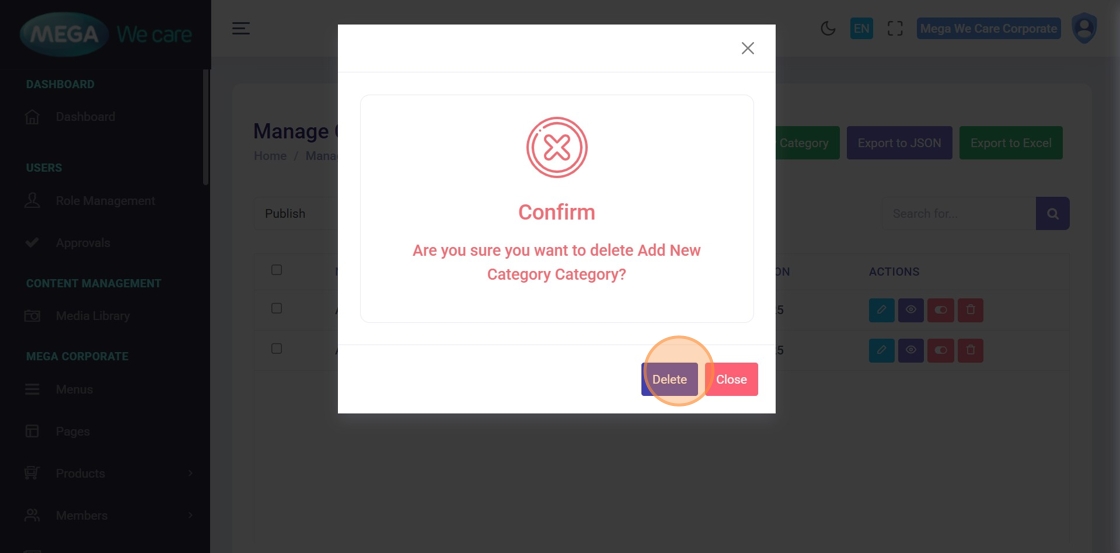
Step 19: Confirm Deletion
Confirm the deletion in the popup.
Note: Once deleted, the category cannot be restored.
Important Notes
- Upload images in WEBP format, ensure the image size is not too large, and do not use PNG, JPG, or JPEG files. If the image is in any of these formats, convert it to WEBP before uploading.
Summary
By using the HCP Blog Categories module, administrators can create, update, and manage structured blog categories with descriptions, FAQs, SEO details, and images, while removing unused categories to keep HCP blog content well-organized, searchable, and easy to maintain across the platform.