Page Navigation
How to Add, Update and Delete GHBY Category
The GHBY Category module allows administrators to create new categories, update existing ones, and delete categories when they are no longer needed. These categories help organize GHBY content, making it easier for users to navigate and improving SEO effectiveness.
This guide explains all key actions—Add, Edit/Update, and Delete—with simple, step-by-step instructions and visuals.
Overview
By using this document, you will learn how to:
- Open the GHBY Category management panel
- Create a new category with titles, descriptions, FAQs, images, and SEO details
- Edit and update existing category information
- Delete unwanted categories from the system
- Verify successful creation, updates, or deletion through confirmation messages
This ensures your GHBY content structure stays clean, organized, and easy to manage.
Add a New GHBY Category
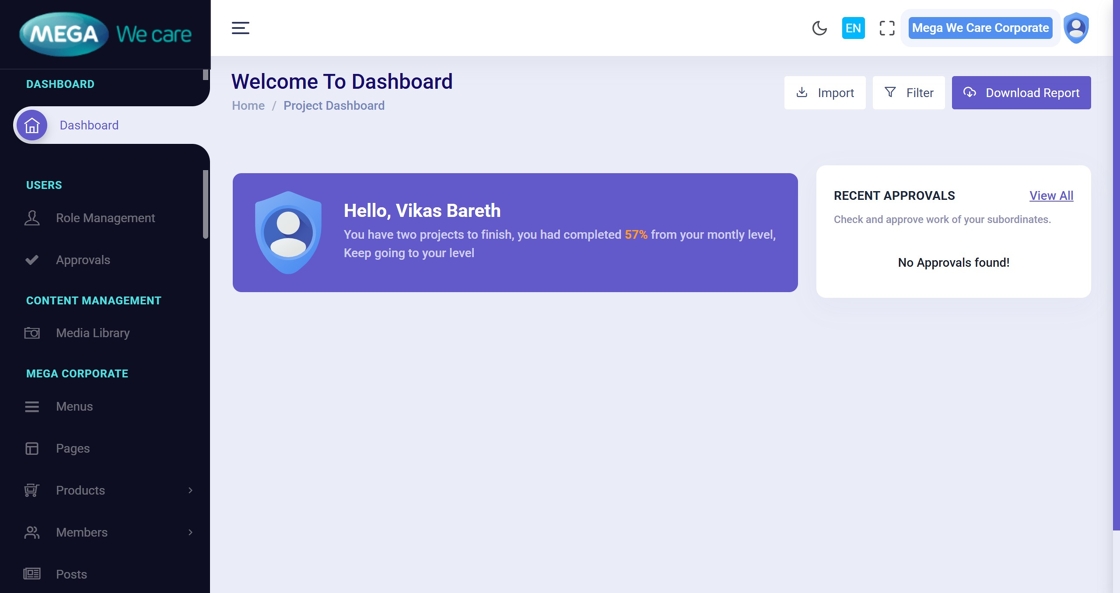
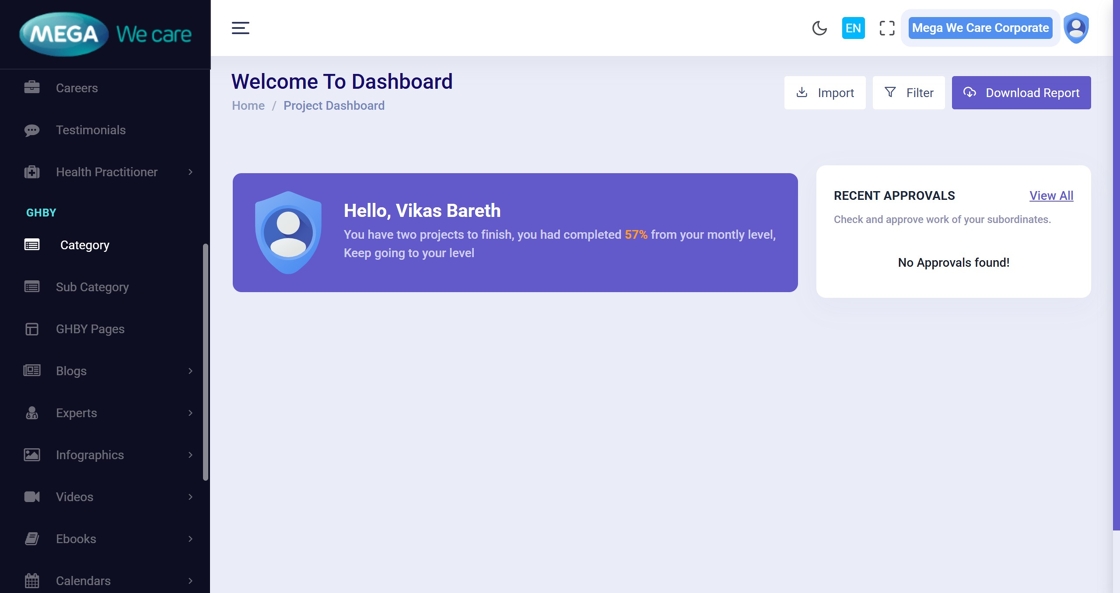
Step 1: Open the Admin Dashboard
Start by opening your admin dashboard in the browser.
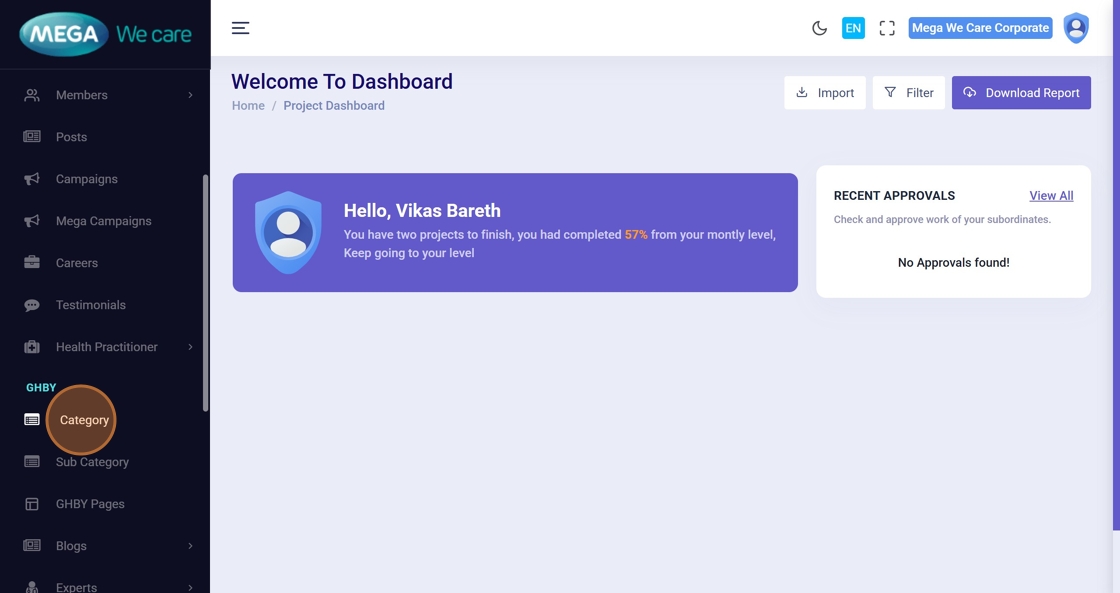
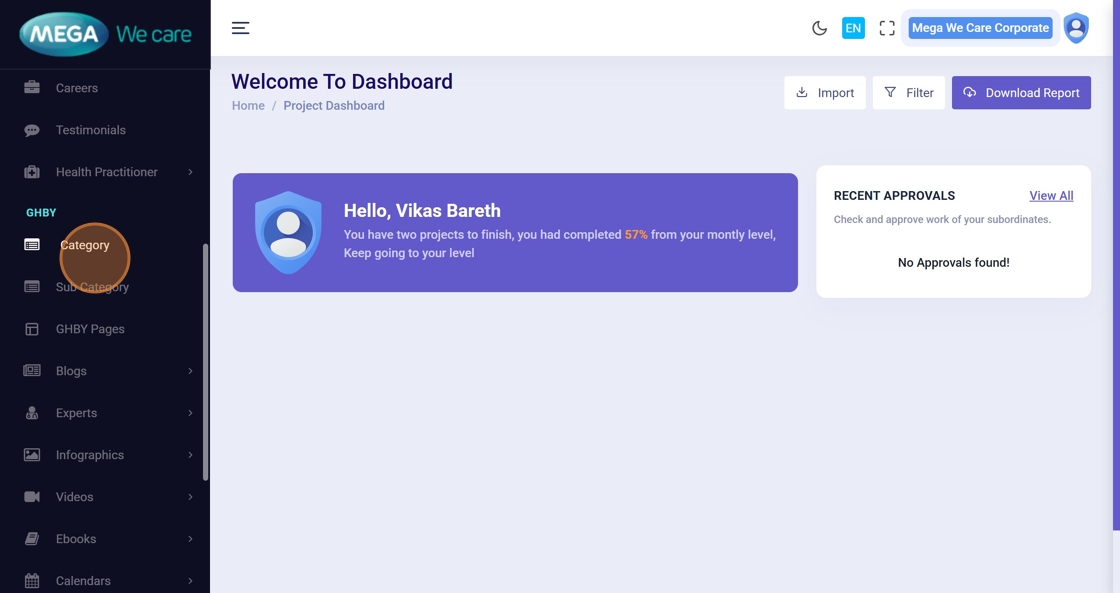
Step 2: Click “Category”
From the left sidebar, click Category to open the GHBY category list.
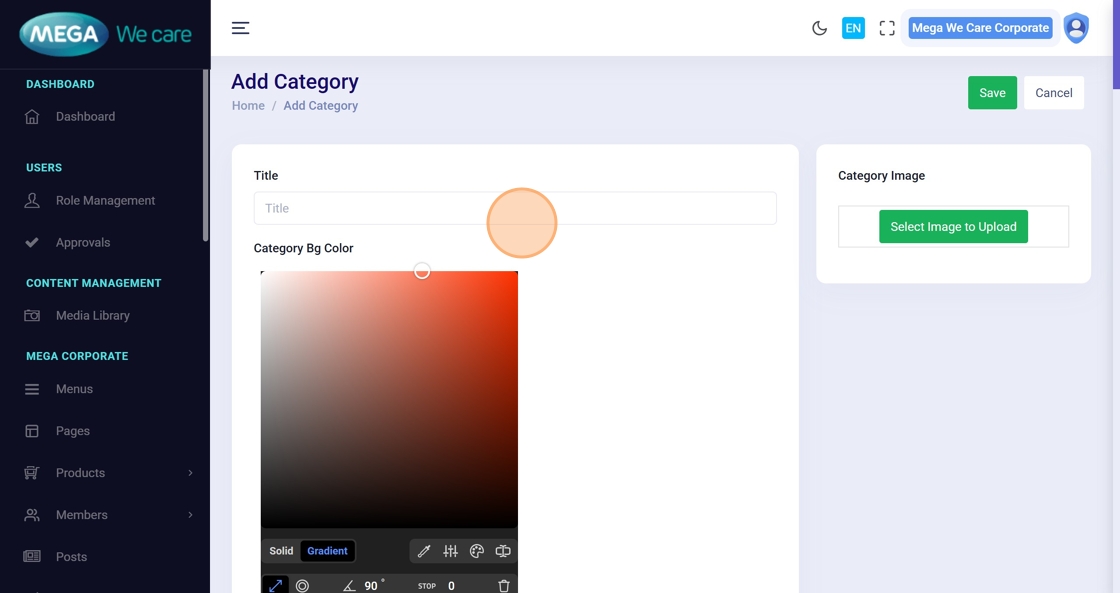
Step 3: Click “Add New Category”
This opens the form to create a new category.

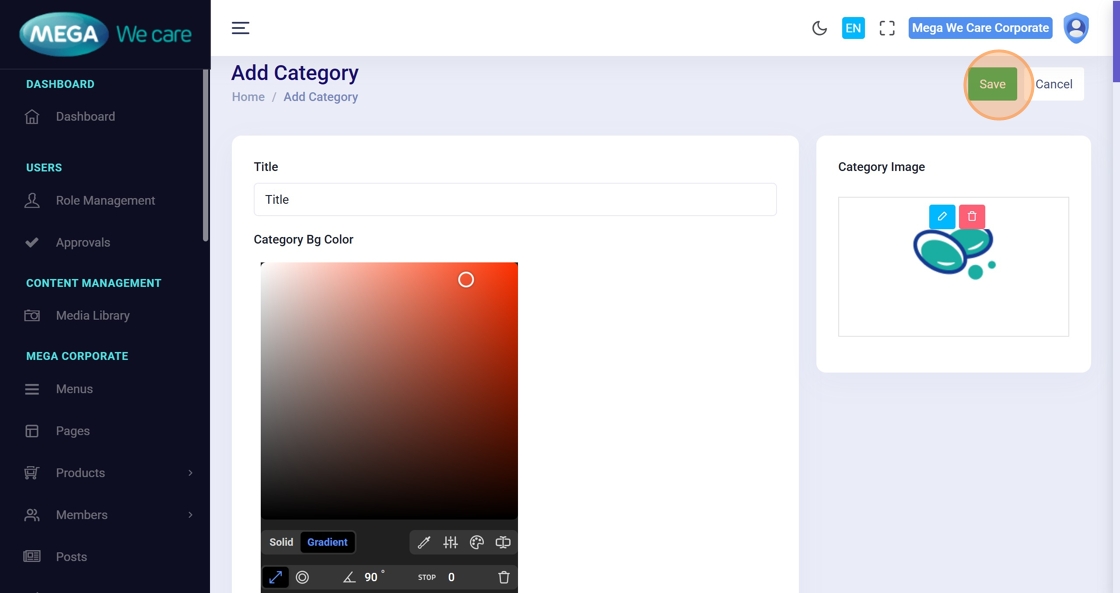
Step 4: Enter Category Title
Type the category name in the Title field.
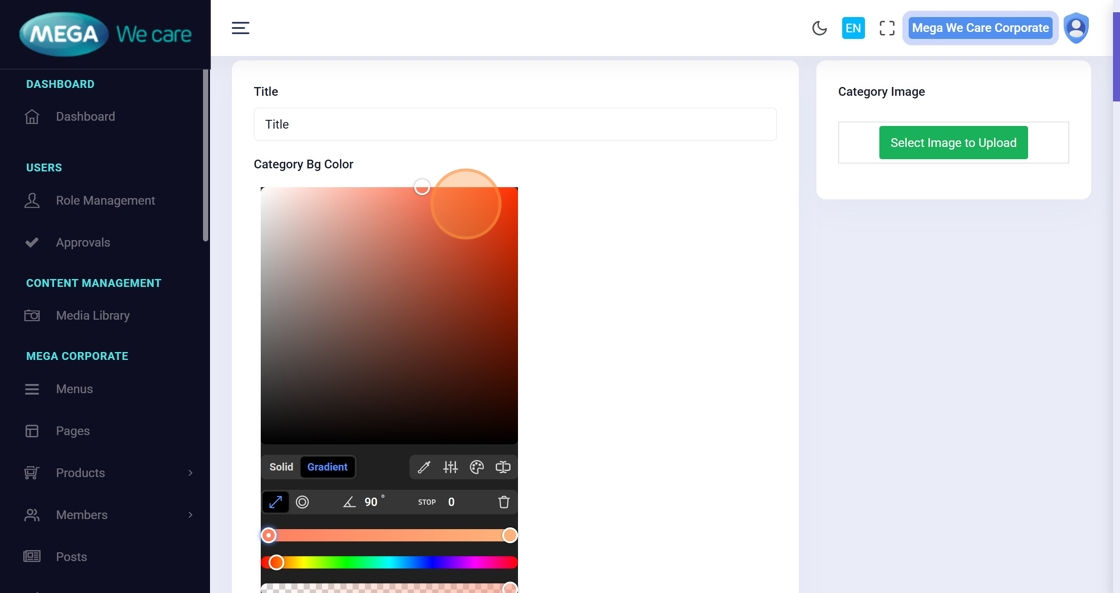
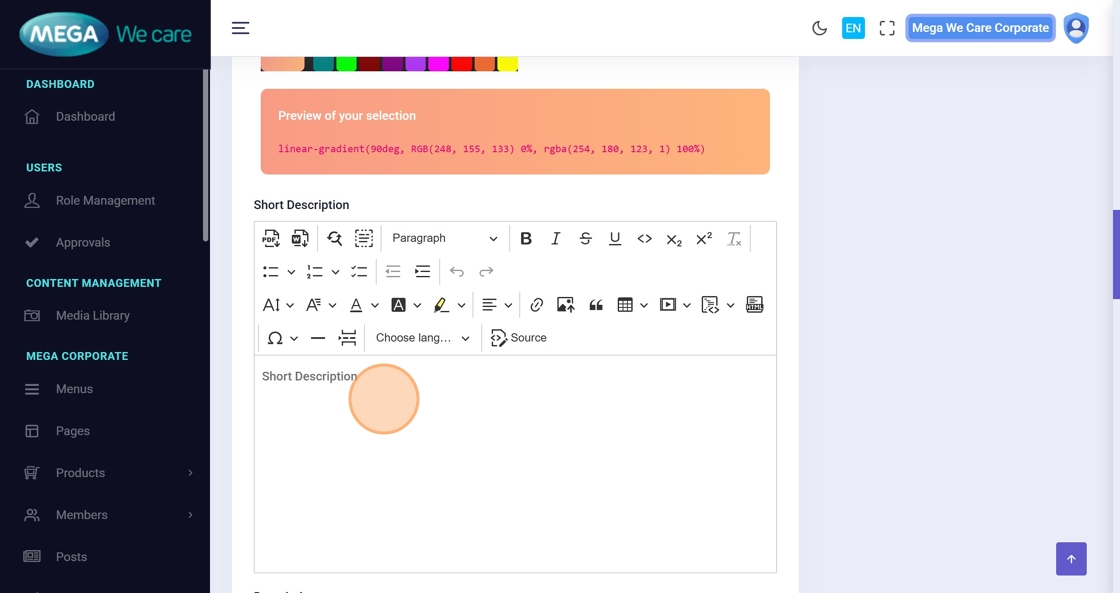
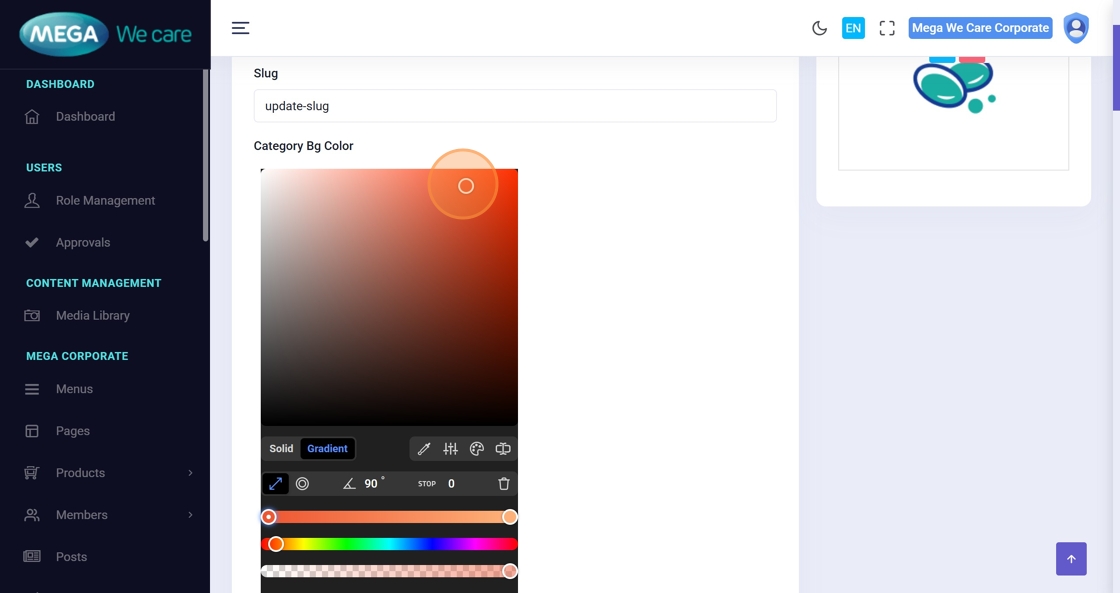
Step 5–6: Select Category Colors
Use the color picker to choose the background color and title color.
A live preview will help you see how your colors look.

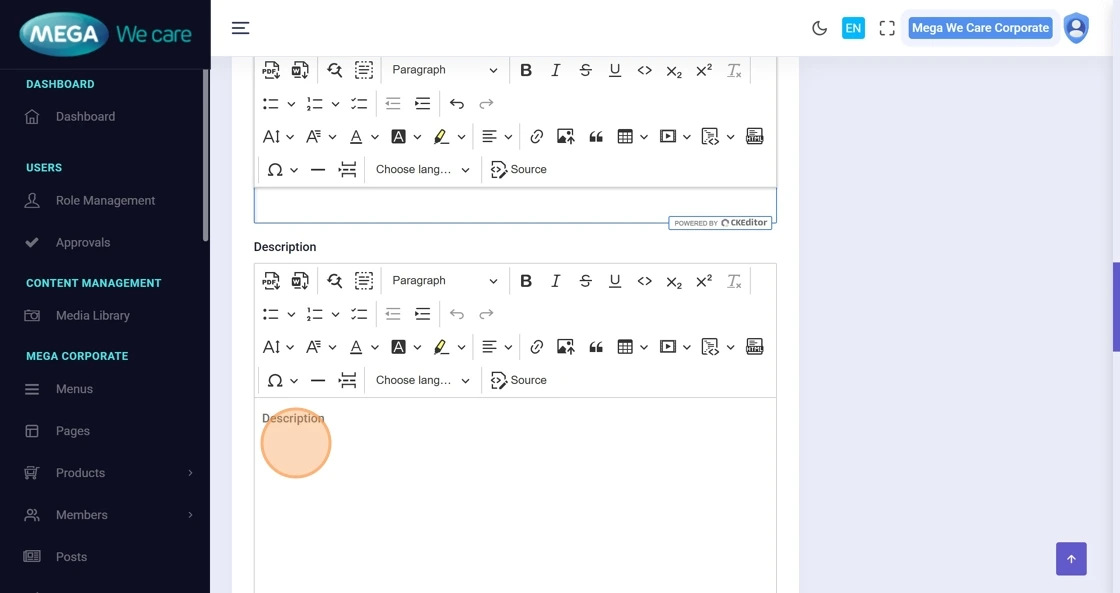
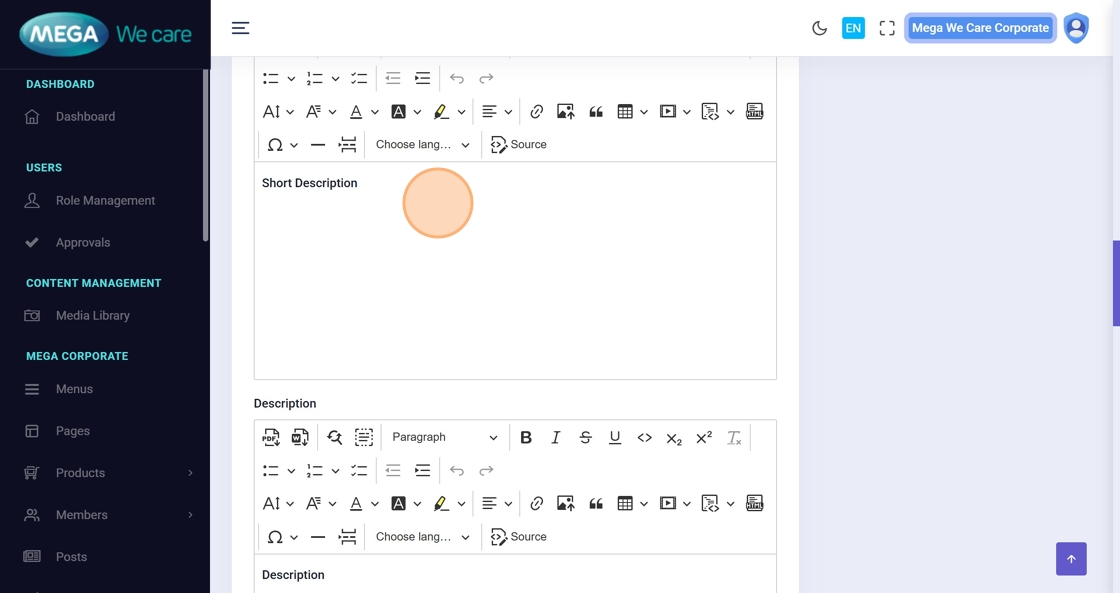
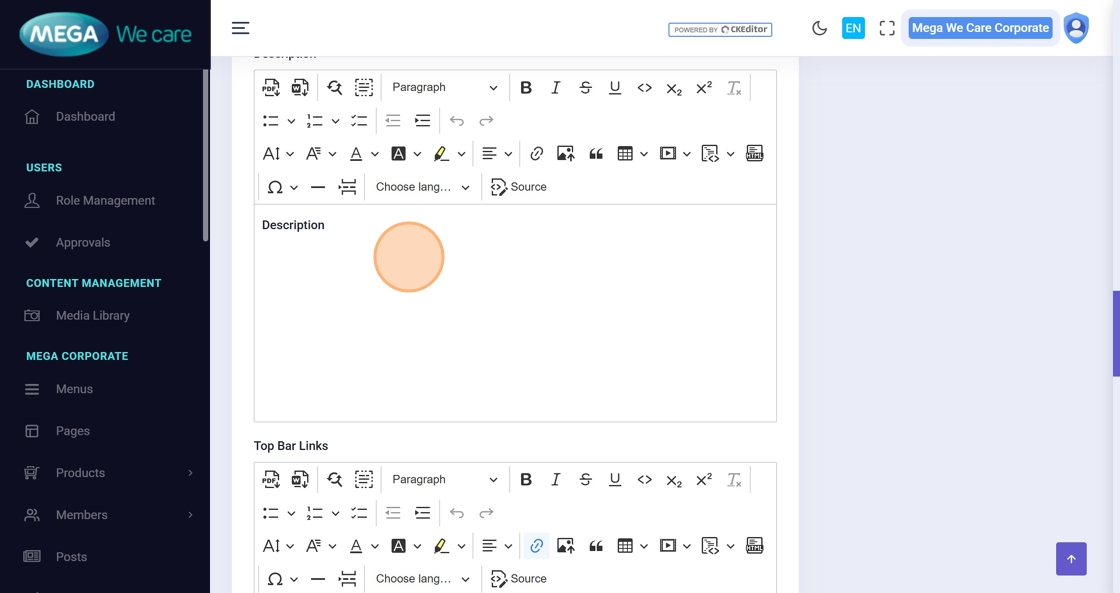
Step 7–9: Add Category Descriptions
Enter the Short Description, then the main Description, and continue adding additional content as needed.
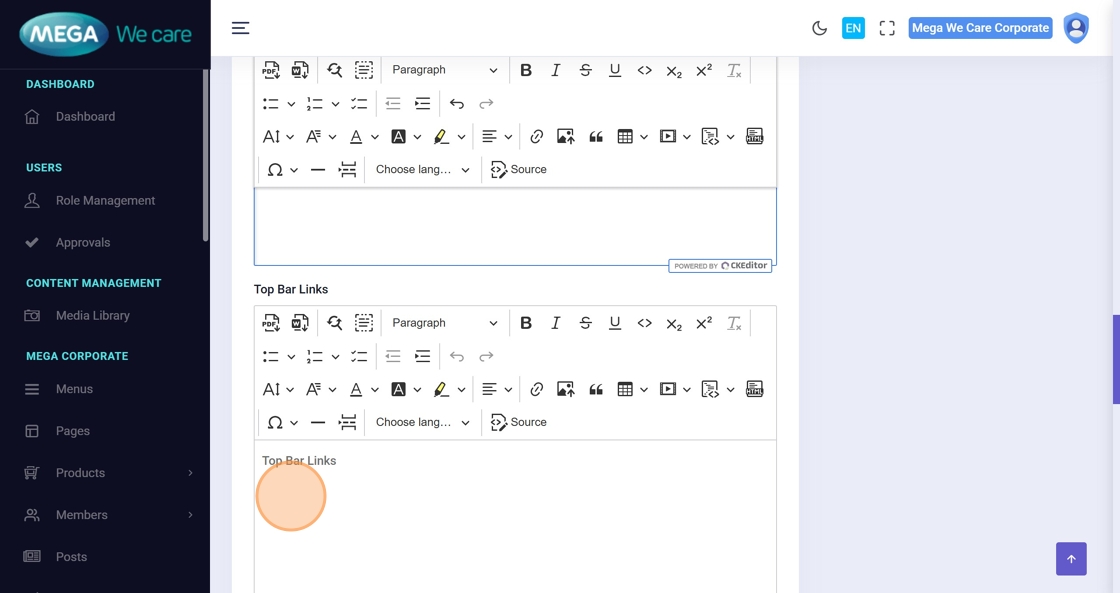
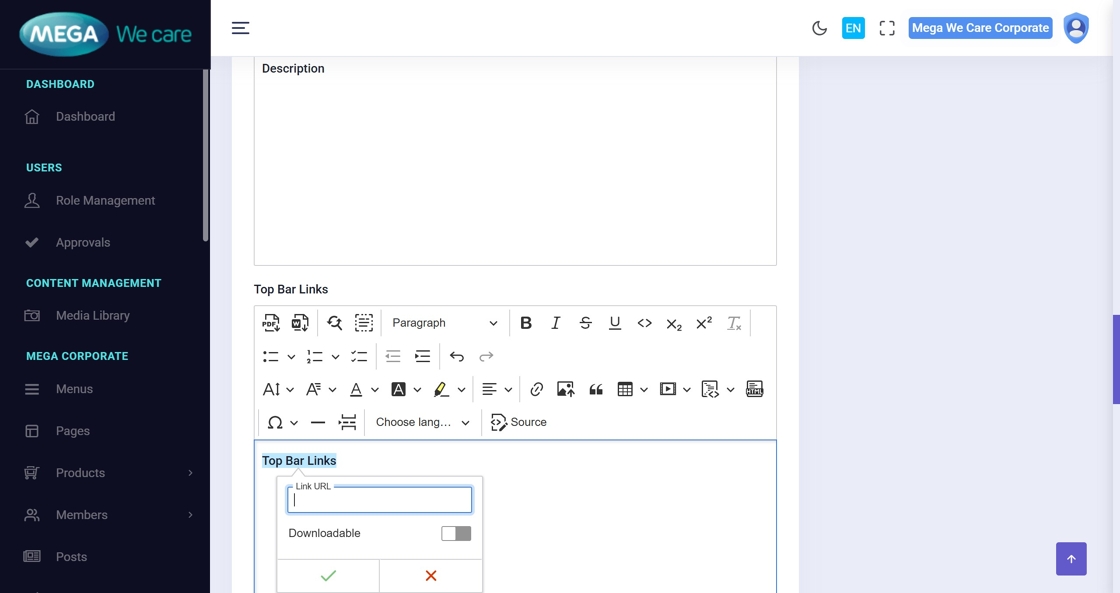
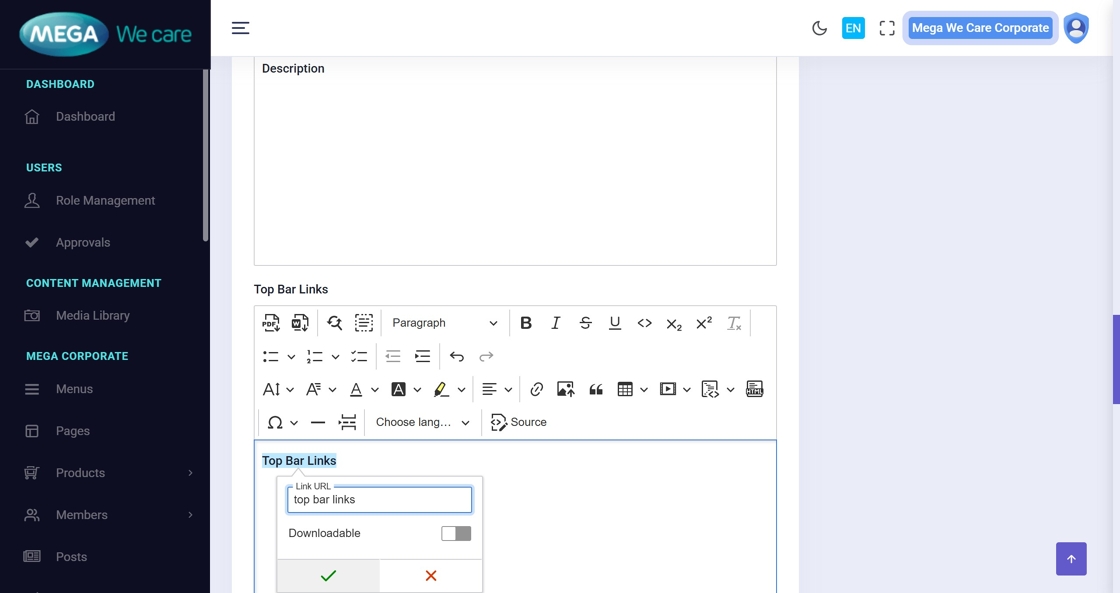
Step 10–11: Insert a Top Bar Link (Optional)
Press Ctrl + K to insert a link and fill in link details.
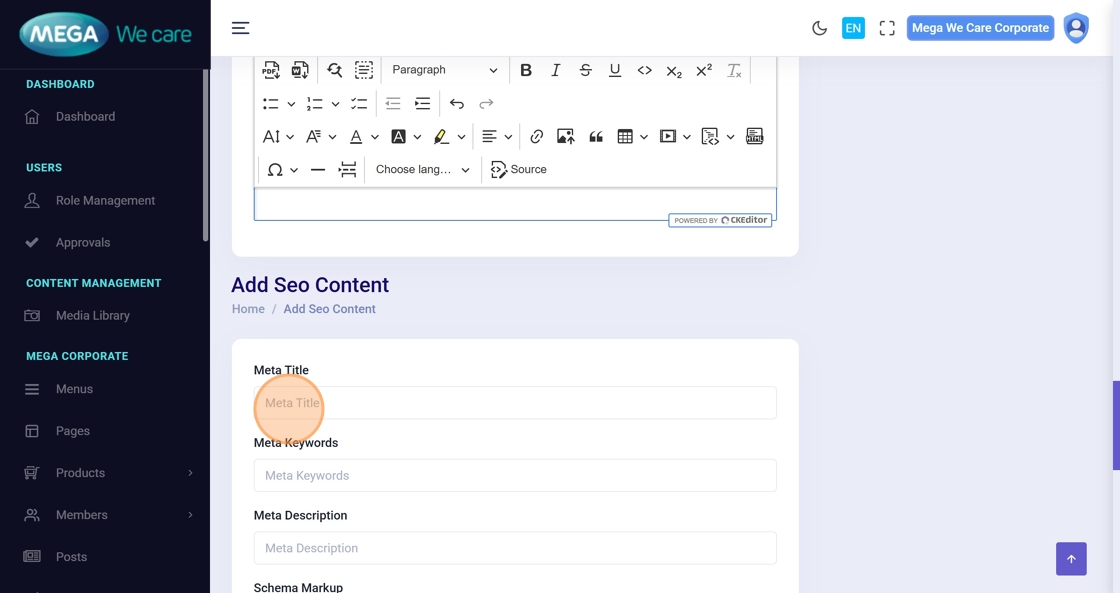
Step 12–14: Add SEO Details
Fill out the SEO fields:
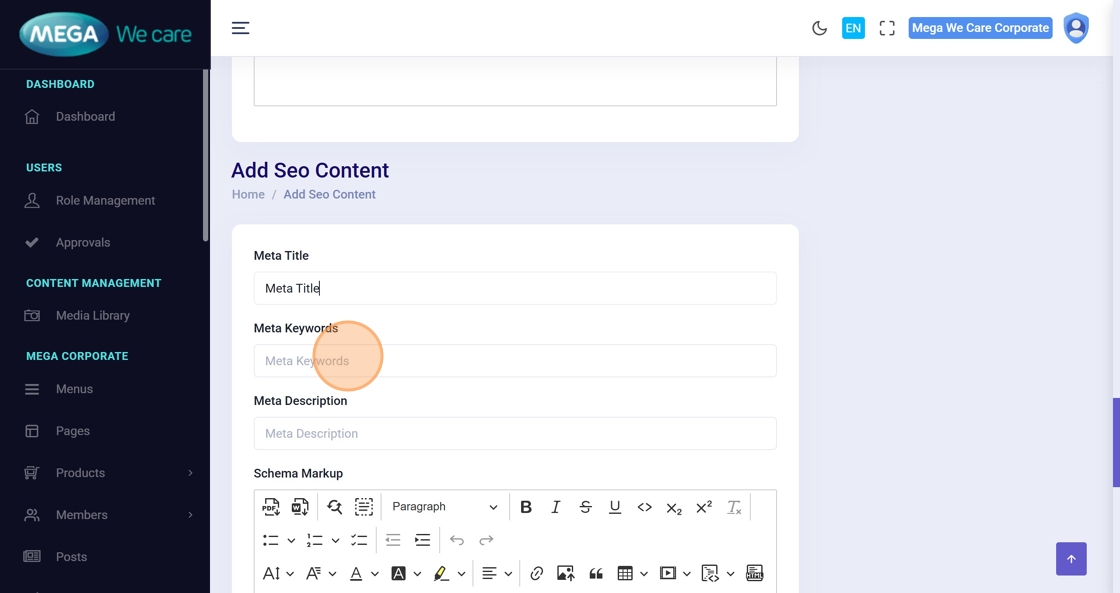
- Meta Title
- Meta Keywords
- Meta Description
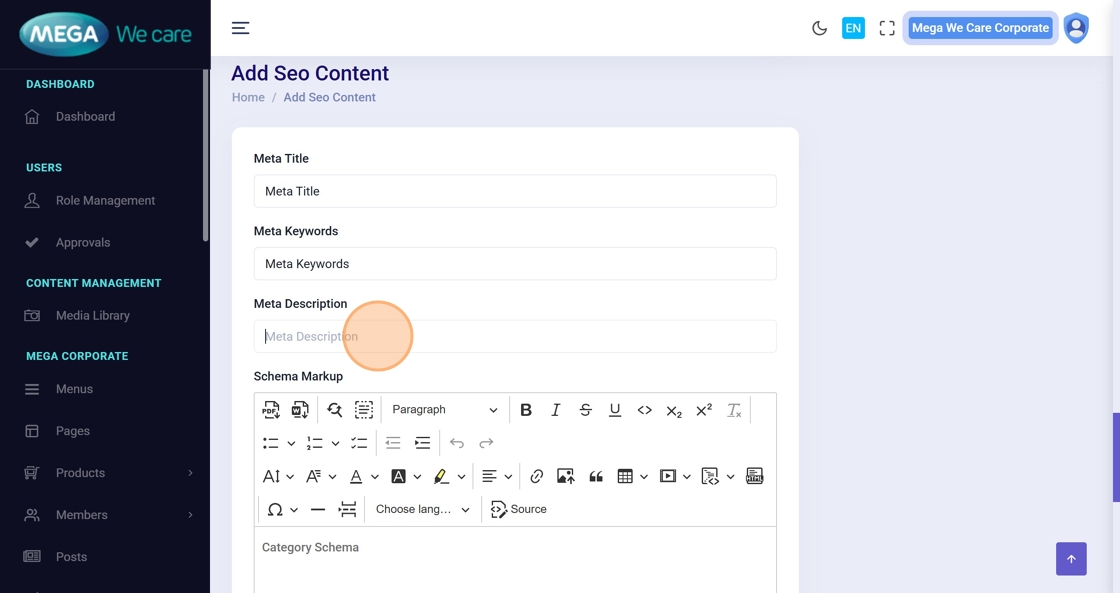
Step 15: Add Category Schema
Paste the schema script (JSON-LD) inside the schema editor.

Step 16: Add Image Alt Tag
Enter an SEO-friendly alt tag for the category image.
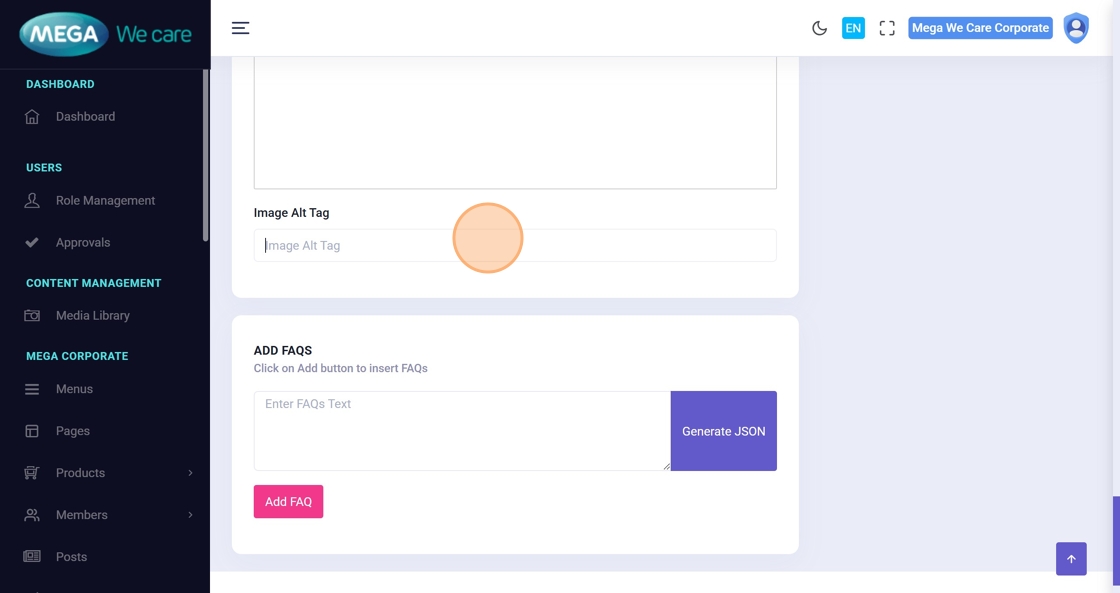
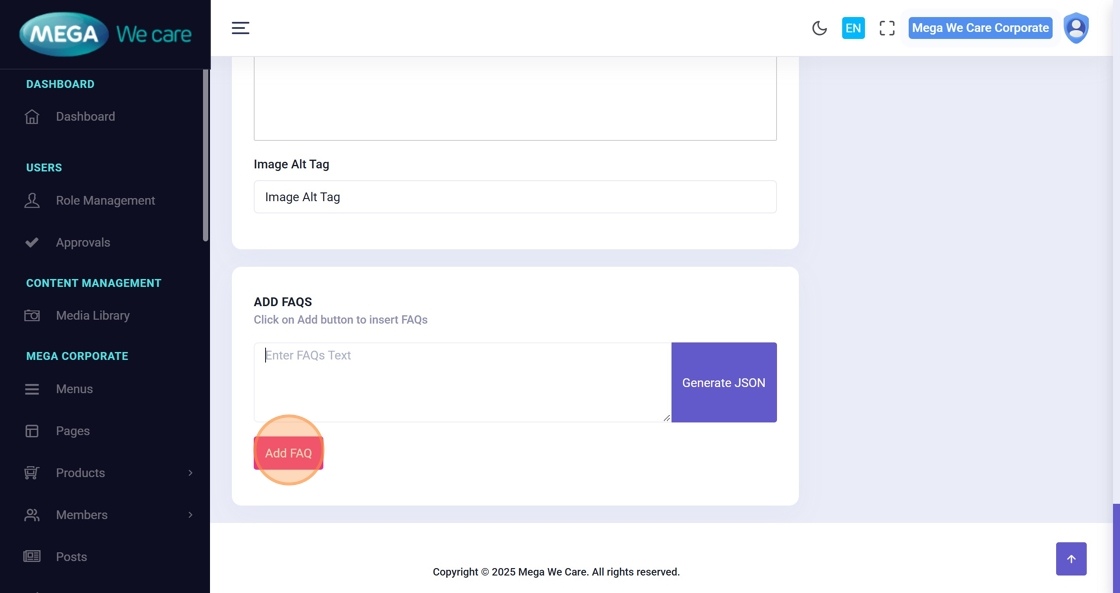
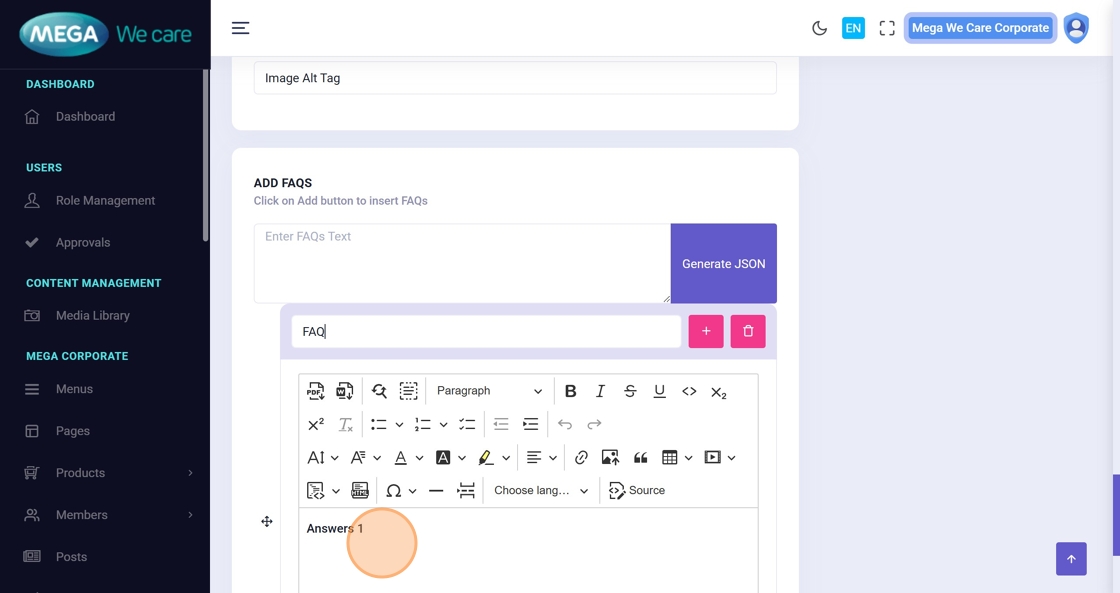
Step 17–22: Add FAQs
- Click the FAQ text field
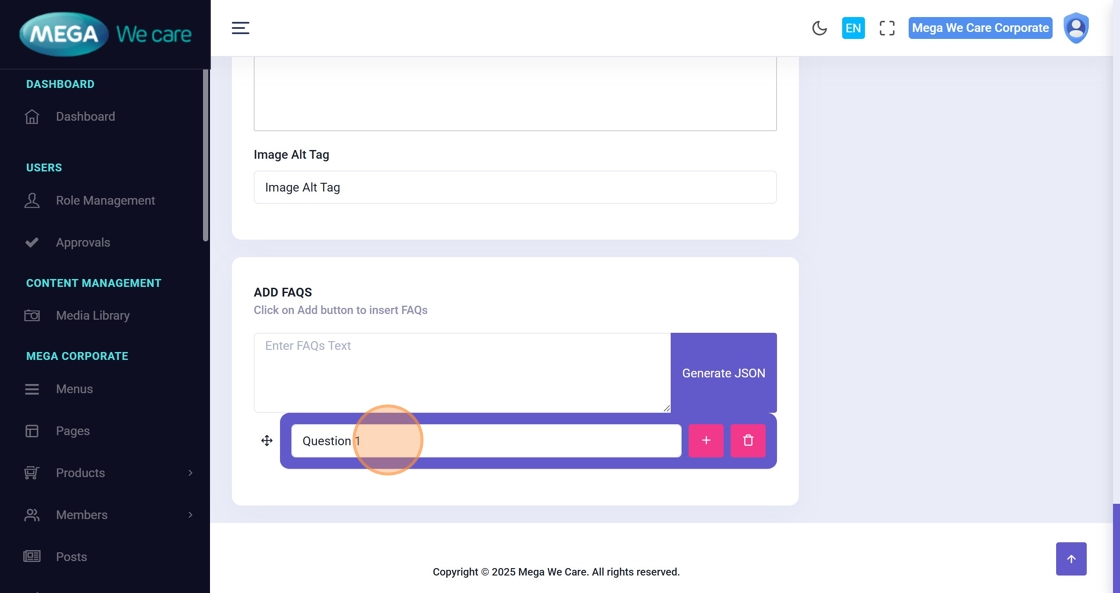
- Click Add FAQ
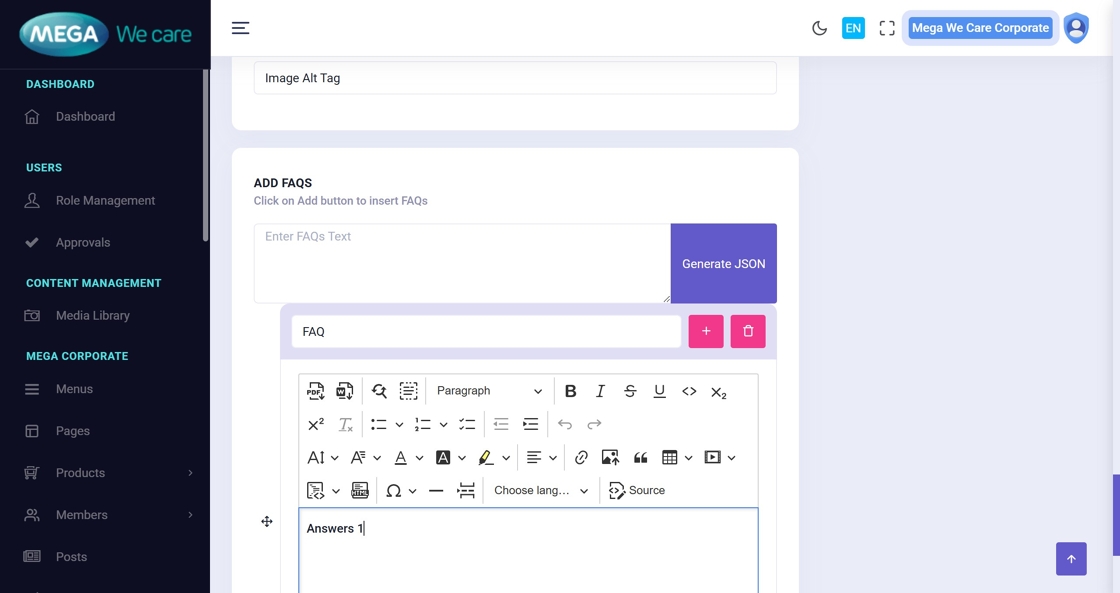
- Enter the Question
- Enter the Answer


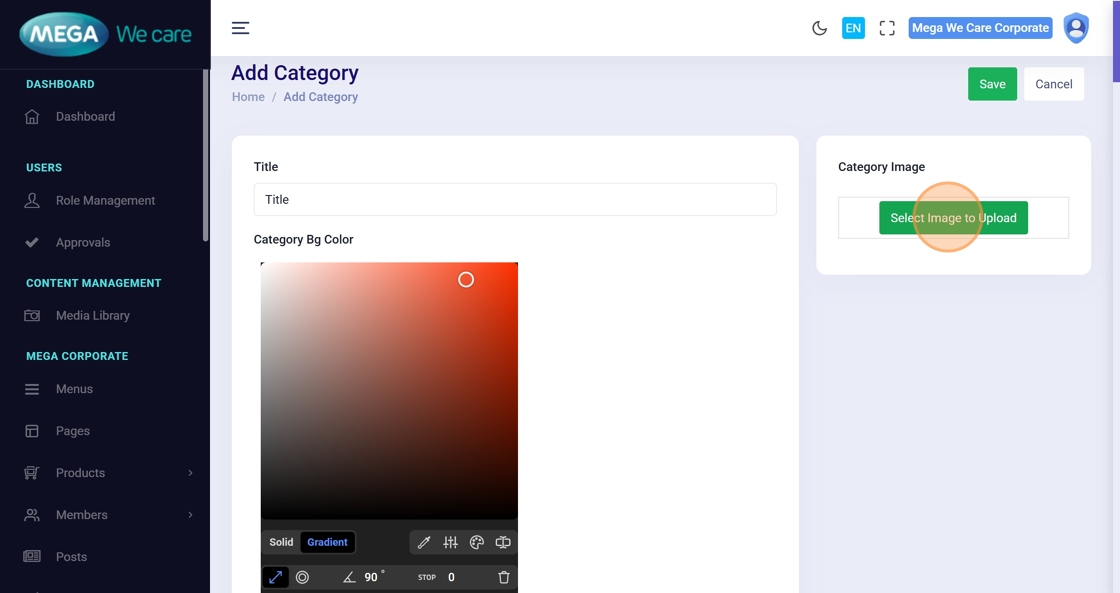
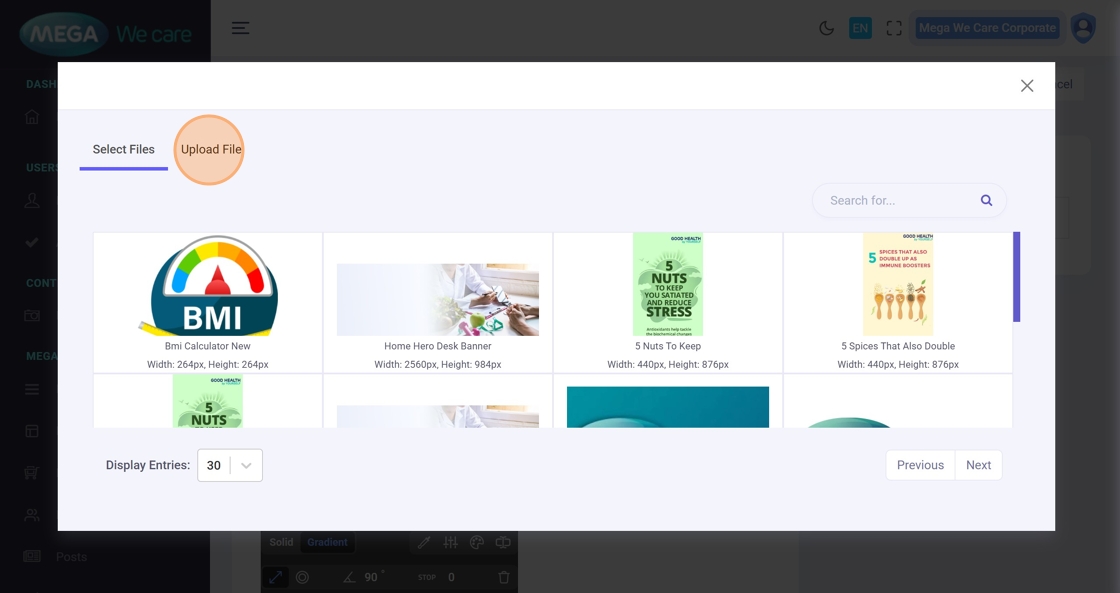
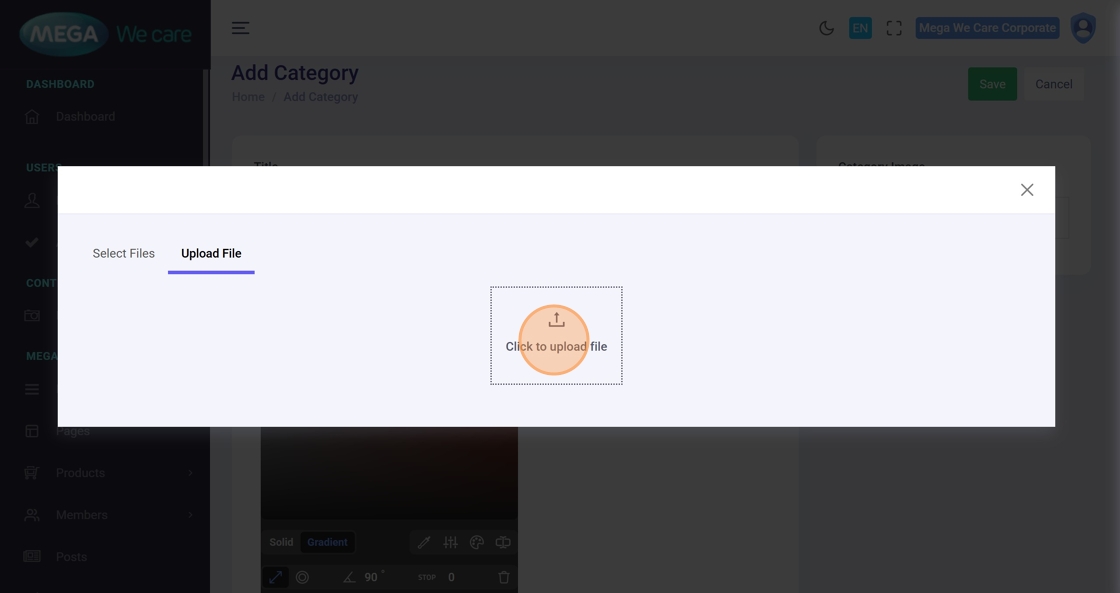
Step 23–25: Upload Category Image
Click Select Image to Upload, then:
- Upload a new file, or
- Select one from the media library
Step 26. Save the Category
Click Save to create the new category.
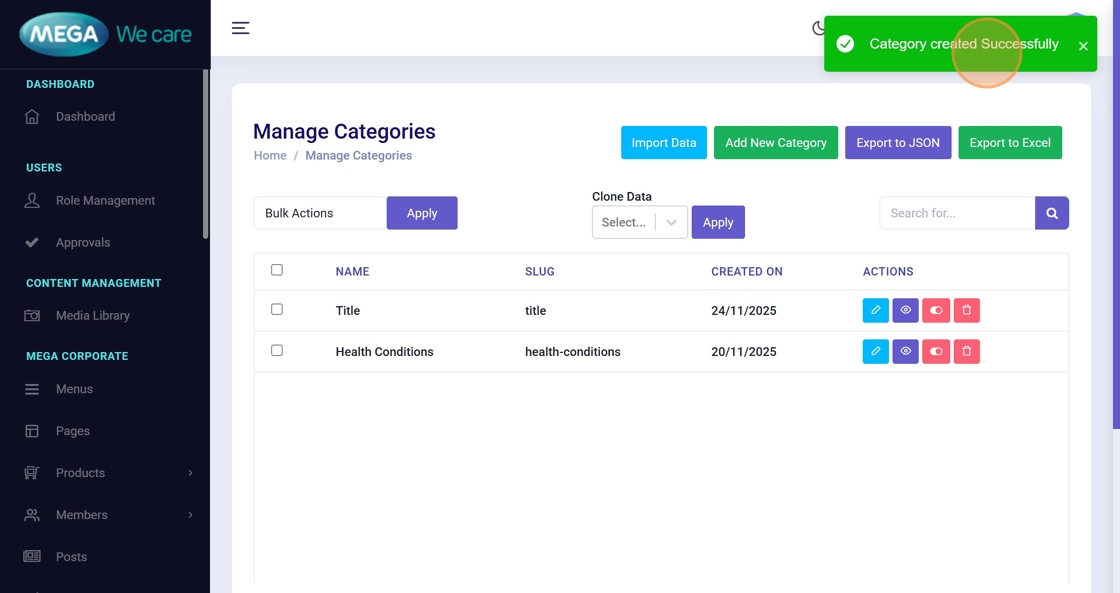
Step 27. Confirmation
A message “Category created Successfully” confirms successful creation.
Update an Existing GHBY Category
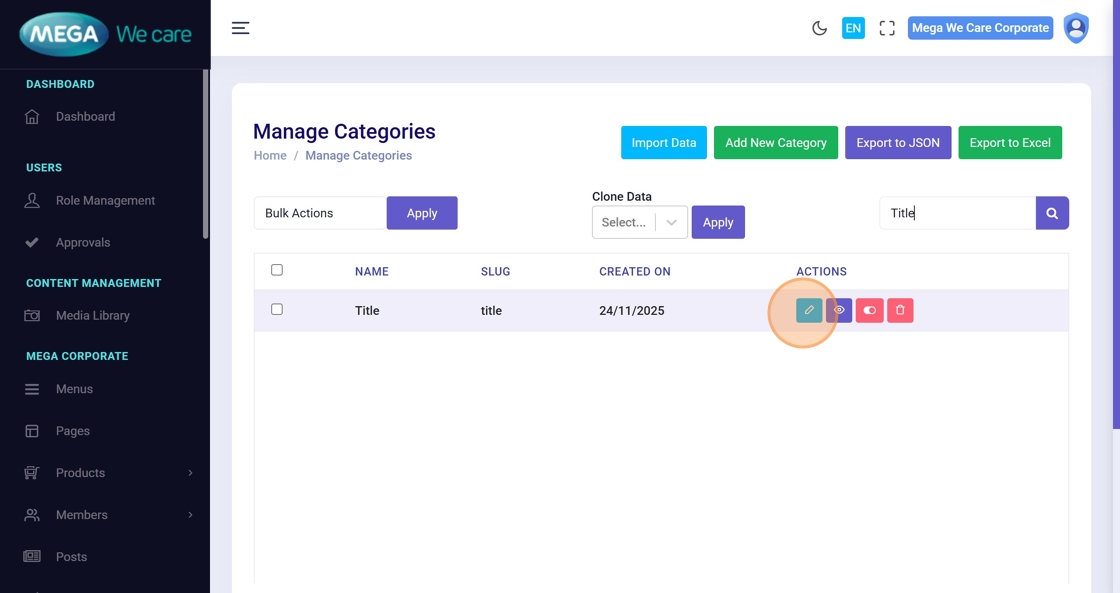
Step 28: Open Category List
Go to the dashboard and open the Category module again.
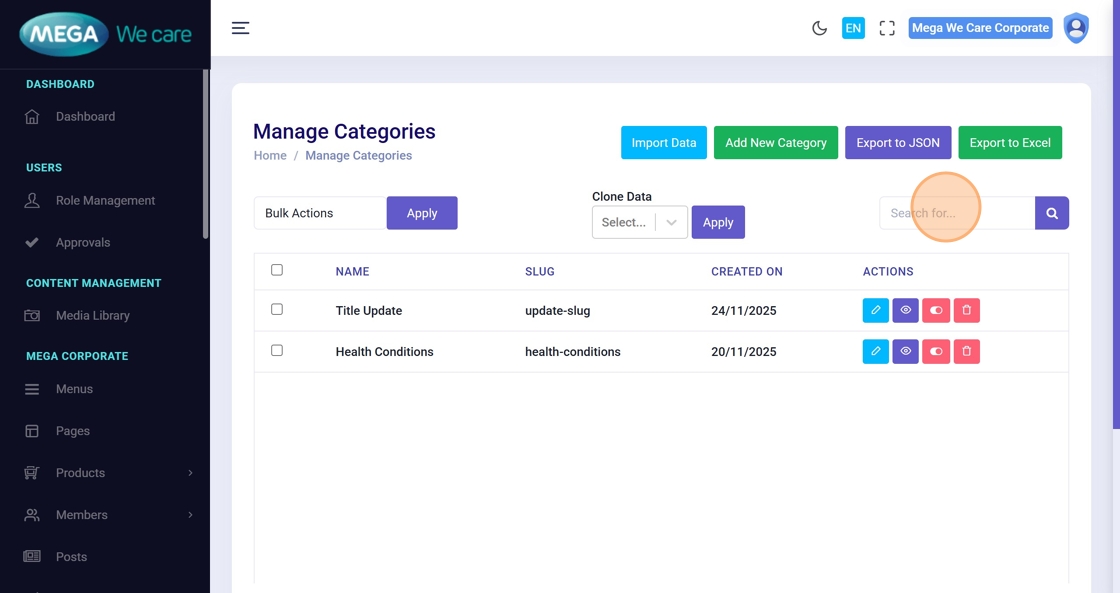
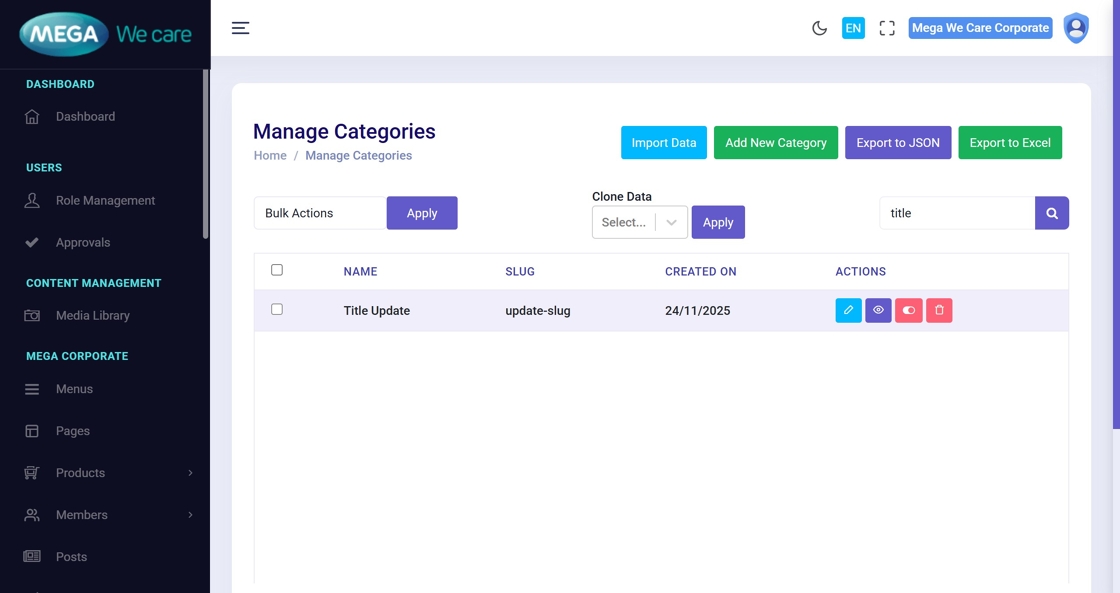
Step 29–30: Search for the Category
Use the Search for… field to quickly locate the category you want to update.

Step 31: Click the Edit Icon
Opens the category editing popup.
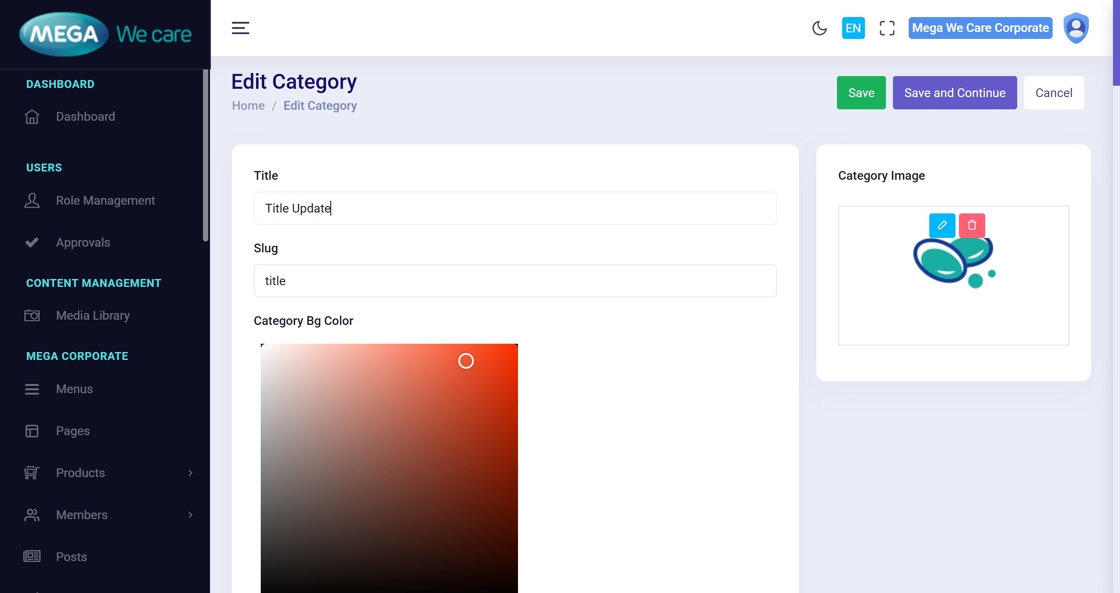
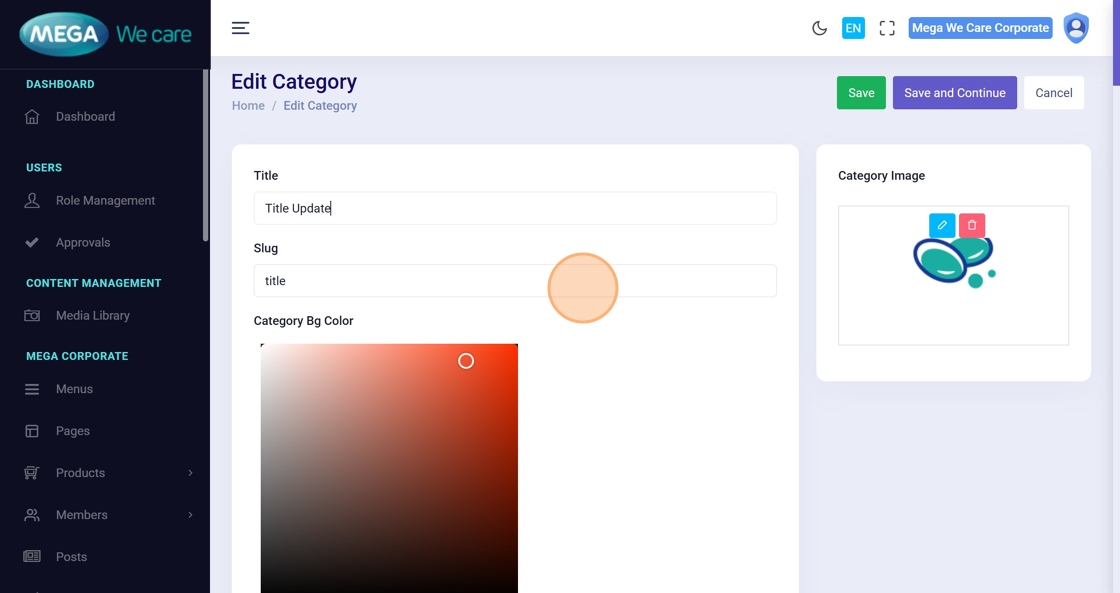
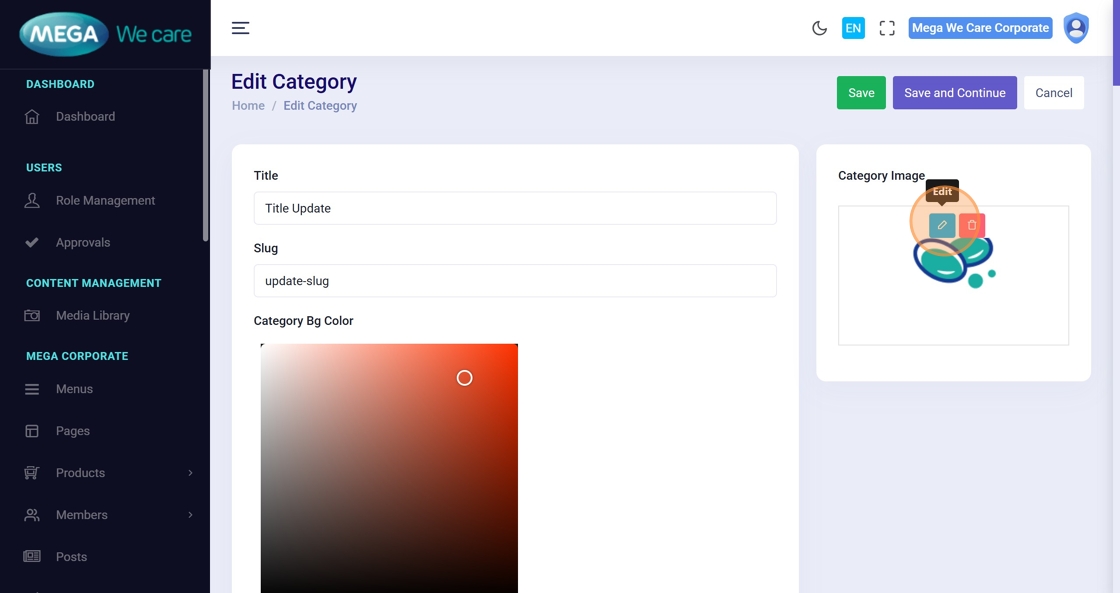
Step 32–37: Update Category Details
You may update:
- Title
- Slug
- Colors
- Short Description
- Main Description
- Additional fields

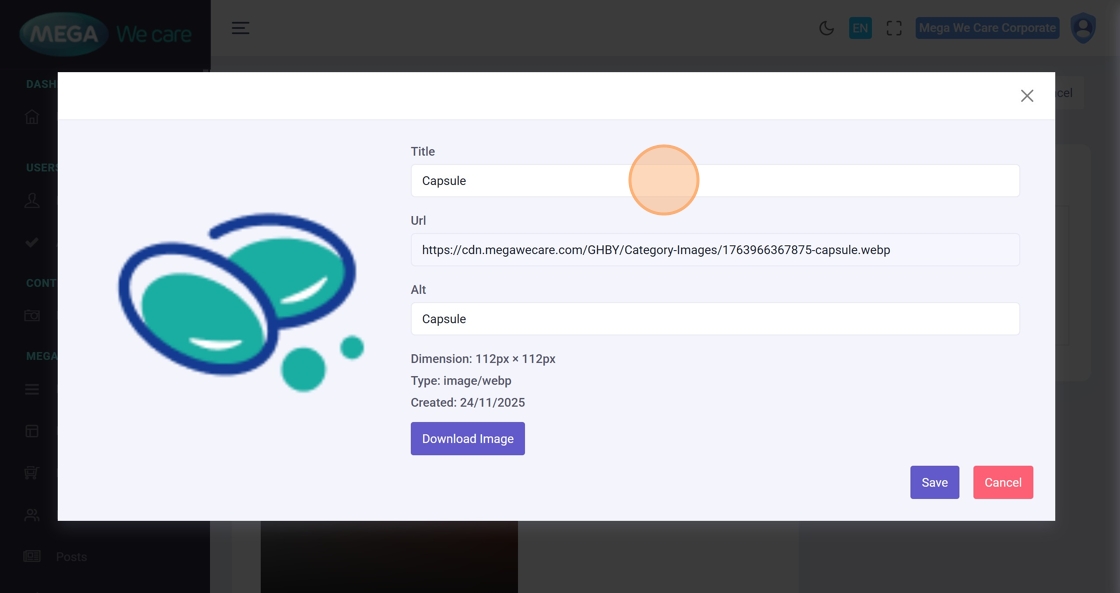
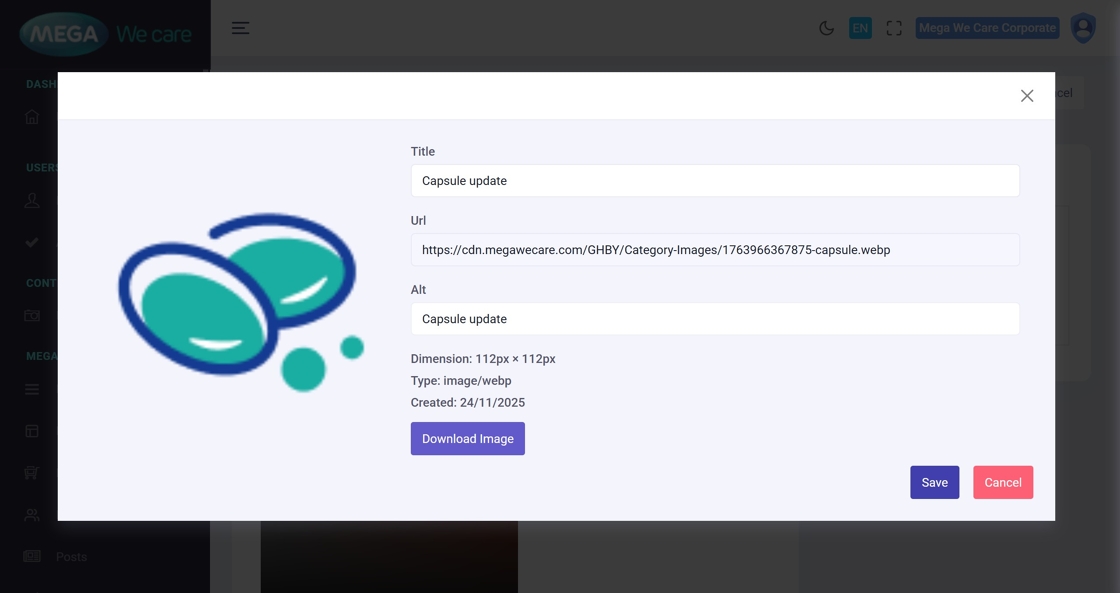
Step 38–41: Update Category Image
Click the Edit Image icon to modify:
- Image title
- URL
- Alt text
Then click Save.
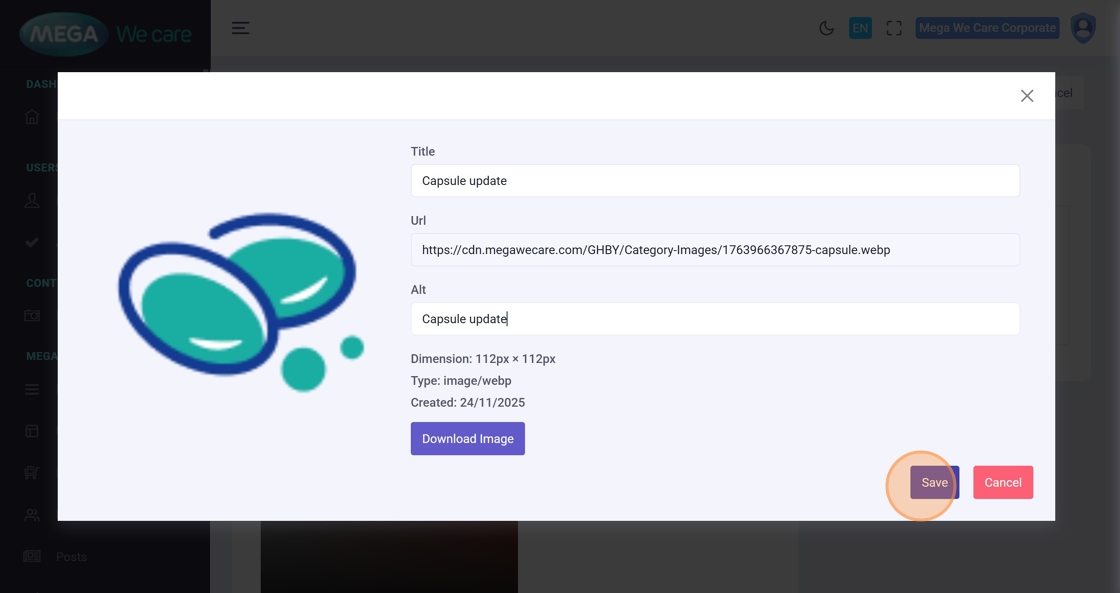
Step 42: Save All Changes
Click the main Save button.

Step 43. Confirmation
Look for “Category Updated Successfully”.

Delete a GHBY Category
Step 44: Open Category Section
Navigate to Category from the dashboard.

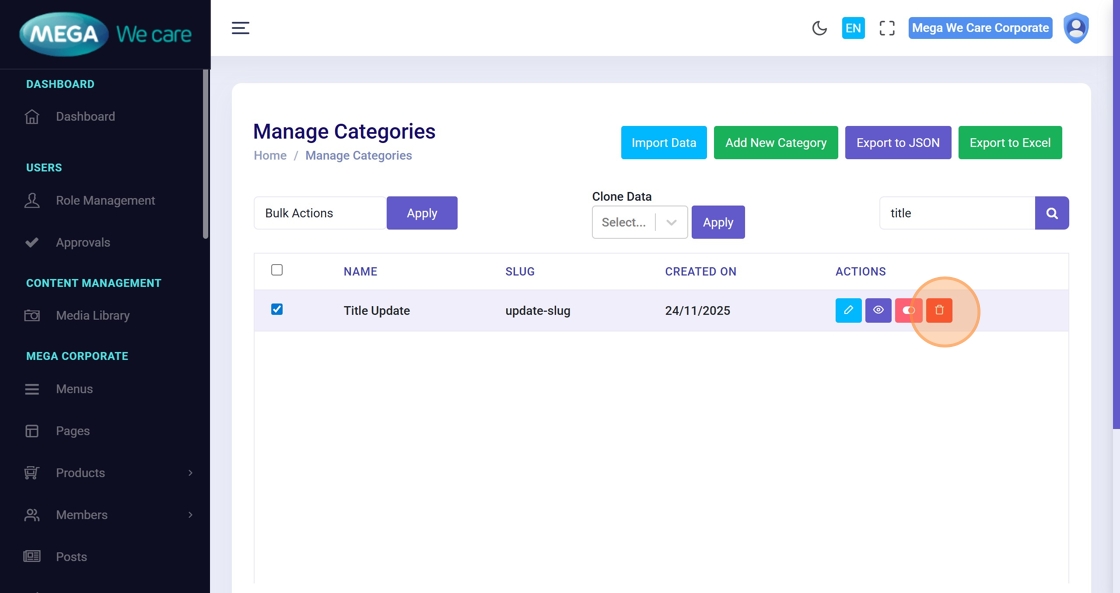
Step 45–47: Search for the Category
Use the search bar to find the category to delete.

Step 48: Click the Delete Icon
Deletes the selected category.
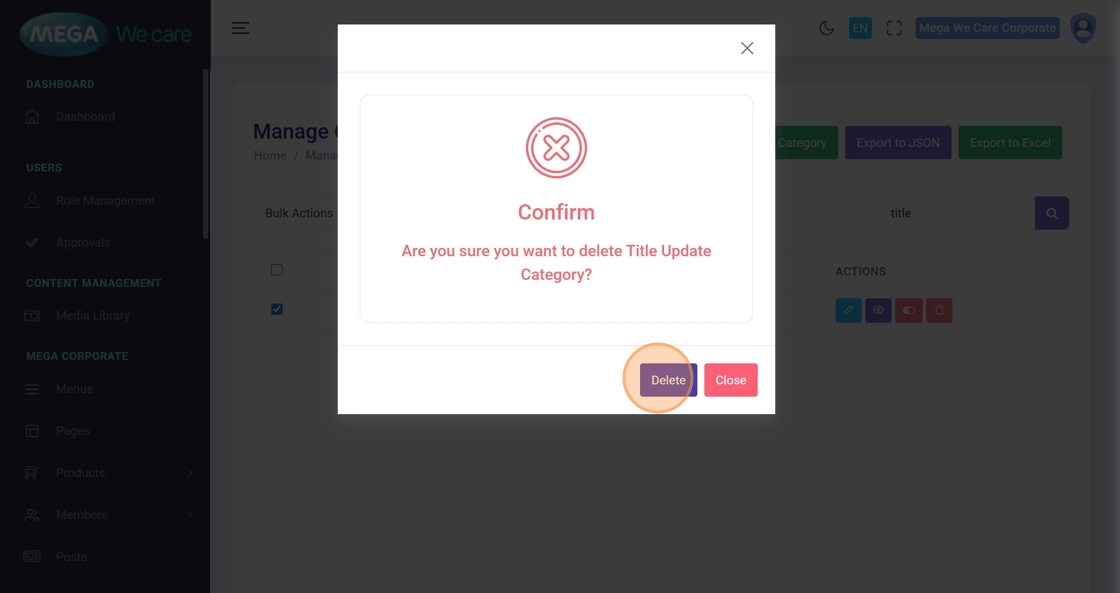
Step 49: Confirm Deletion
Click Delete on the confirmation popup.
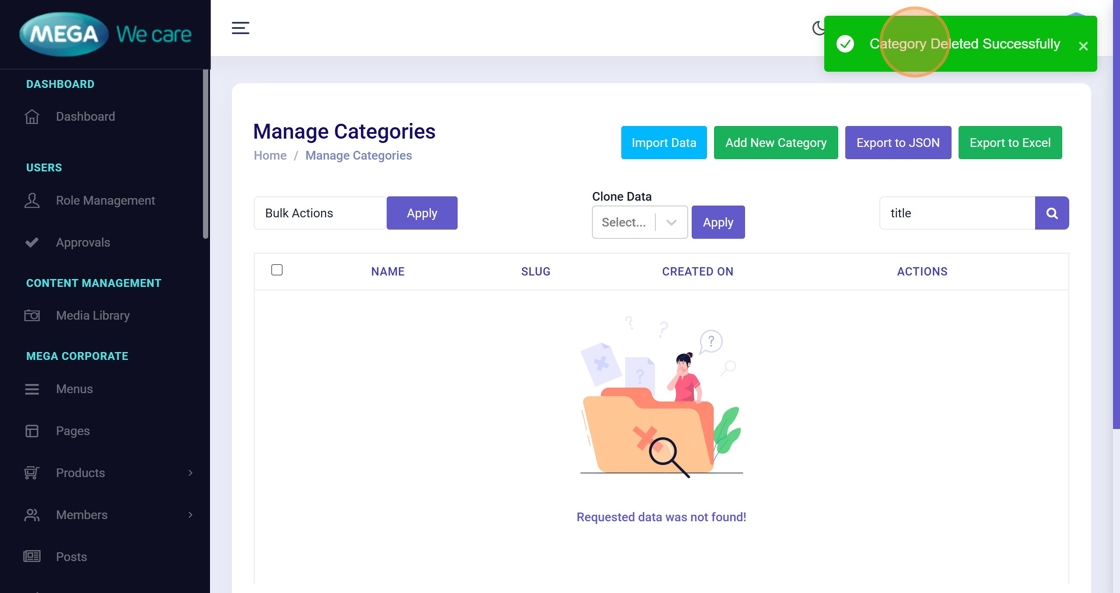
Step 50: Deletion Confirmation
A message “Category Deleted Successfully” will appear.
Important Notes
- Upload images only in WEBP format; do not use PNG, JPG, or JPEG files
- Also, remember to set the category background color and title colors. You can choose either a solid color or a linear gradient based on your requirement.
- If you want to manage FAQ's for category, you have to add and manage here
Summary
By following this guide, you can easily add, update, and delete GHBY Categories with complete details, SEO settings, and images, while ensuring all actions are confirmed by the system. This helps keep GHBY content well-structured, optimized, and easy to manage.