Page Navigation
How to Add, Update and Delete Leadership Team Members
This document explains how users can manage Mega Directors and Country Manager profiles using the Members module. It covers adding and updating profiles, assigning teams, uploading images, managing social links and career details, handling SEO information, and safely deleting profiles when needed.
Overview
By following this document, you will be able to:
- Navigate to the Members module
- Add a new member with complete profile information
- Assign members to one or multiple teams
- Upload profile images and social icons
- Add journey timelines (career or milestones)
- Edit and update existing member details
- Permanently delete member records
Add a New Member
Step 1: Open Admin Dashboard
Log in to the Admin Dashboard to begin managing members.
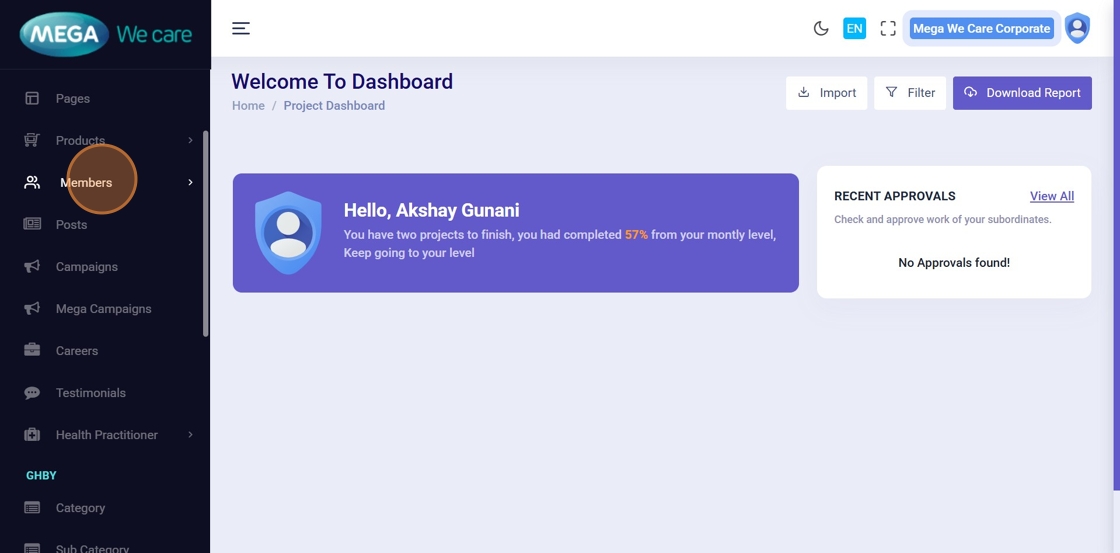
Step 2: Click “Members”
From the left sidebar, click Members to access the module.
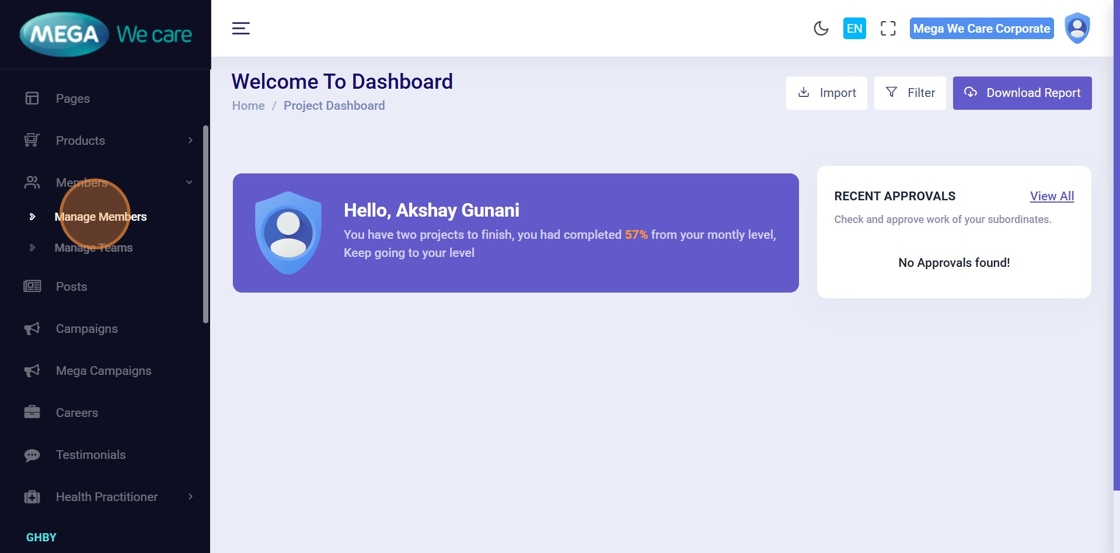
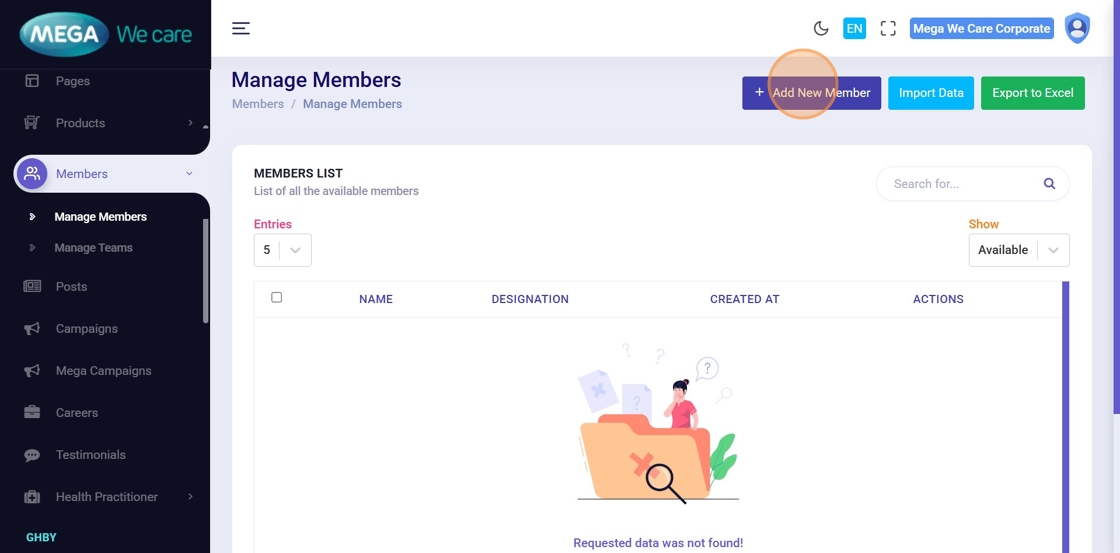
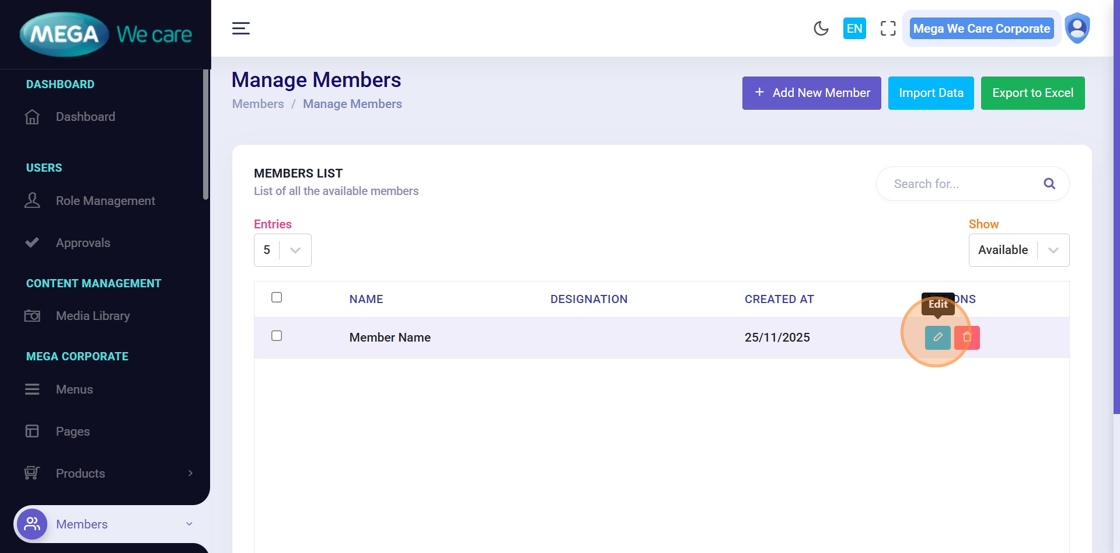
Step 3: Click “Manage Members”
This opens the list of all existing members along with management actions.
Step 4: Click “Add New Member”
Click Add New Member to open the member creation form.
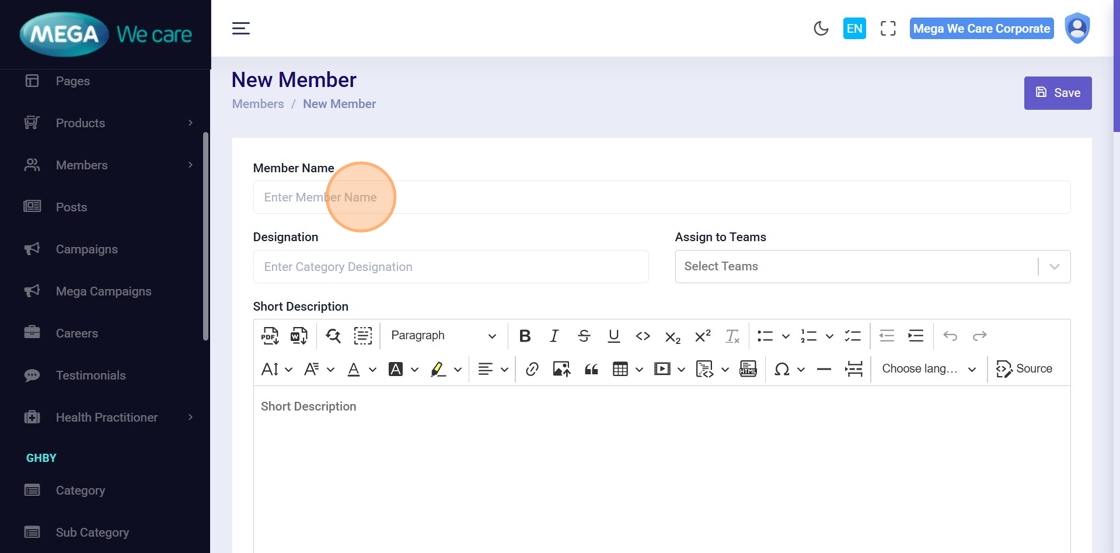
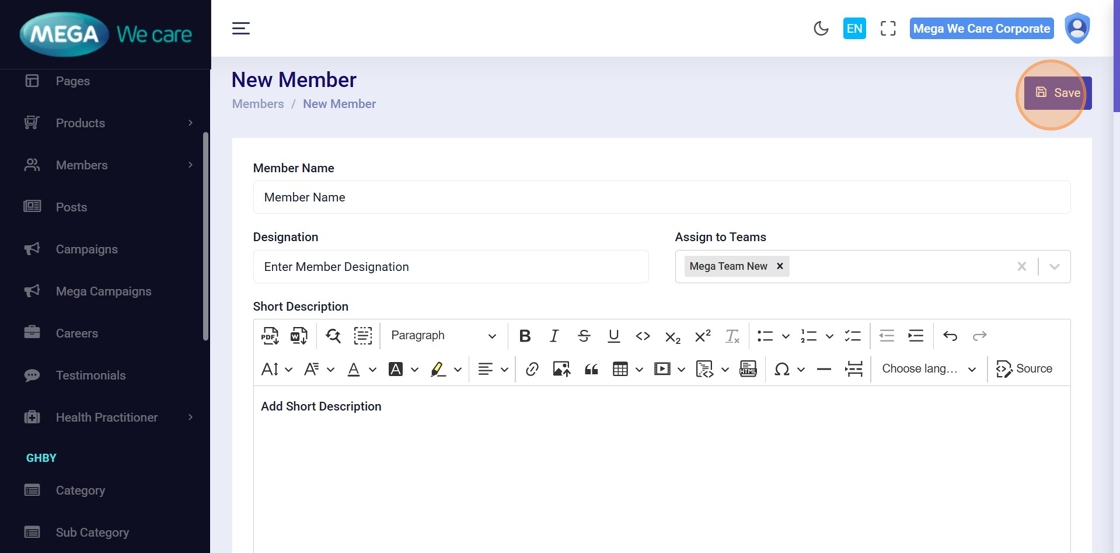
Step 5: Enter Member Name
Enter the full name of the member.
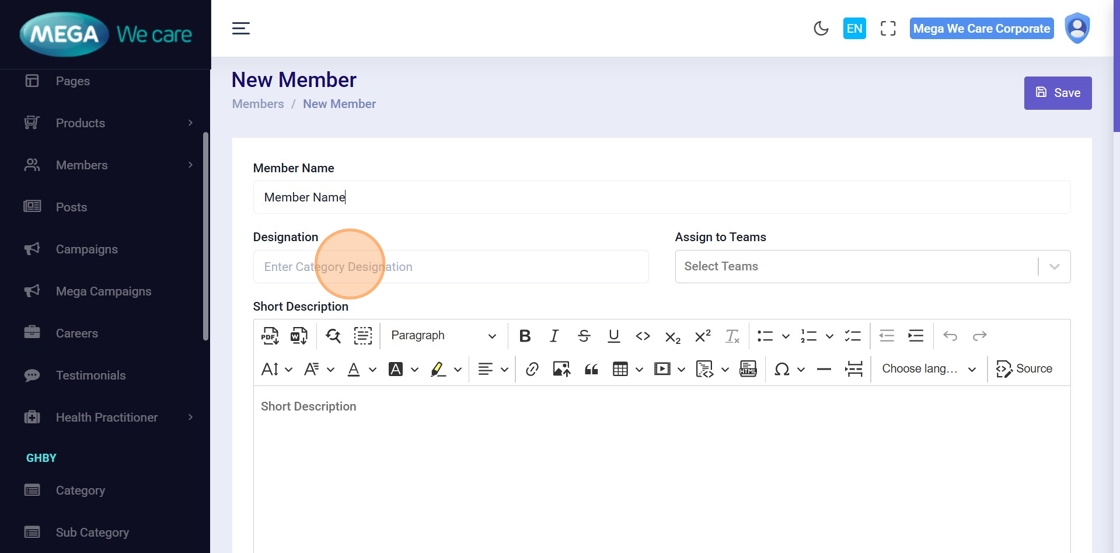
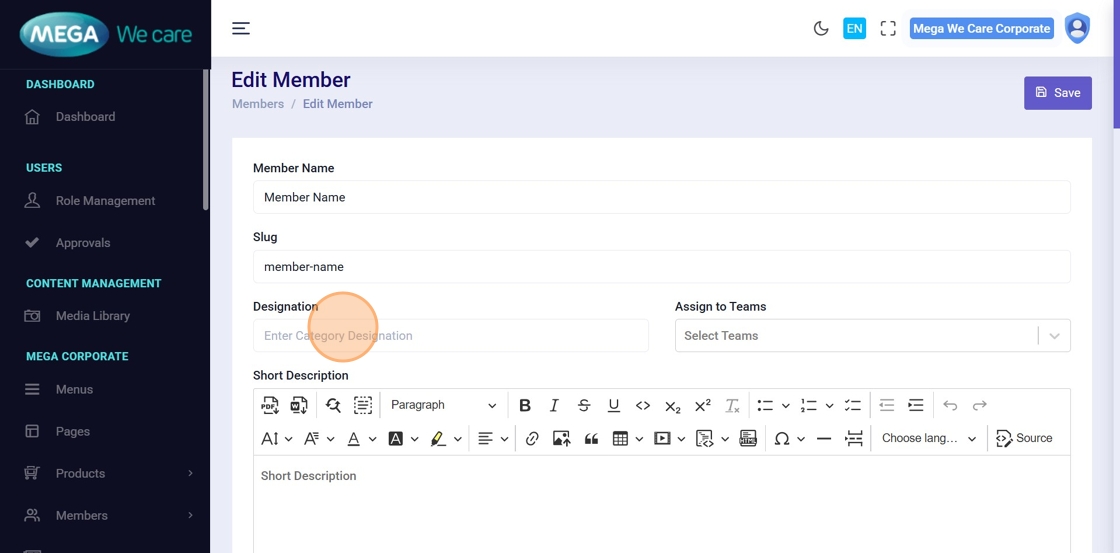
Step 6: Enter Member Designation
Add the member’s designation, role, or job title.
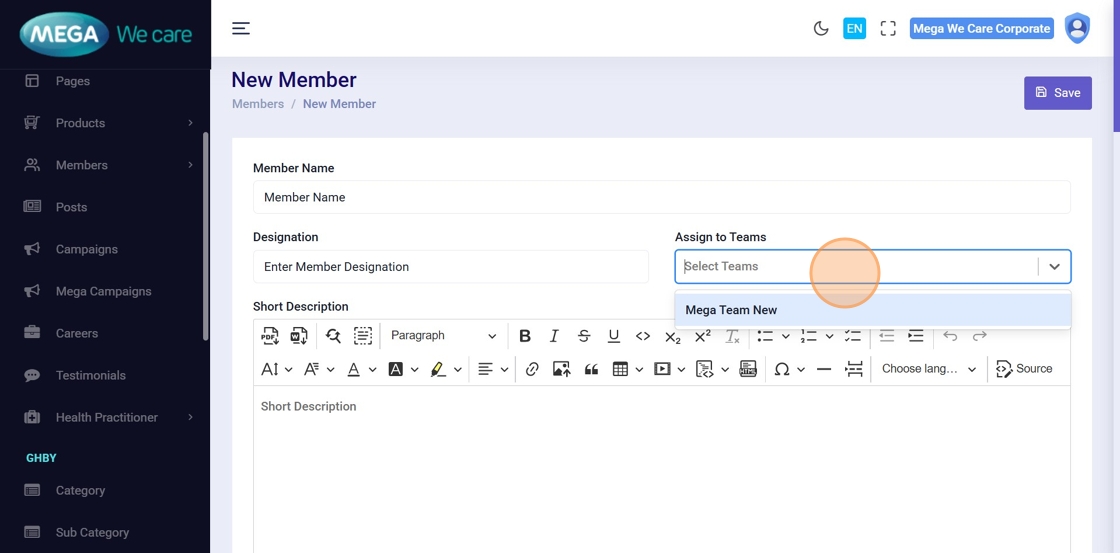
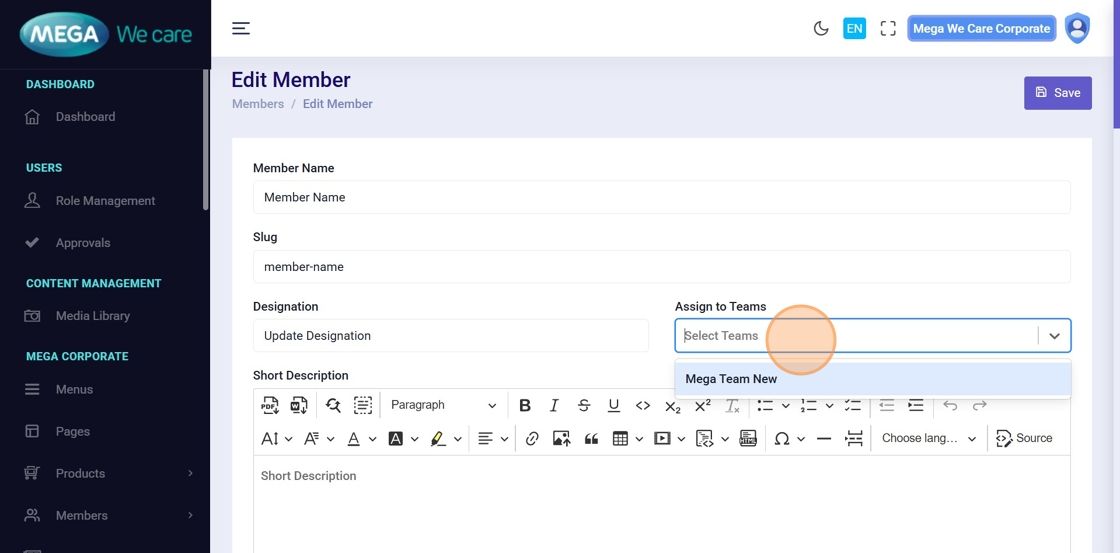
Step 7: Assign Member to Teams
Open the Assign to Teams dropdown and select one or multiple teams.
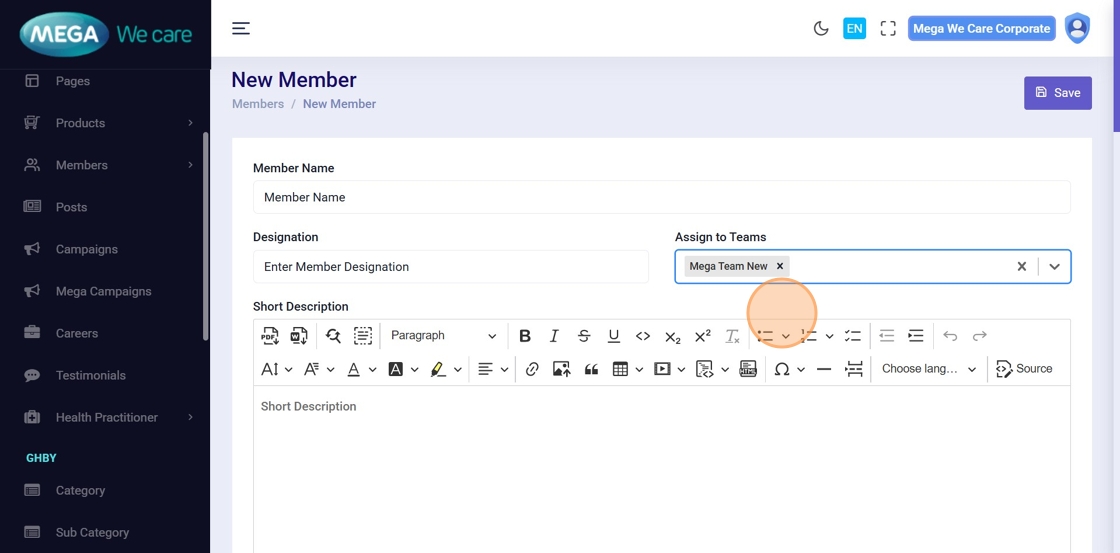
Step 8: Confirm Team Selection
Review selected teams before proceeding.
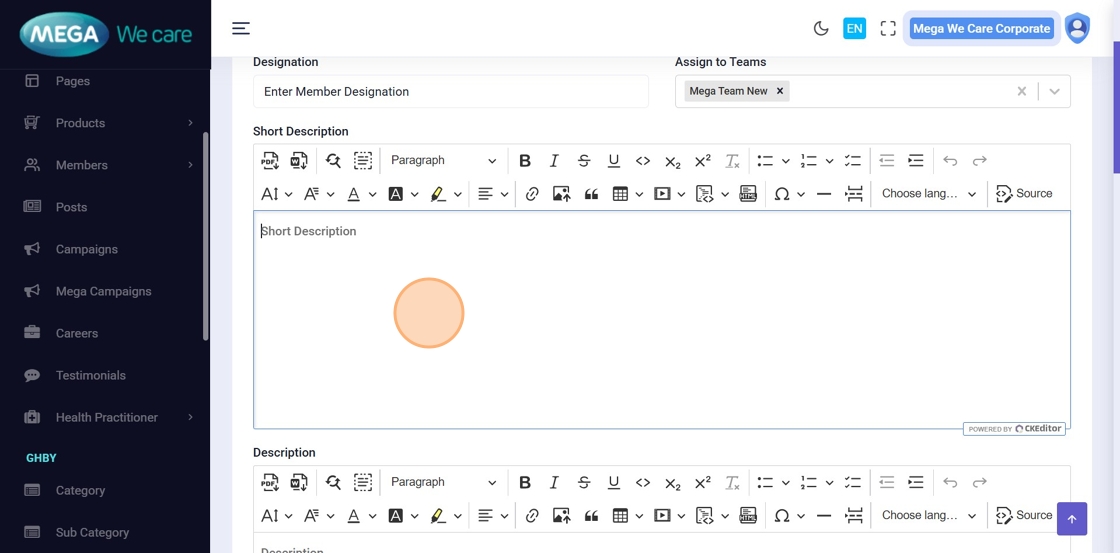
Step 9: Add Short Description
Enter a brief introduction or summary for the member.
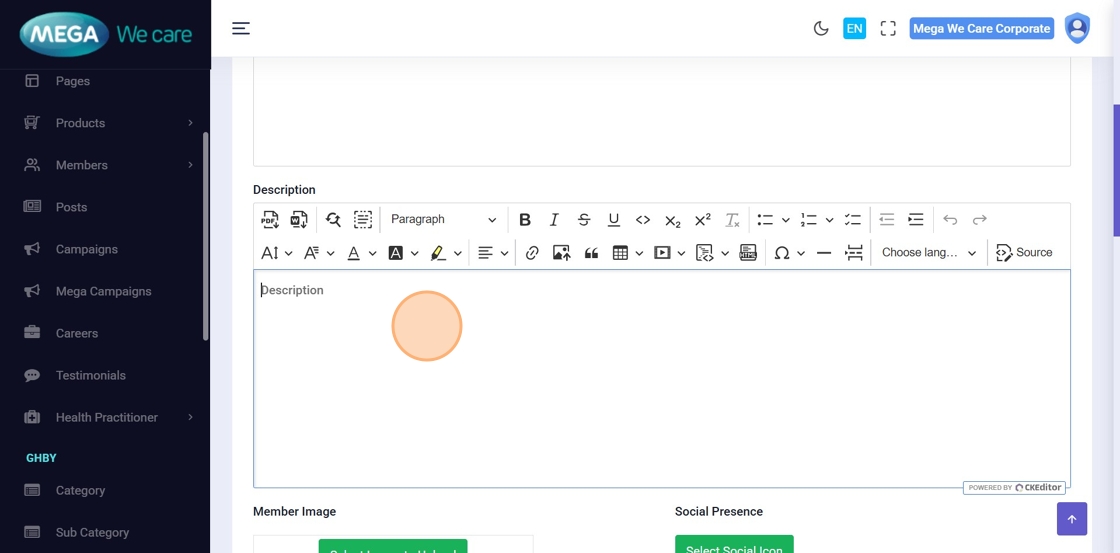
Step 10: Add Full Description
Add detailed information about the member’s background, expertise, and responsibilities.
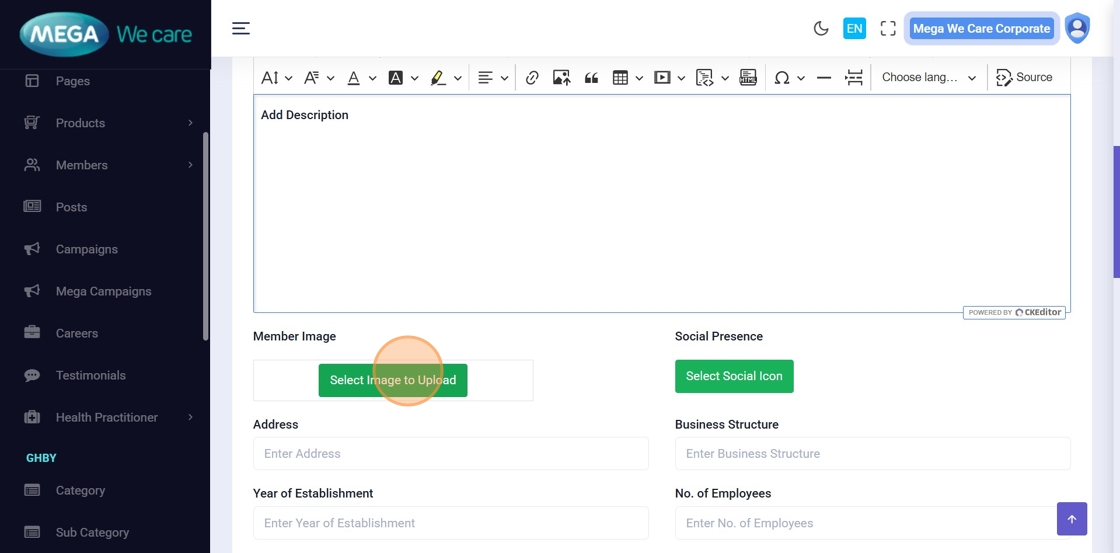
Step 11: Upload Member Profile Image
Click Select Image to Upload to choose a profile image.
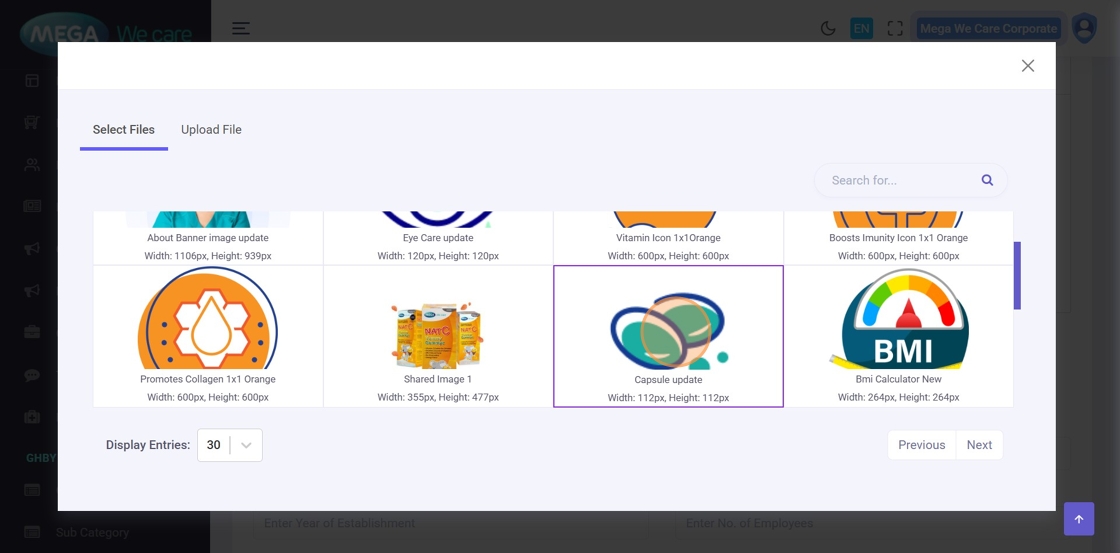
Step 12: Select or Upload Image
Choose an image from the media library or upload a new one.
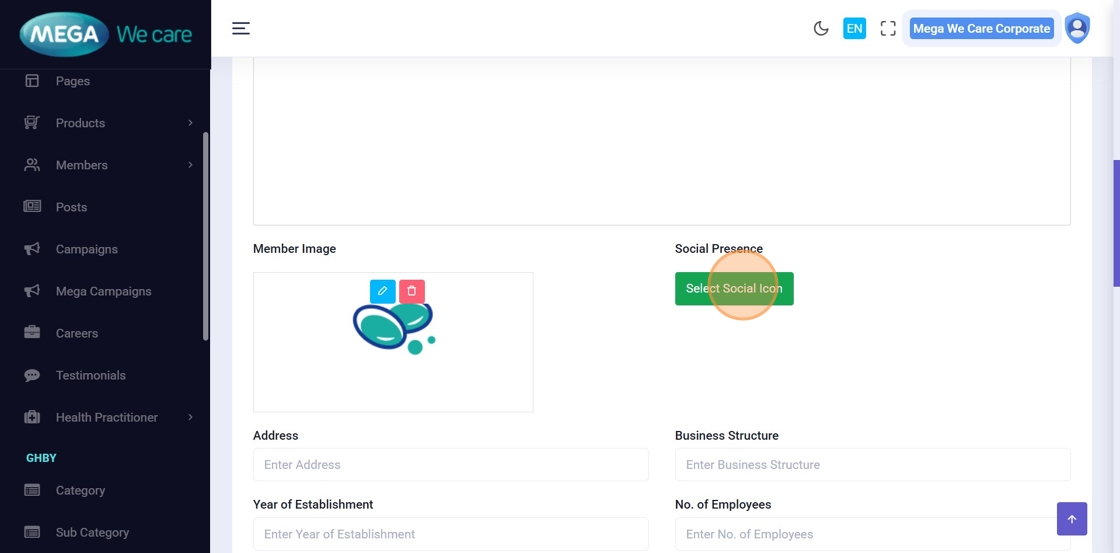
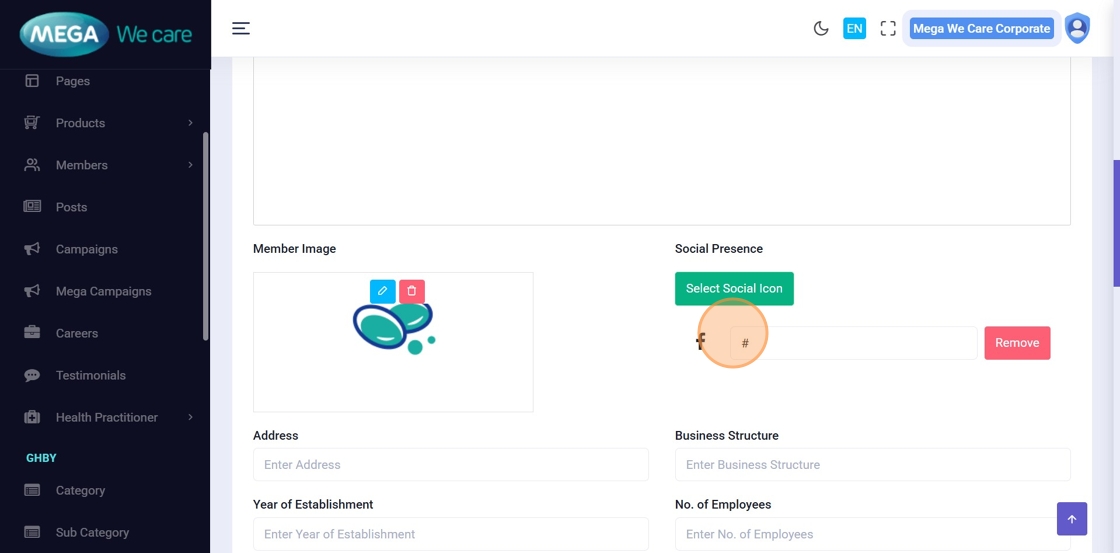
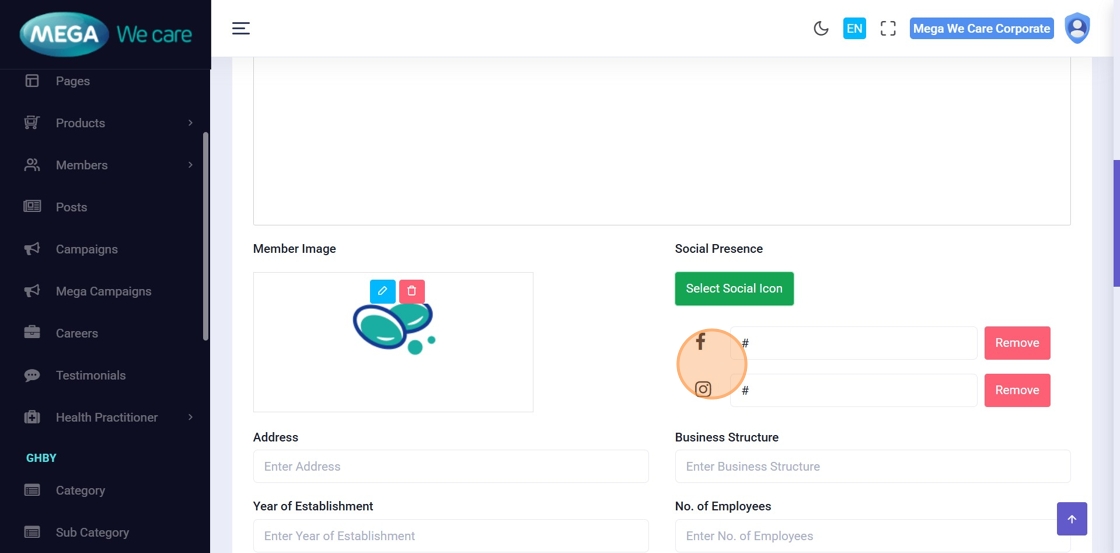
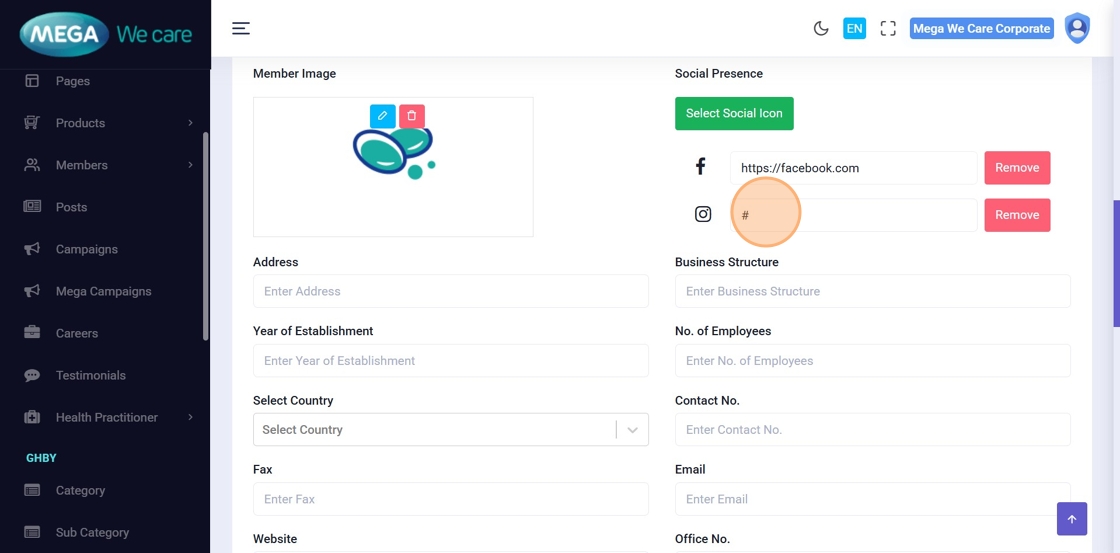
Step 13: Add Social Profiles
Click Select Social Icon to choose platforms (e.g., Facebook, Instagram, LinkedIn).
Step 14–17: Enter Social Links
Paste the corresponding profile URLs for each selected social platform.
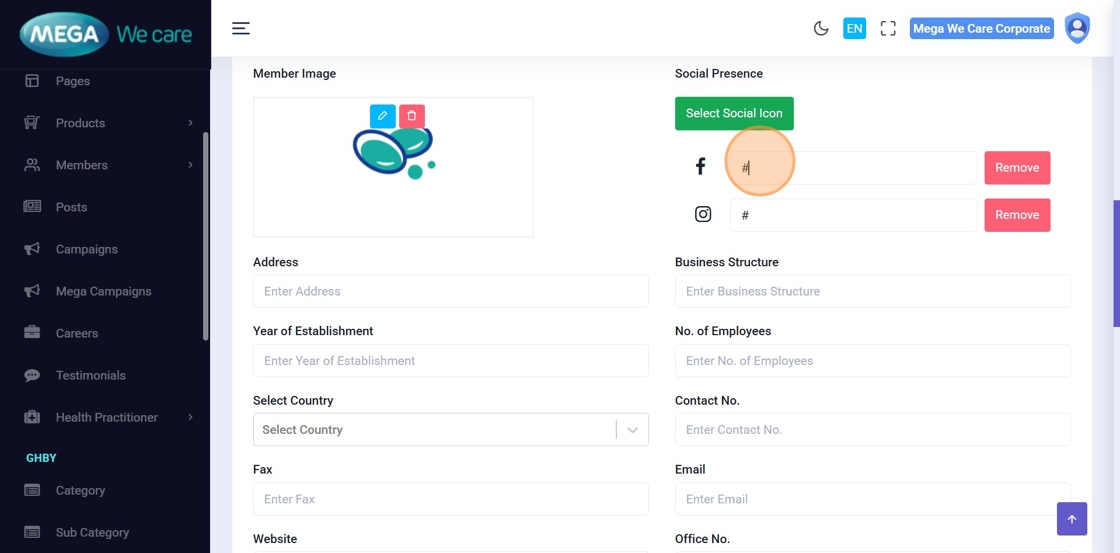
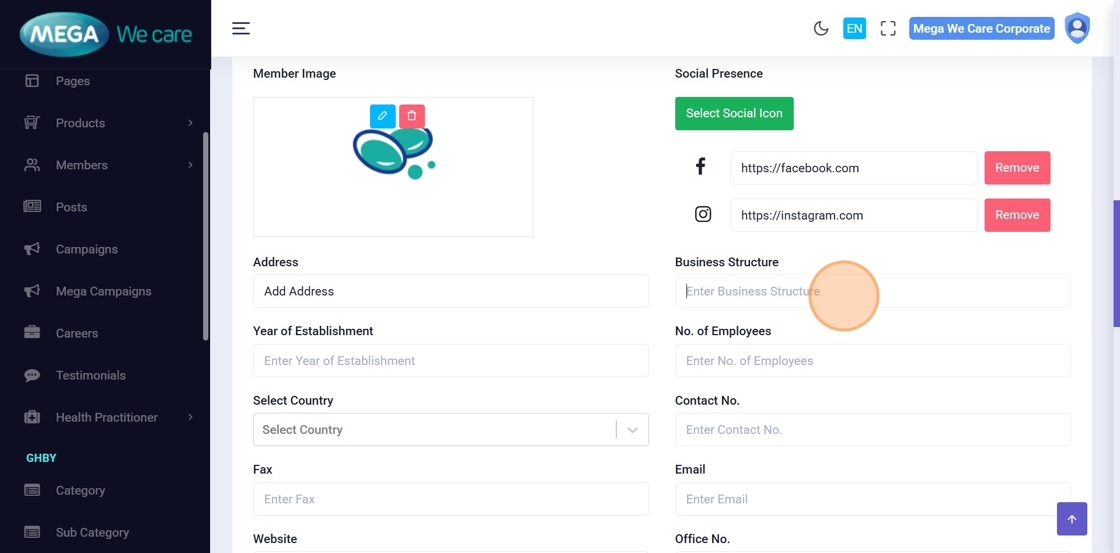
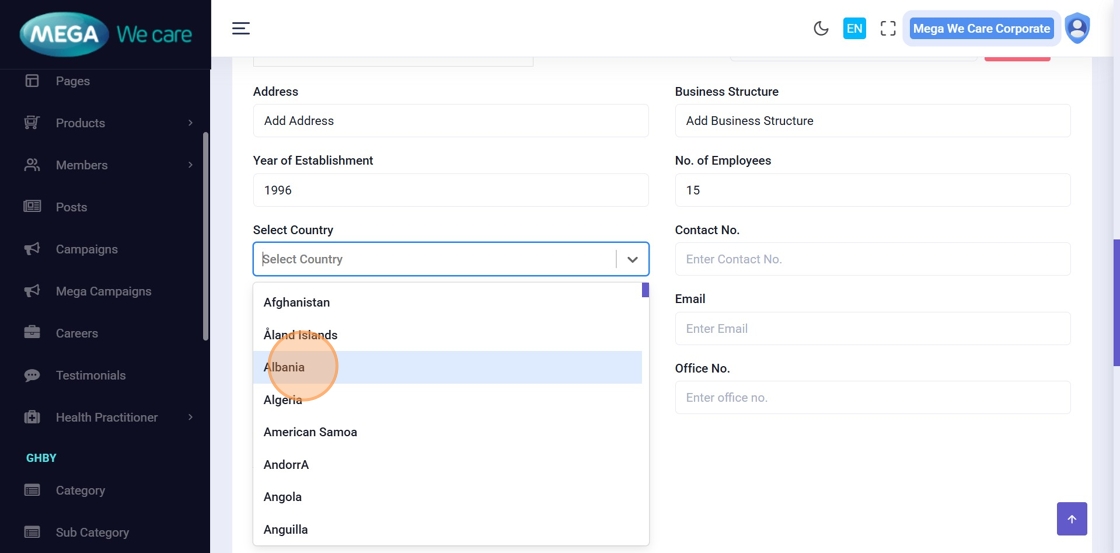
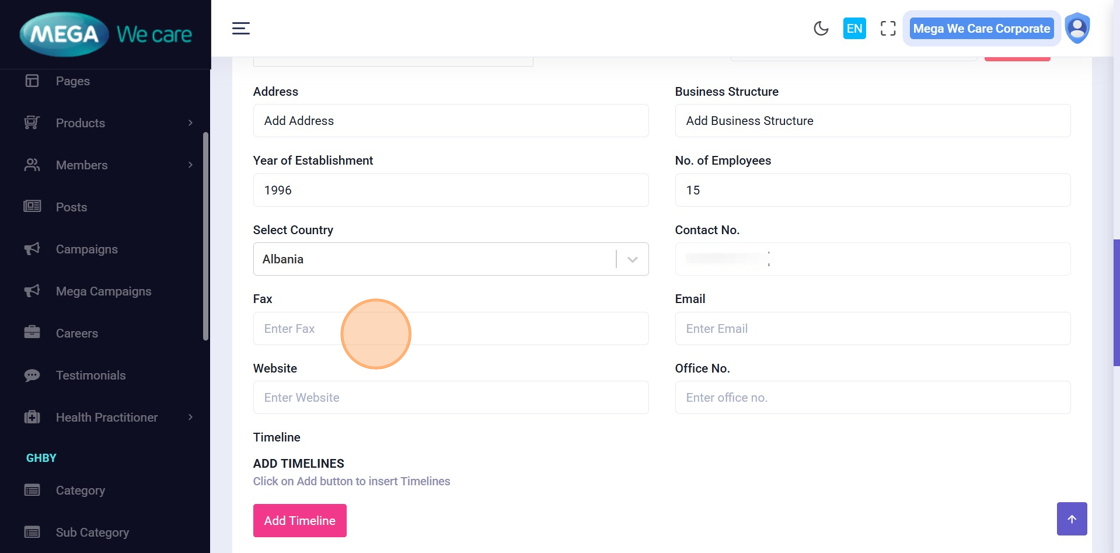
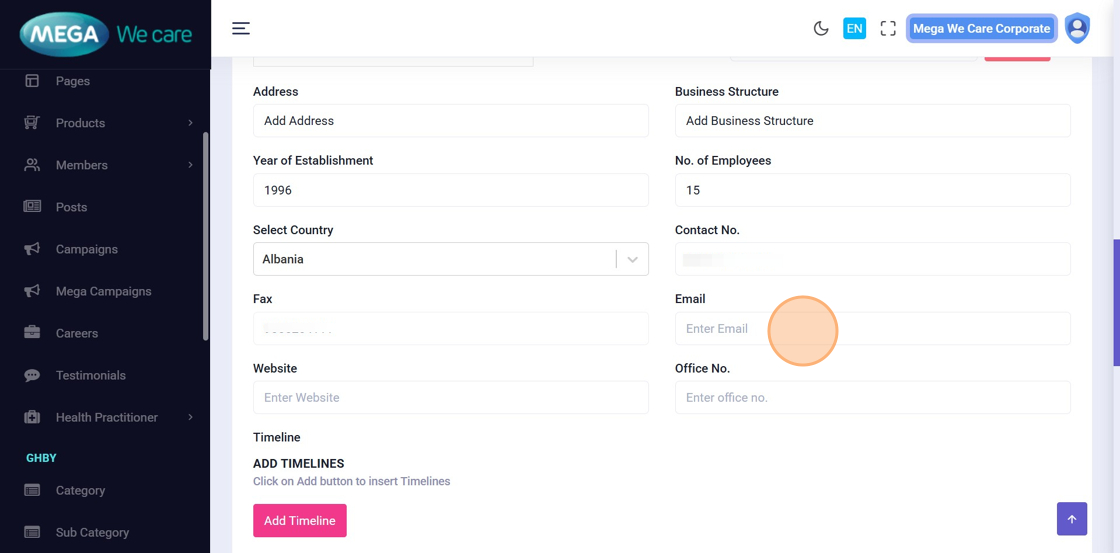
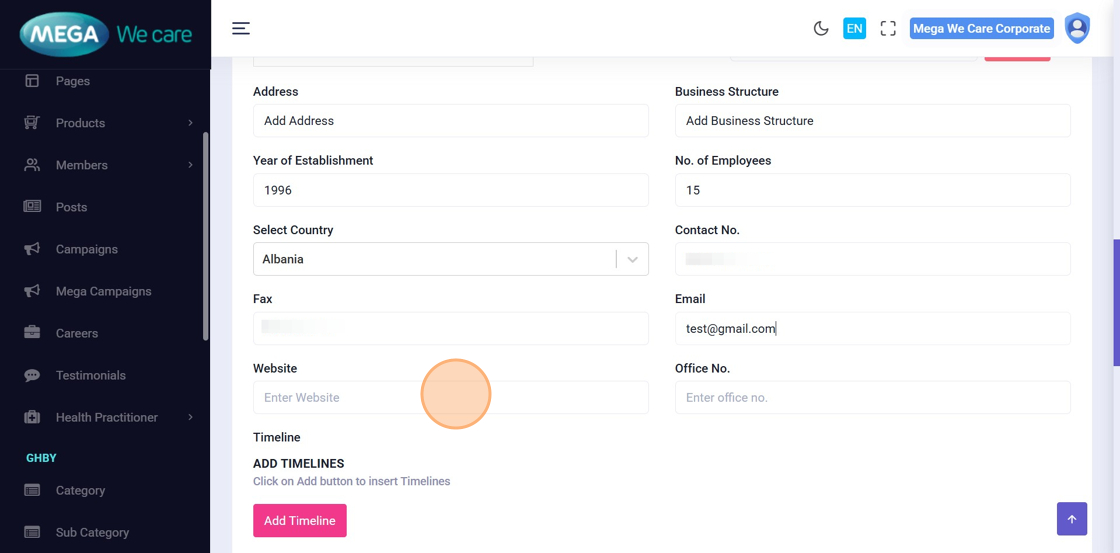
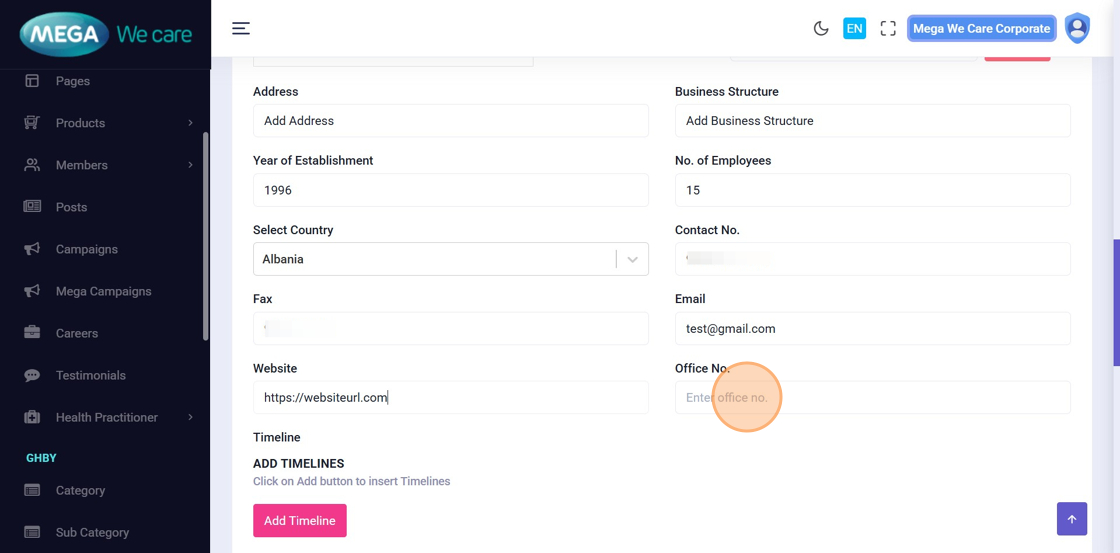
Step 18–27: Add Business & Contact Information
Fill in relevant business and contact details, including:
- Address
- Business Structure
- Year of Establishment
- Number of Employees
- Country
- Contact Number
- Fax (optional)
- Website
- Office Number


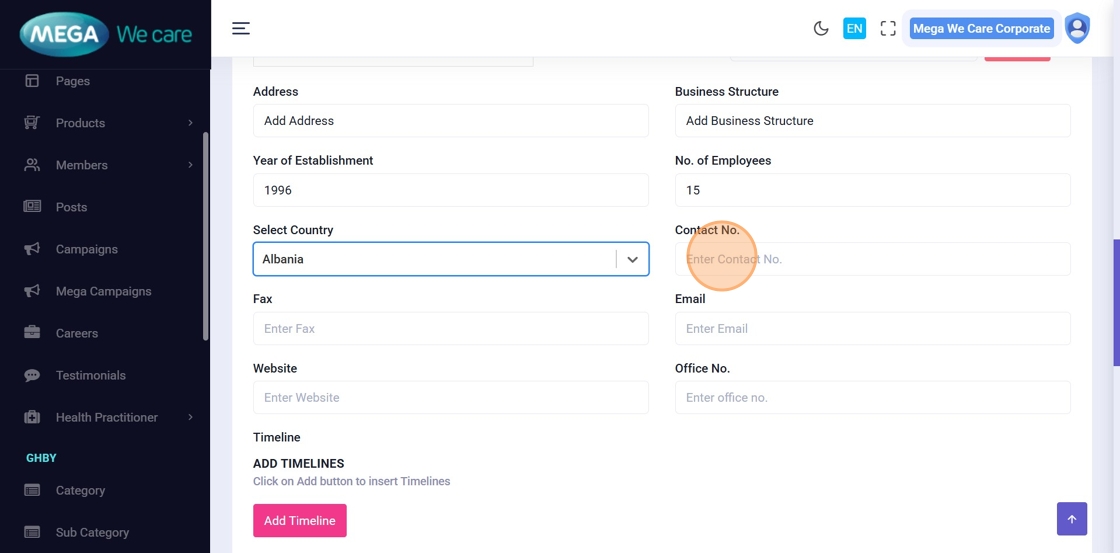
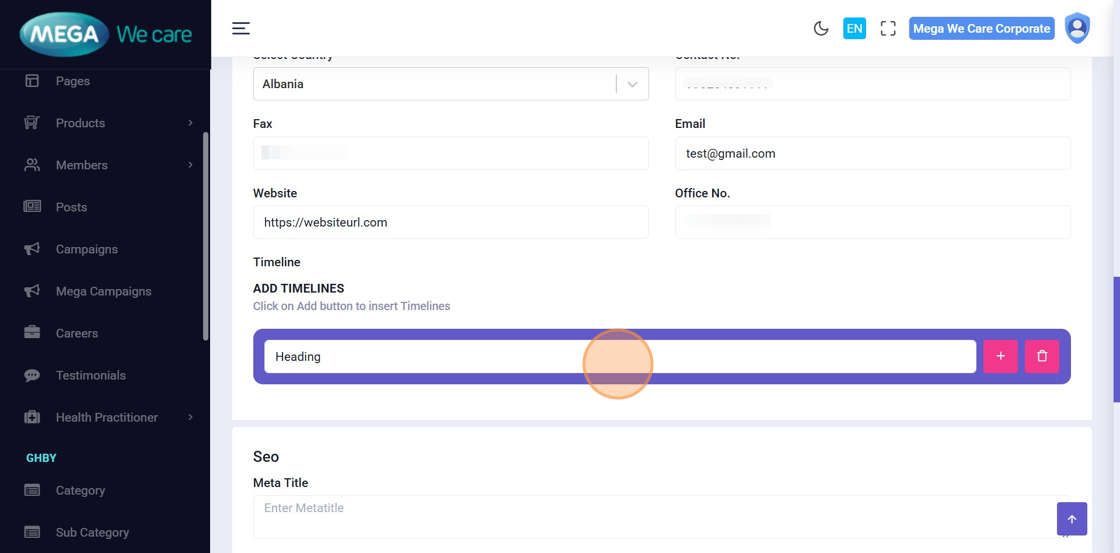
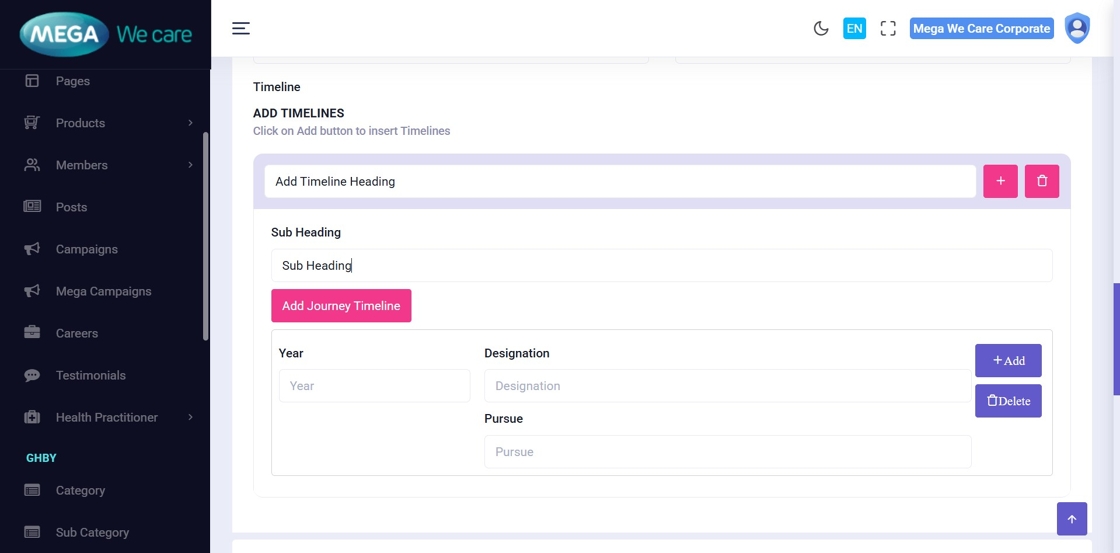
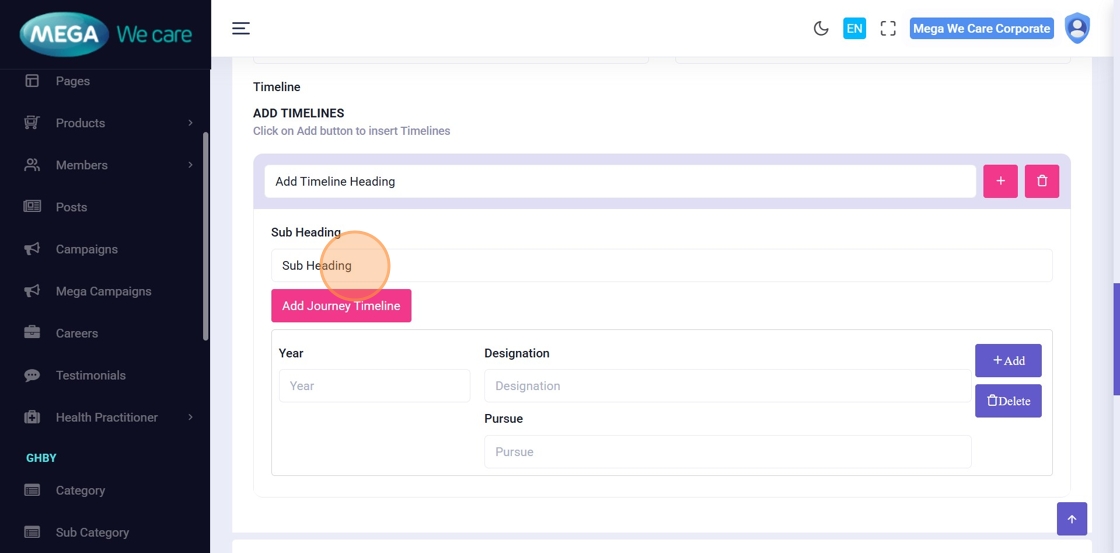
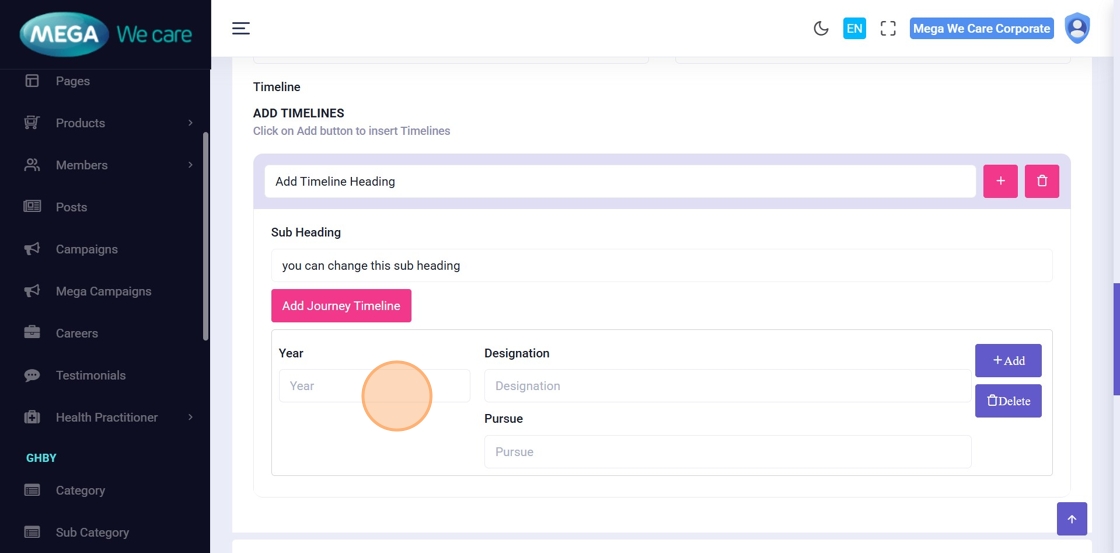
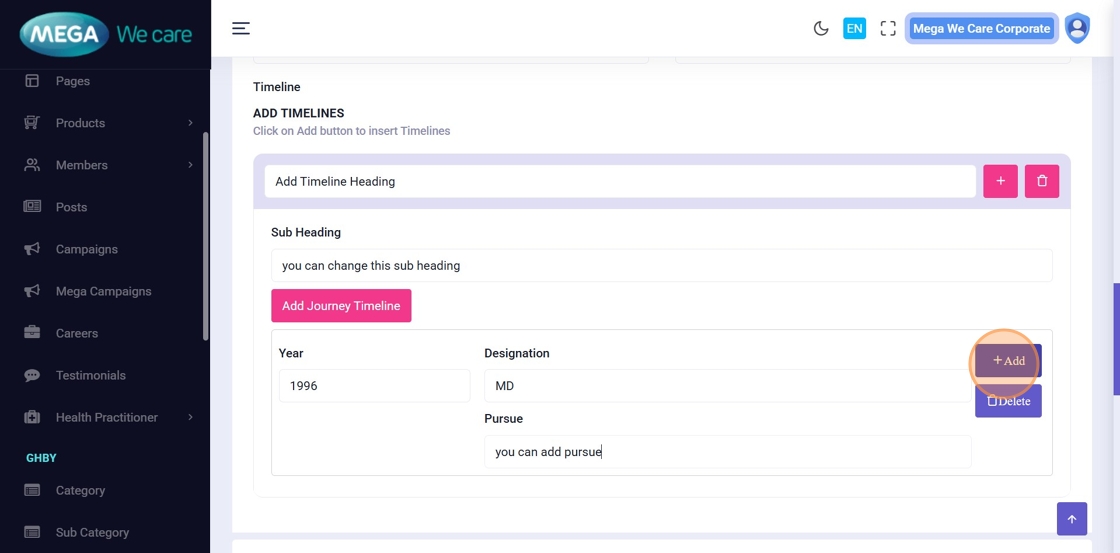
Step 28–34: Add Journey Timeline
Add professional milestones or career journey details such as:
- Timeline Heading
- Subheading
- Year
- Designation
- Tags
- Add or remove entries as needed


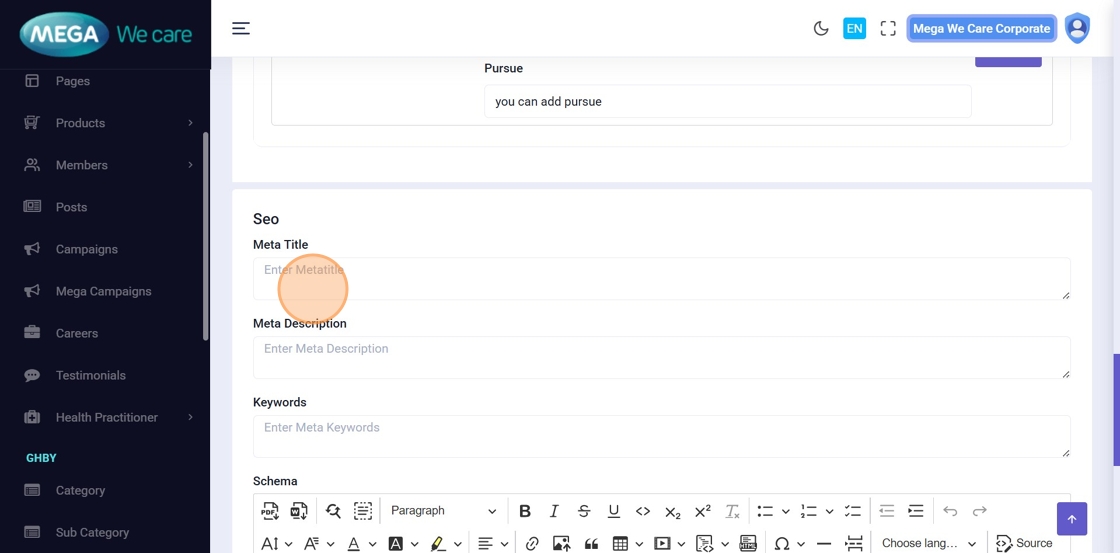
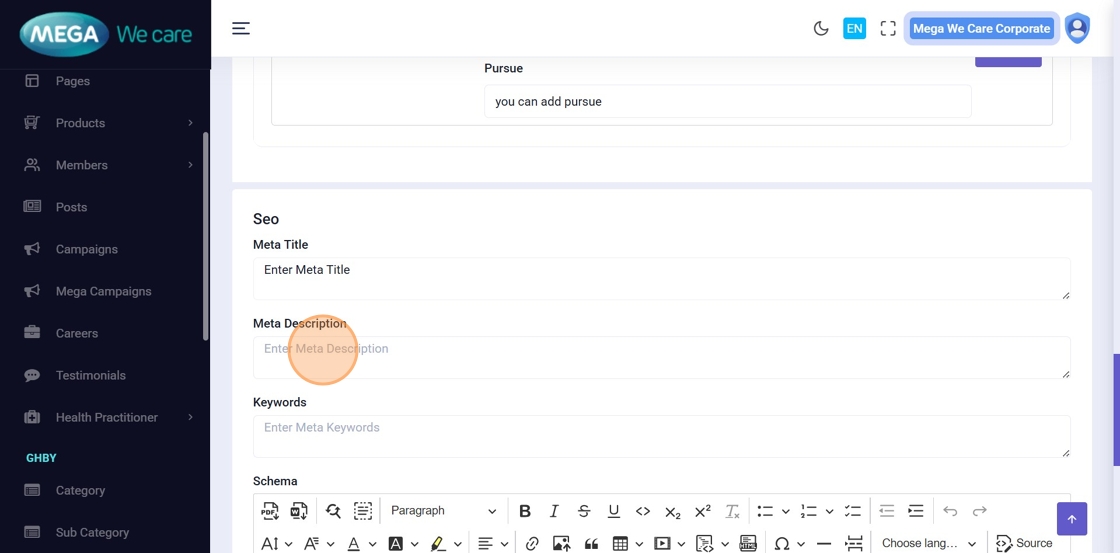
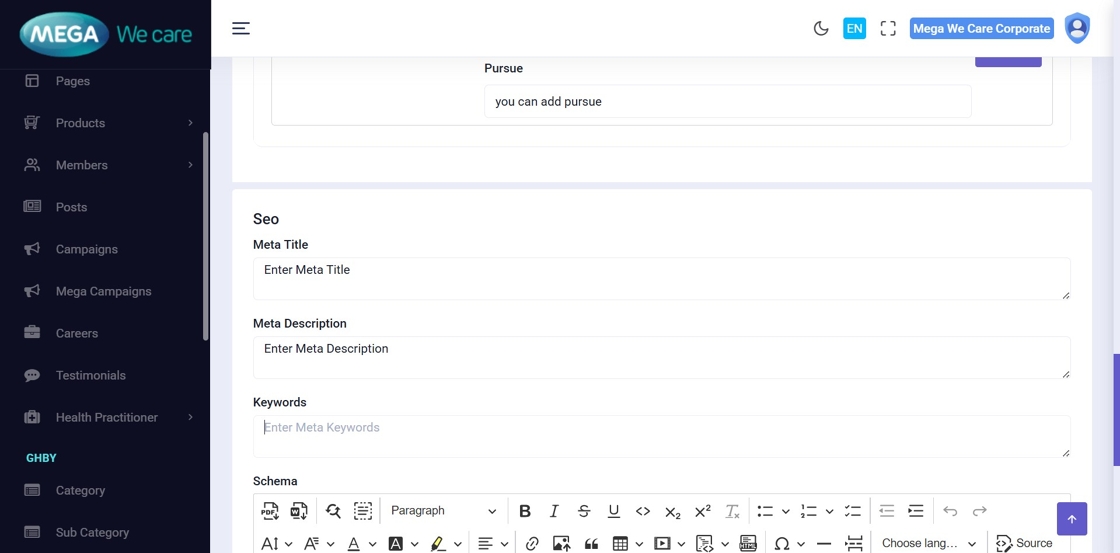
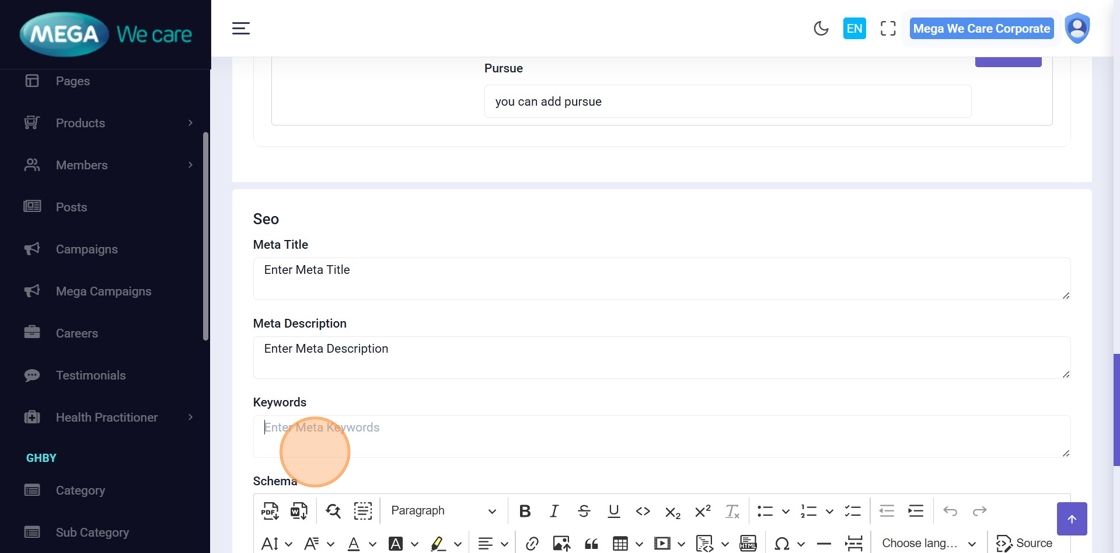
Step 35–39: Add SEO Information
Improve visibility by entering:
- Meta Title
- Meta Description
- Meta Keywords
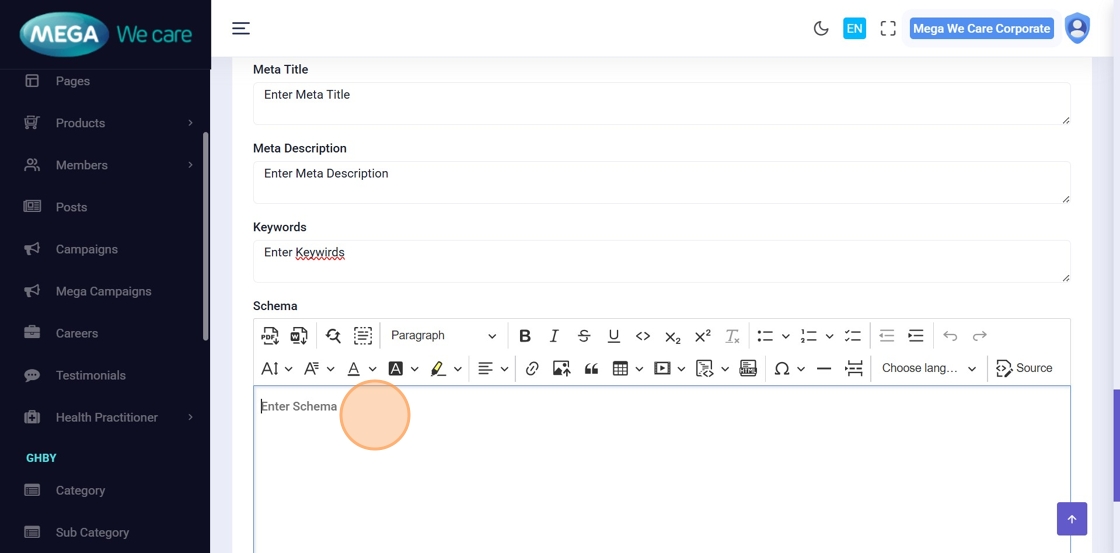
- Schema Script (JSON-LD)
Step 40: Save Member Profile
Click Save to store the new member profile.
✏️ Edit / Update a Member
Step 41: Click Edit Icon
Locate the member in the list and click Edit.
Step 42–43: Update Member Details
Modify information such as:
- Name
- Designation
- Team assignments
- Profile content
Step 44: Save Changes
Click Save to apply the updates.

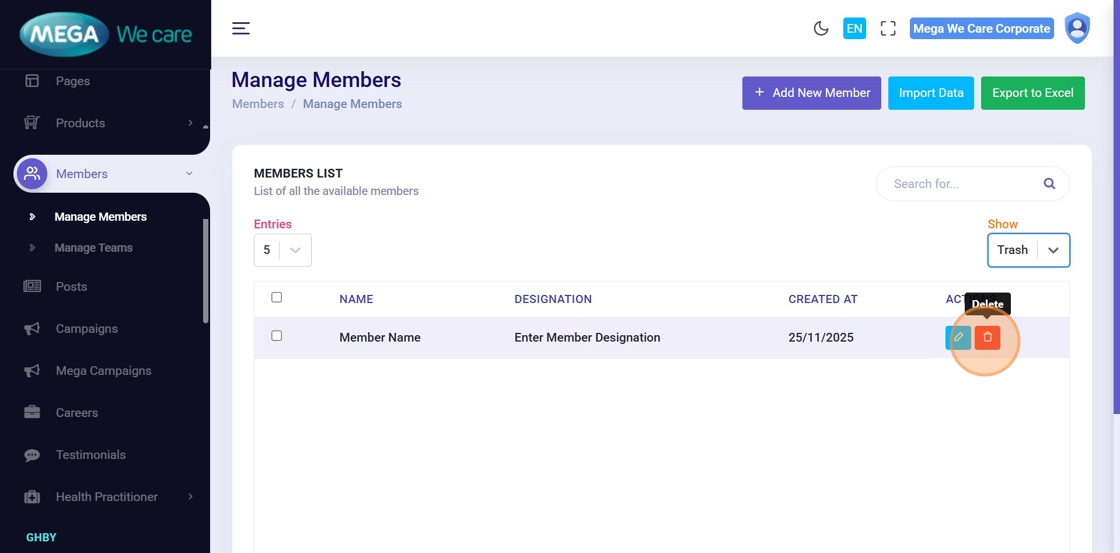
🗑️ Delete a Member
Step 45: Click Delete Icon
Locate the member and click the Delete icon.
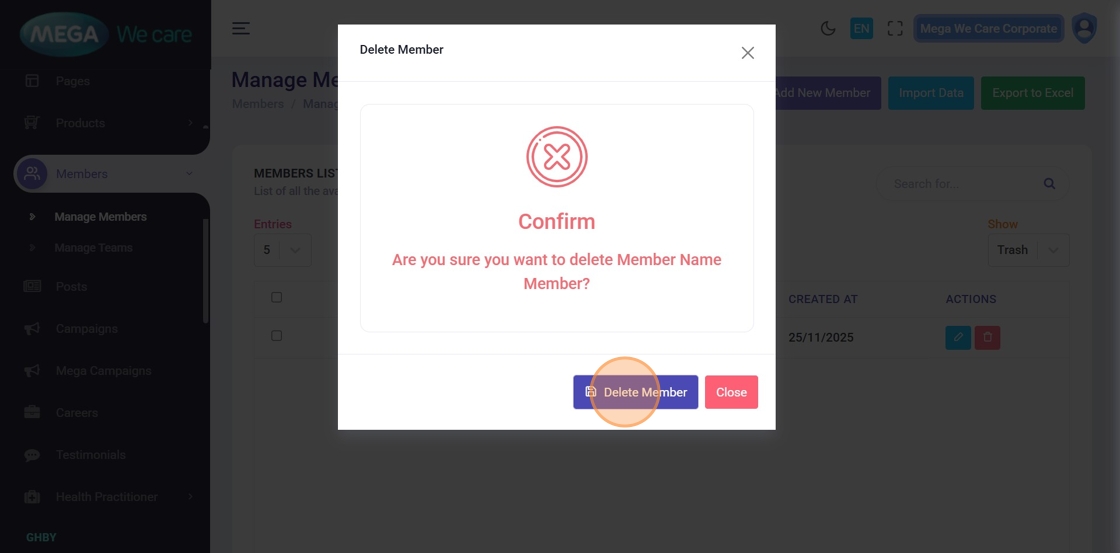
Step 46: Confirm Deletion
In the confirmation popup, click Delete Member.
This action permanently removes the member and cannot be undone.
Important Notes
- Don’t forget to select the team(s) this member belongs to. You can add the member to multiple teams and rearrange them in the required order.
- Upload images only in WEBP format; do not use PNG, JPG, or JPEG files
Summary
By following this document, users can add detailed member profiles with images, teams, and timelines, manage social links and business information, easily edit and update member details, permanently delete outdated records, and maintain a clean and professional Members data.