Page Navigation
How to Update and Manage Site Settings
This document explains how to manage your website settings from the backend dashboard. Using the Site Settings section, you can change the website name, upload header and footer logos, set the favicon, and apply the changes across the entire website instantly.
Overview
By following this document, you will be able to:
- Update the website (Site) name
- Upload and replace the Header Logo
- Upload and replace the Footer Logo
- Add or update the Favicon
- Save and apply all changes
Manage Site Settings
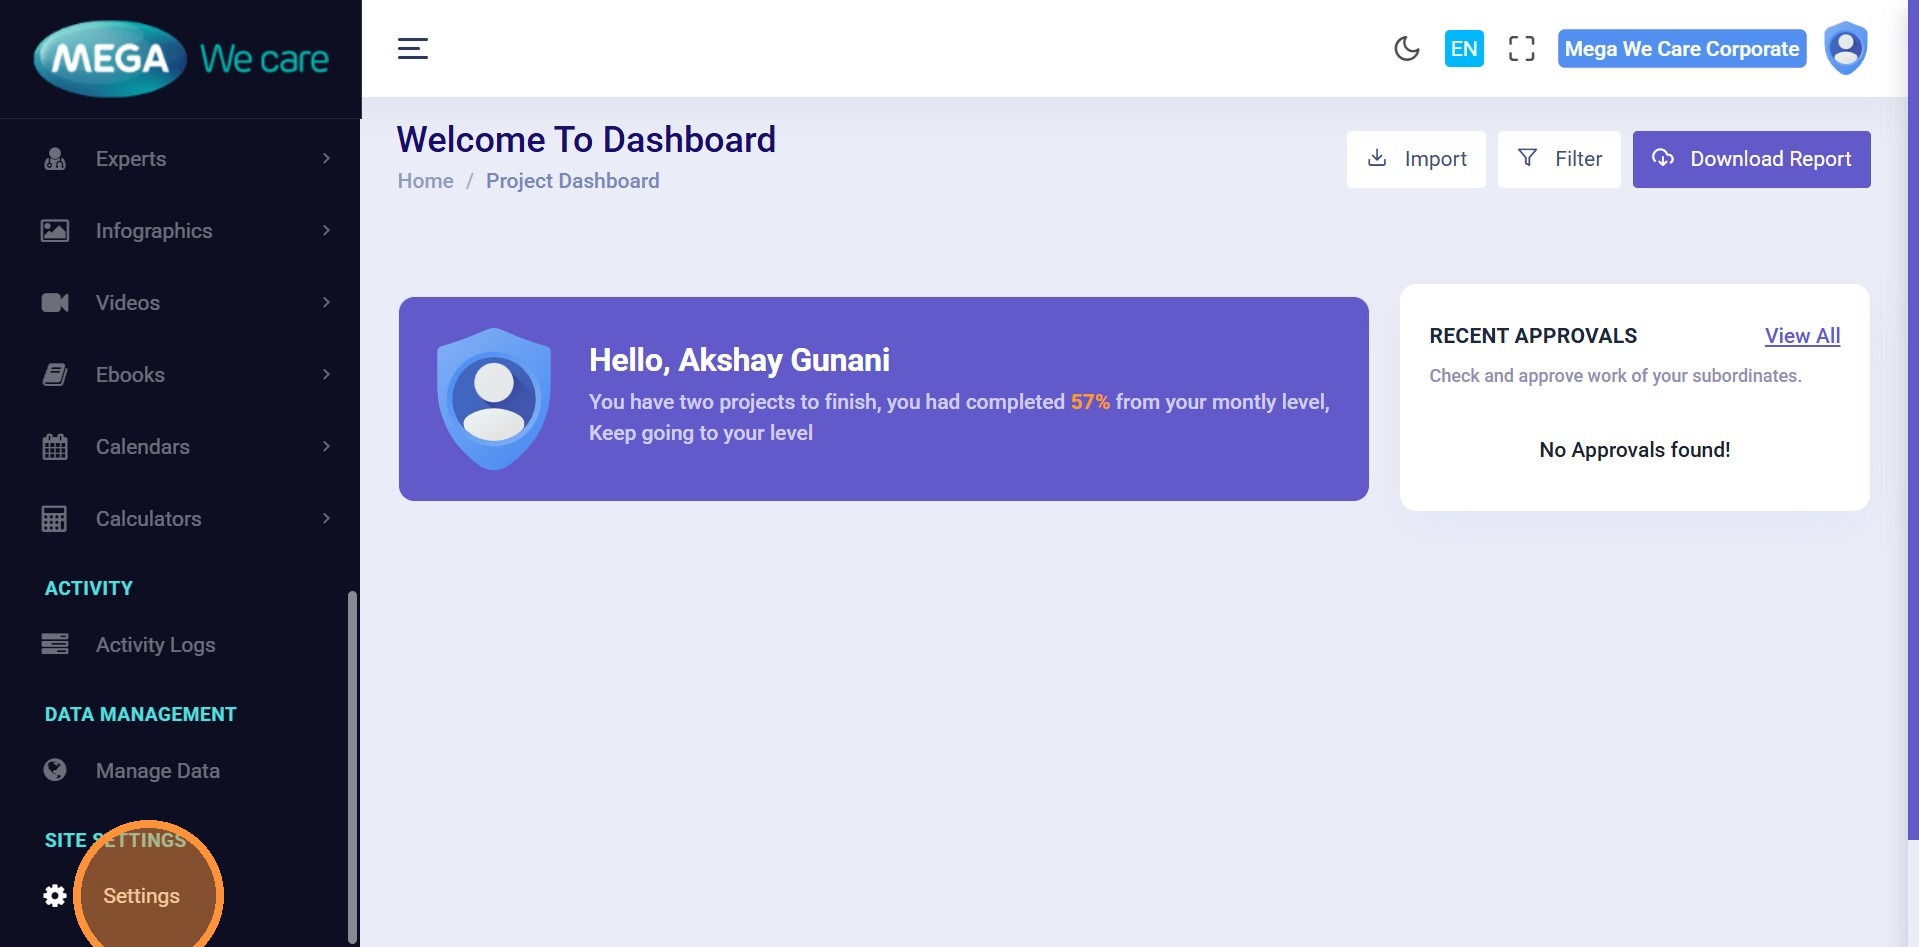
Step 1: Open Settings
From the Admin Dashboard sidebar, click Settings.
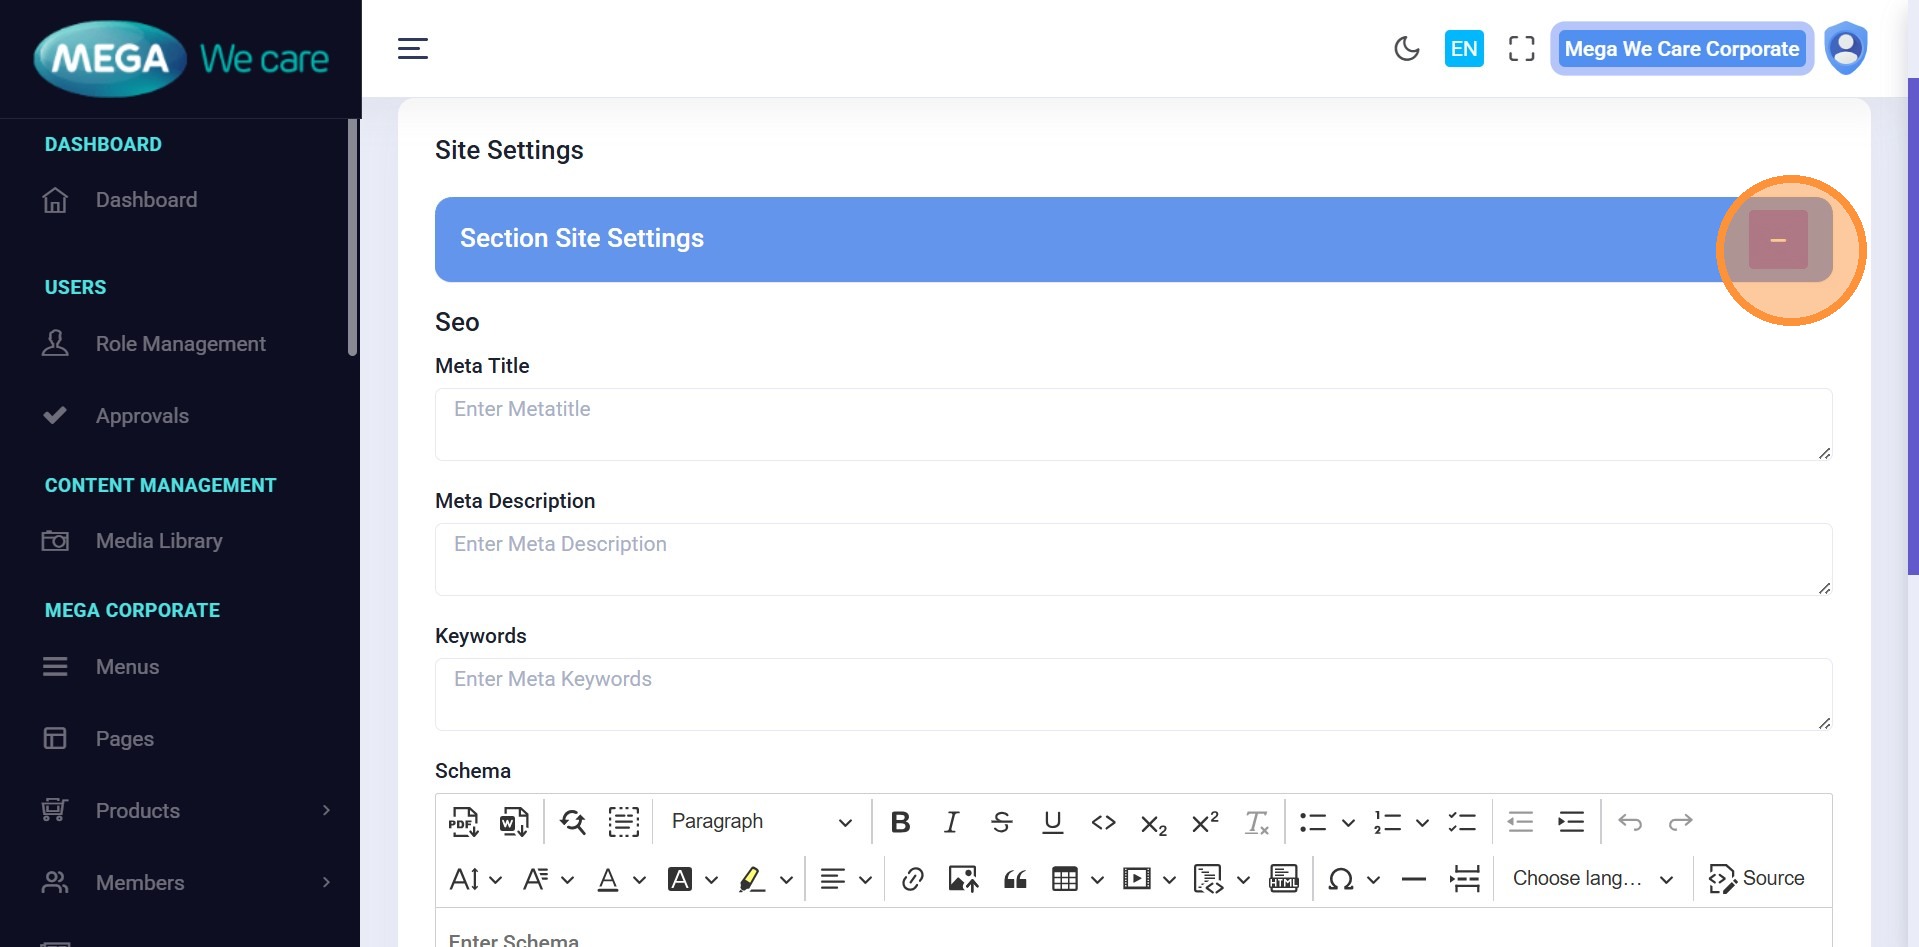
Step 2: Open Site Settings
Click the Site Settings button.
Step 3: Enter Site Name
Enter your official website or company name.
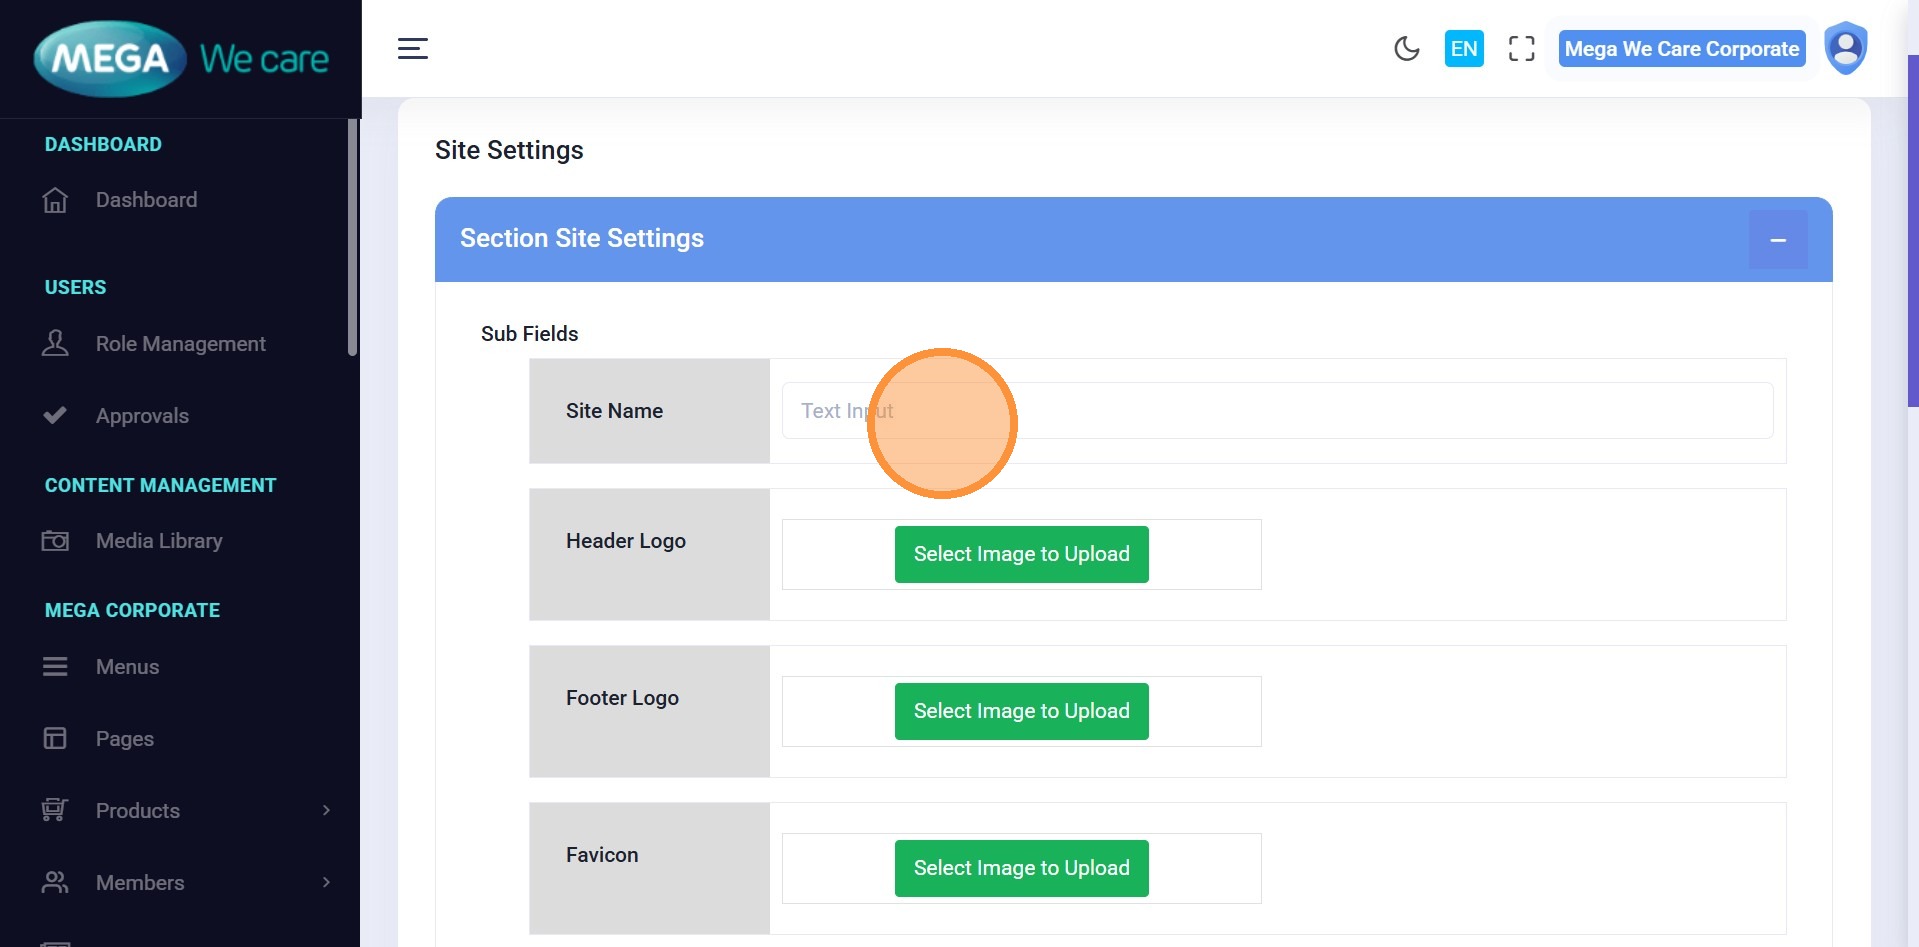
Upload Header Logo
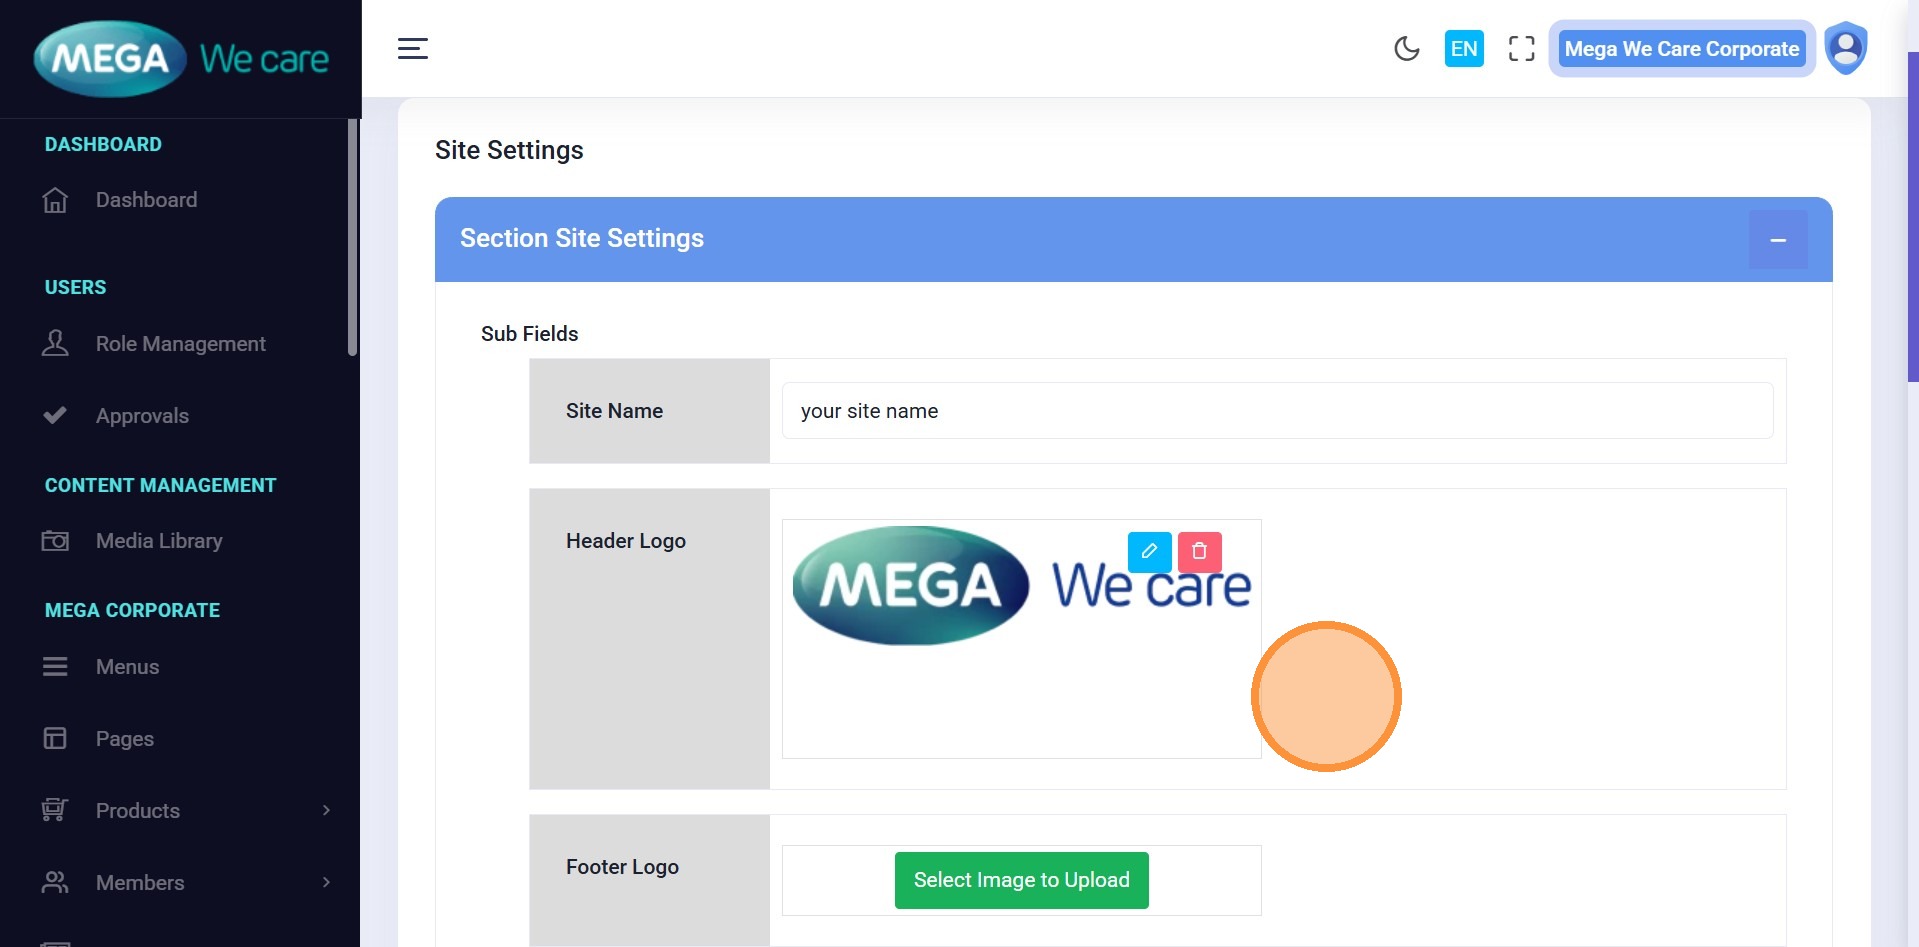
Step 4: Upload Header Logo
Upload or replace the website’s main logo.

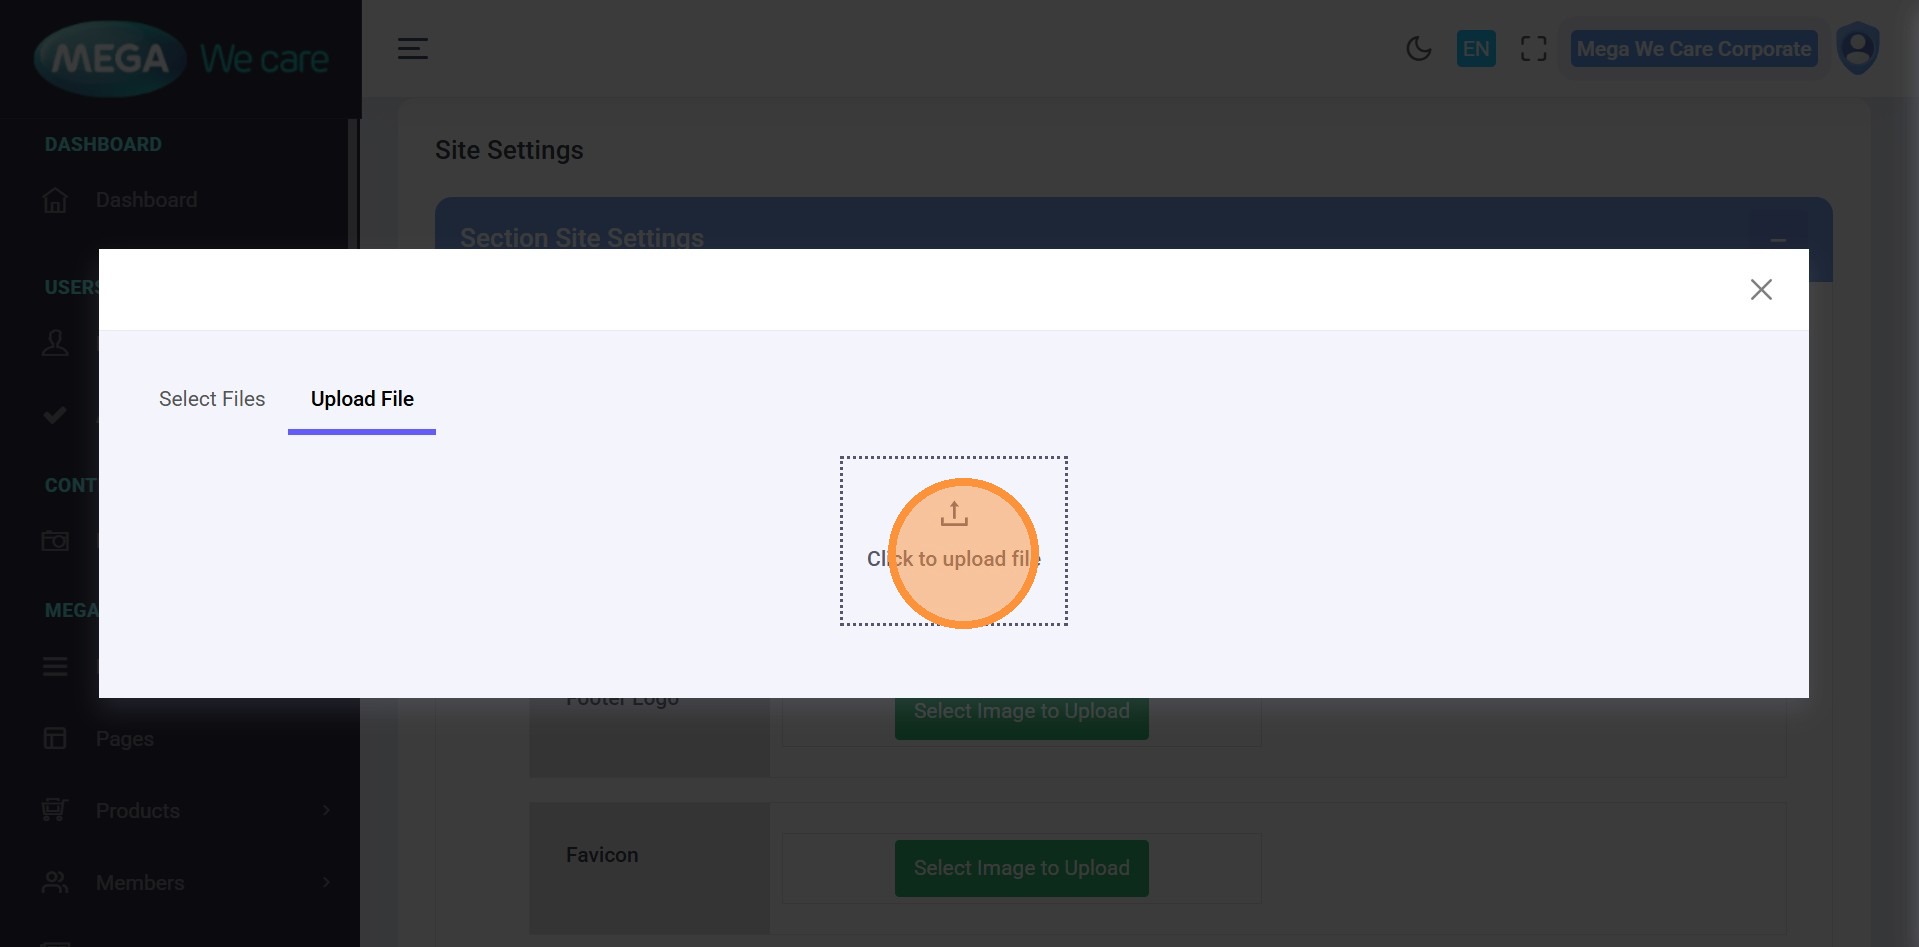
Step 5-7: Choose Image Source and Upload Logo
Click Select Files to choose an image or click Upload File to add a new one from your device. After uploading, the logo will be updated automatically.

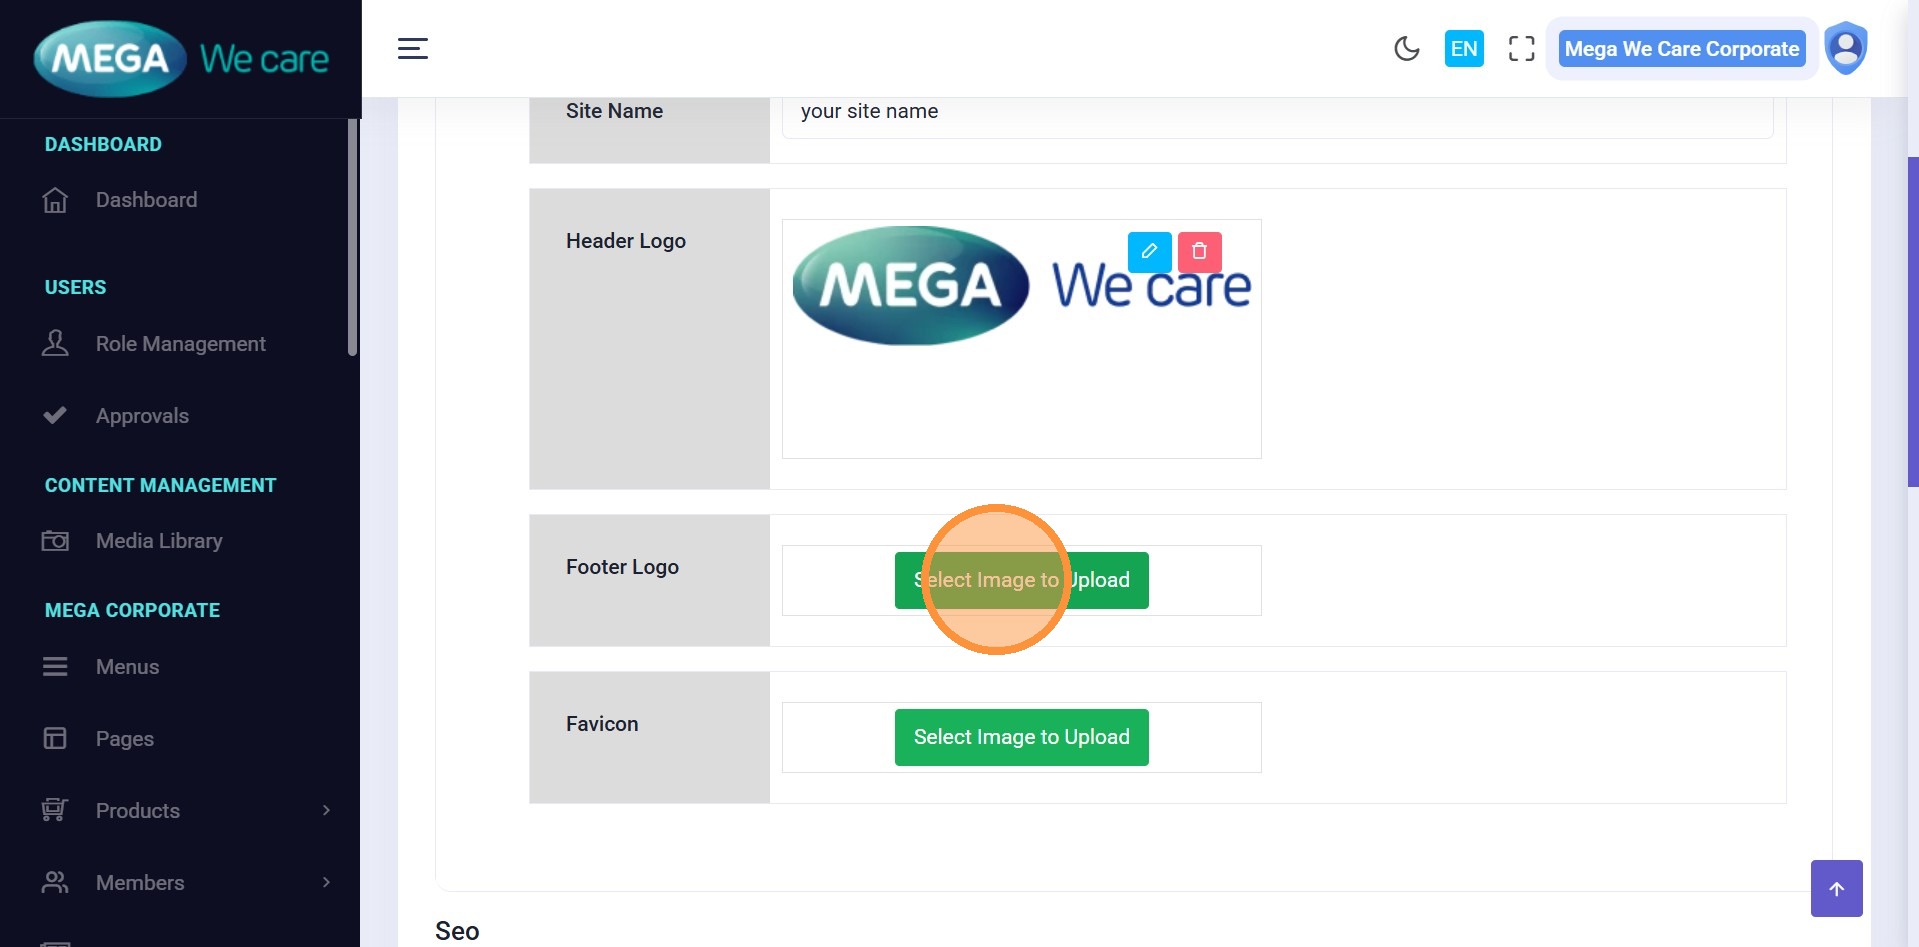
Step 8: Upload Footer Logo
Similarly, you can do this for Footer Logo by selecting the already uploaded file or you can upload manually from your device by clicking the upload files.
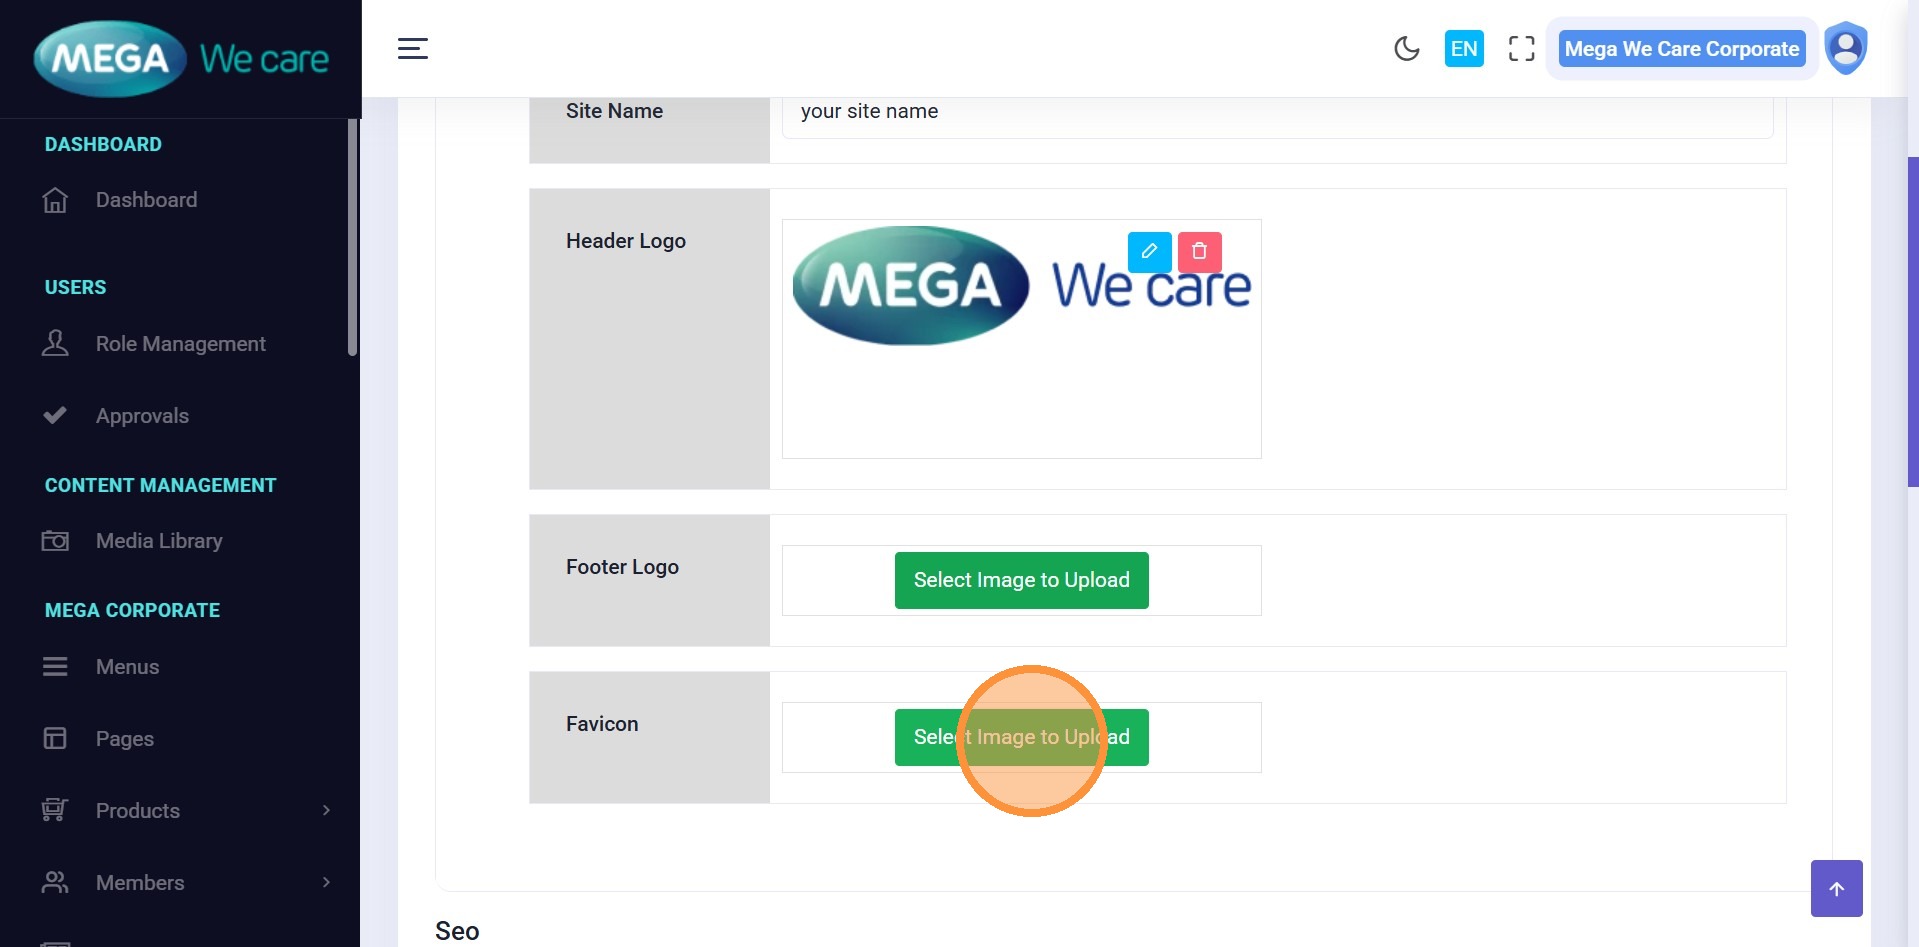
Step 9: Upload Favicon
Similarly, you can add the Favicon image for your website
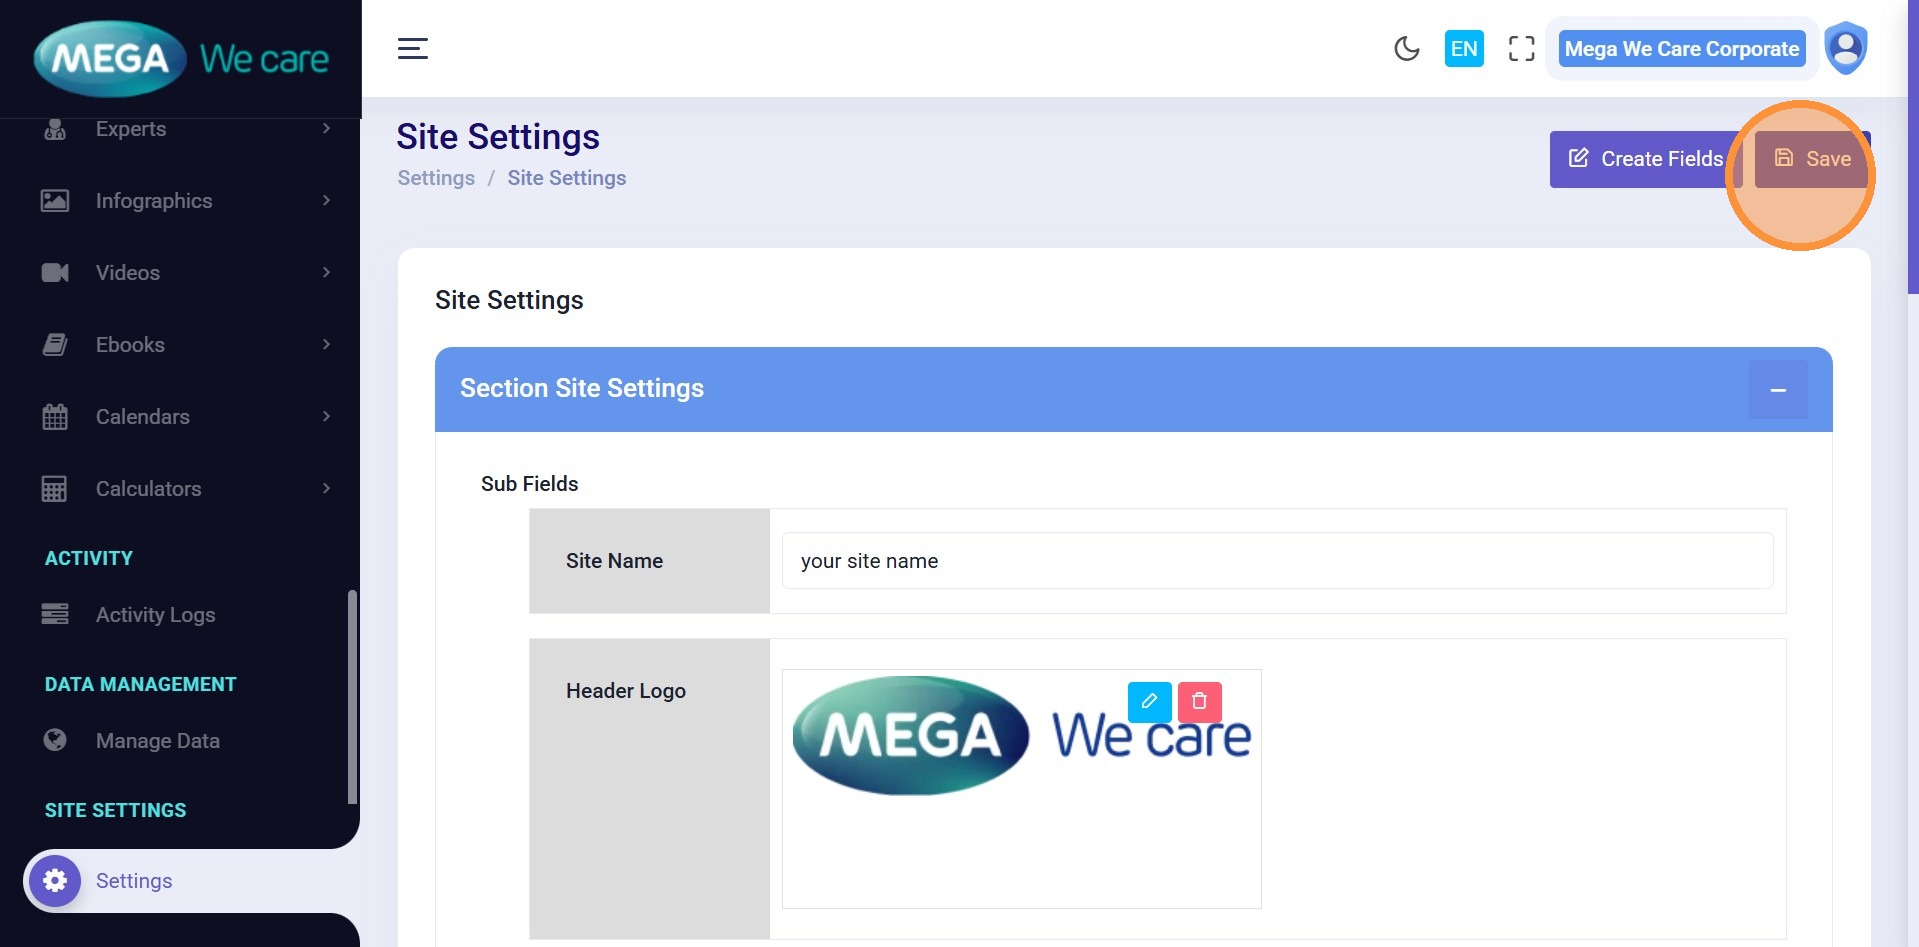
Step 10: Save Changes
After updating all the details, click Save to apply the changes to the website.
Important Notes
- Upload images in WEBP format, ensure the image size is not too large, and do not use PNG, JPG, or JPEG files. If the image is in any of these formats, convert it to WEBP before uploading.
Summary
By following this document, you can update your website name, logos, favicon, and apply branding changes instantly across the website.